There’ll be some Blue goin’ on

Japanese Indigo 
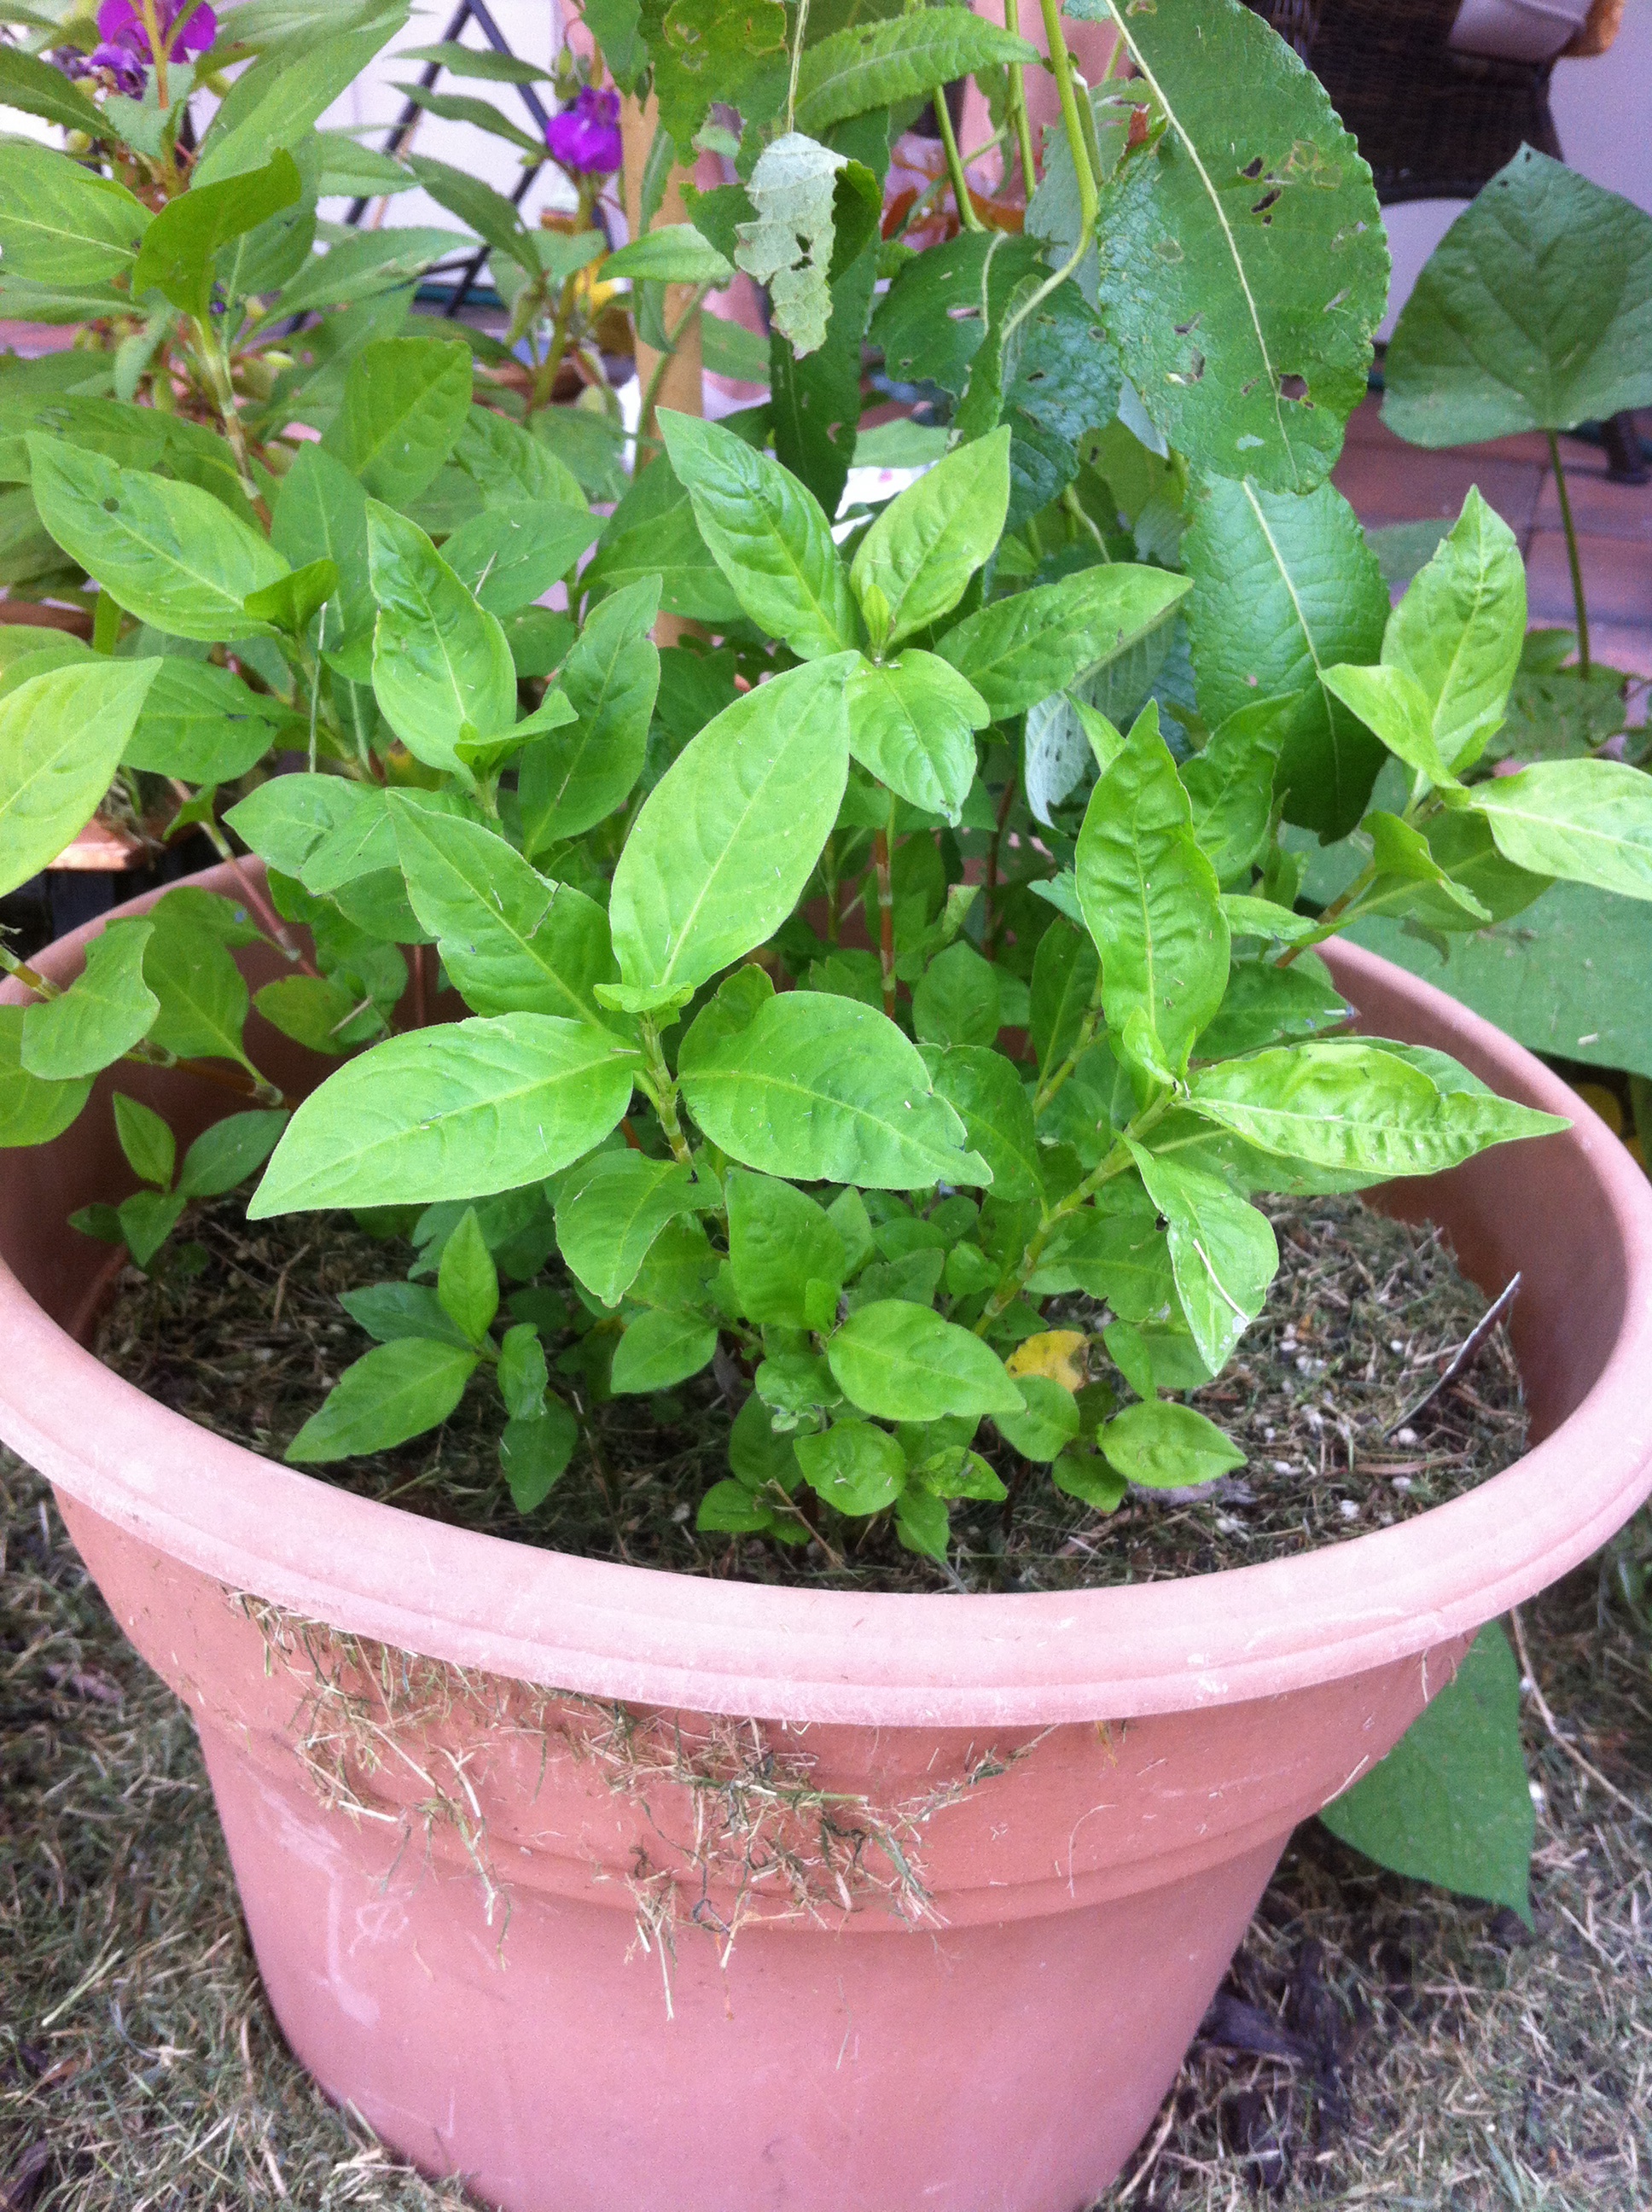
My Japanese indigo plants are doing great. An online friend shared seeds she gathered from John Marshall’s indigo garden. The pot is living under my weeping pussywillow tree. It gets filtered sun and it looks pretty happy!

The bottom photo is my woad. I transplanted it out of the pot when it was blooming. SEEDS! I have lots of seeds. I gathered half of them and let the rest self sow in the bed. Originally the bed was going to be weld and woad. Right after i sowed the weld the power company decided to replace a pole right next to the garden. When they were done, all the ground had been turned over and those tiny weld seeds were no place to be found.

Word has it that this lush 2nd year foliage on my woad doesn’t have much pigment. Will that stop me trying it out? Not a chance!

image

A Question about the Outdoor Dyeing Ideas

I had a private question about the set ups I posted for an outdoor dyeing studio. They said they use a trash can for their indigo and wanted to know how these would work. If one person asks, there are usually more who have the same question. Here is my answer .

I use a 5 gallon utility bucket for my indigo vat. I can cover it with the lid when not in use. Since it is plastic and has a lip around the top it will fit into the table the same way the tub is shown. That will save my back bending over the vat. Putting the vat on a milk crate has worked in the past but it isn’t stable. This table, not the shelving piece, solves that problem. I do put another bucket turned upside down under the table to support the weight of the vat.

In workshops at Arrowmont using Rowland Ricketts and Joan M. Morris vat the fiber was soaked at least overnight before dipping. Then in Joan’s method, it is again put into water for the color to develop. This has meant I needed multiple tables or a lot of bending over. I can put a second bucket in the table for water and the third one in the shelving unit next to the hand washing tub.

Thanks for asking. I’m always happy to share. Let me know if I didn’t explain this well. We are still experiencing over 100 heat index after weeks of flooding rainfall.

Janice


Outdoor Dye Studio Ideas

It’s time to make an indigo vat and do some dyeing. Since my dye studio isn’t equipped with plumbing I try to do indigo outdoors. Lots of water used for rinsing and I hate to see it wasted. Here are some ideas for outdoor wet studio areas. I love that a hose on the drain can be directed to the landscape areas.

image

image


The table would be perfect for my indigo vat. I can cut a round hole for a utility bucket that I make my vat in. A second inset for the water To develop color would make this perfect. No bending over and when the vat is exhausted it all folds away for storage.


The Missing Fabric for Take 2 White River Hope

I found another bin of fabric this morning and inside was the elusive green fabric I was missing. On my design wall,( been there forever) covered by other WIPs, was enough of another important fabric.  The other missing fabric was there too, but only tiny bits.  This is a large foreground piece so bits just won’t do !  I thought I would have to dye that piece, or paint it anyway. At least I have a bit to color match. I found a piece of rust dyed fabric that had walnut over it. I’m hoping I can scrunch it up to preserve some of those tones and then do some low water emersion dyeing to come close to the shade I need. here are the bits and the large piece I’m going to try to match. Wish me luck!

image

Cracking Open the Stash

I thought I might have some of the fabrics left over from White River Hope. If I didn’t my job recreating this for the commission was going to be difficult. I knew I mean might need to get creative.

Since I don’t use a lot of commercial fabrics any longer in my work the stash has been out of sight and mind. Along the wall, under one side of my Koala cutting table are 4 Closet Maid drawers that are home to the riot of small pieces saved over the years. At first I tried bending over to see, then contortions equal to standing on my head, all to thumb through the bits looking for pieces of the needed fabrics.

Eureka! I found all but 2 fabrics. One only has a small piece so it will be easy to replace. The other one plays a bigger role and I may have to get creative. But all in all, cracking open the stash paid off. And to think I was ready to donate it!