A break from making art to use the last of my 5 fig trees bounty. So easy to make jam. No chemicals . Fruit, sugar, lemon juice and a few drops of vanilla.


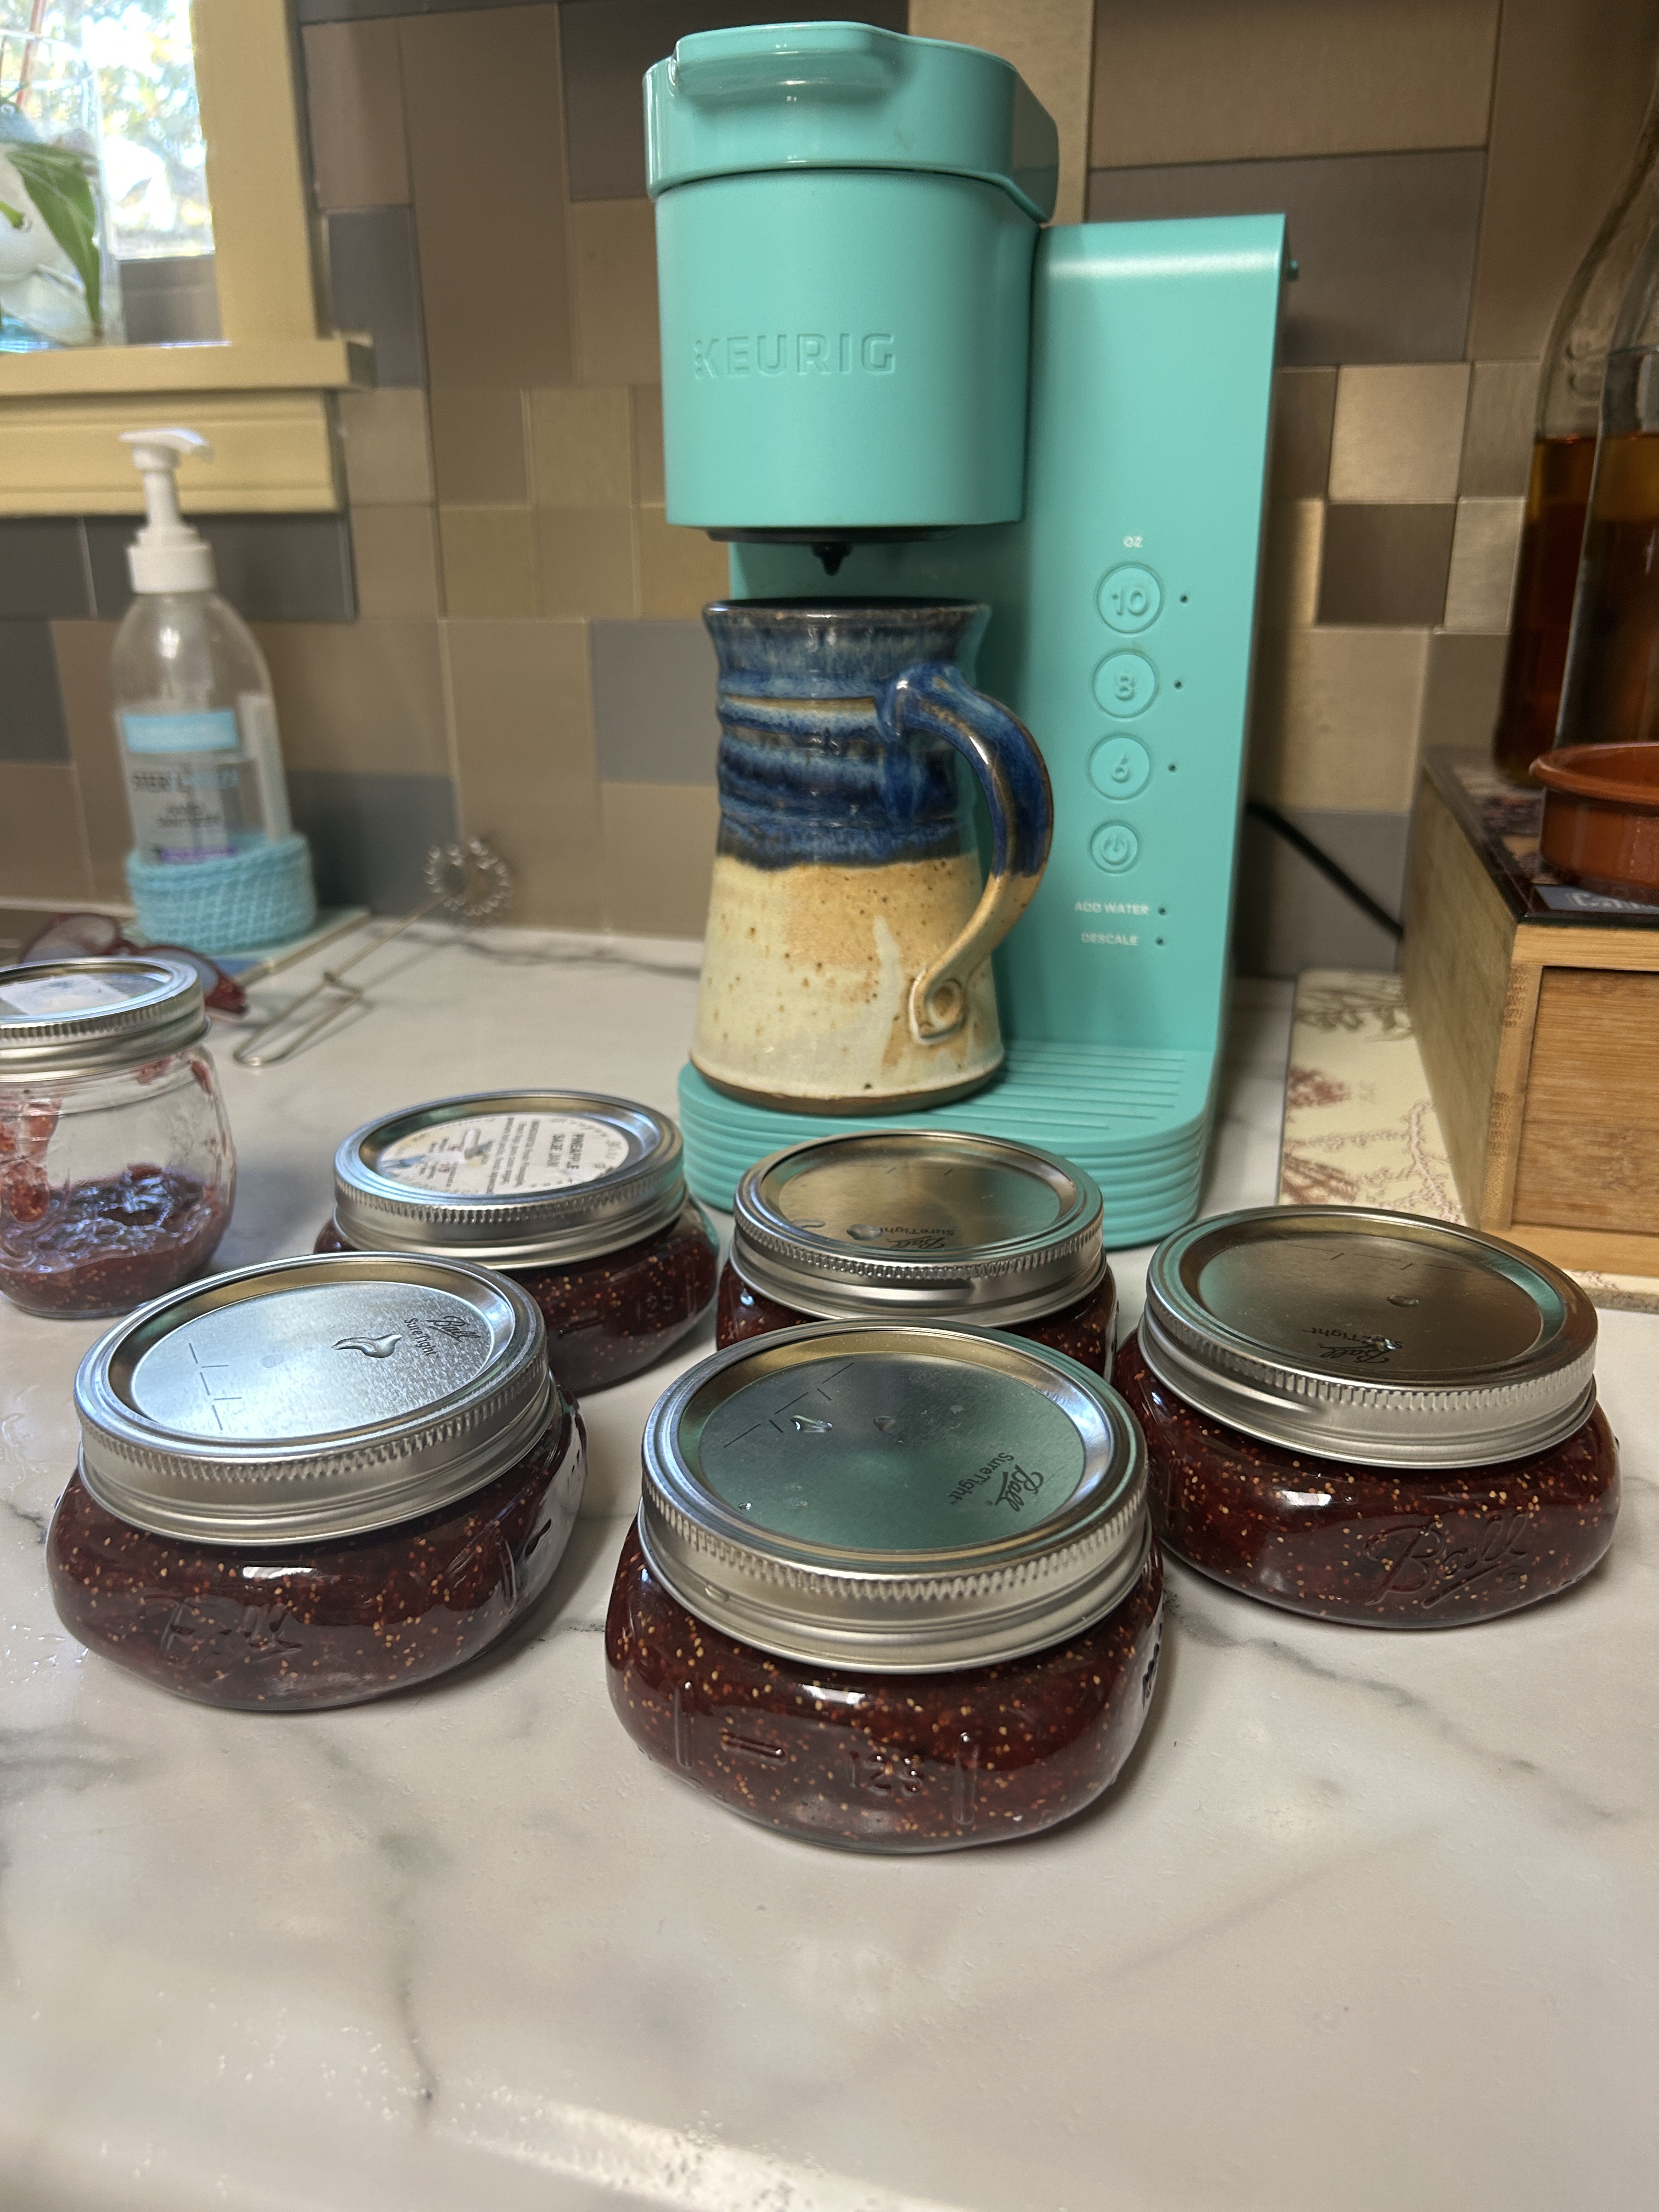

A break from making art to use the last of my 5 fig trees bounty. So easy to make jam. No chemicals . Fruit, sugar, lemon juice and a few drops of vanilla.
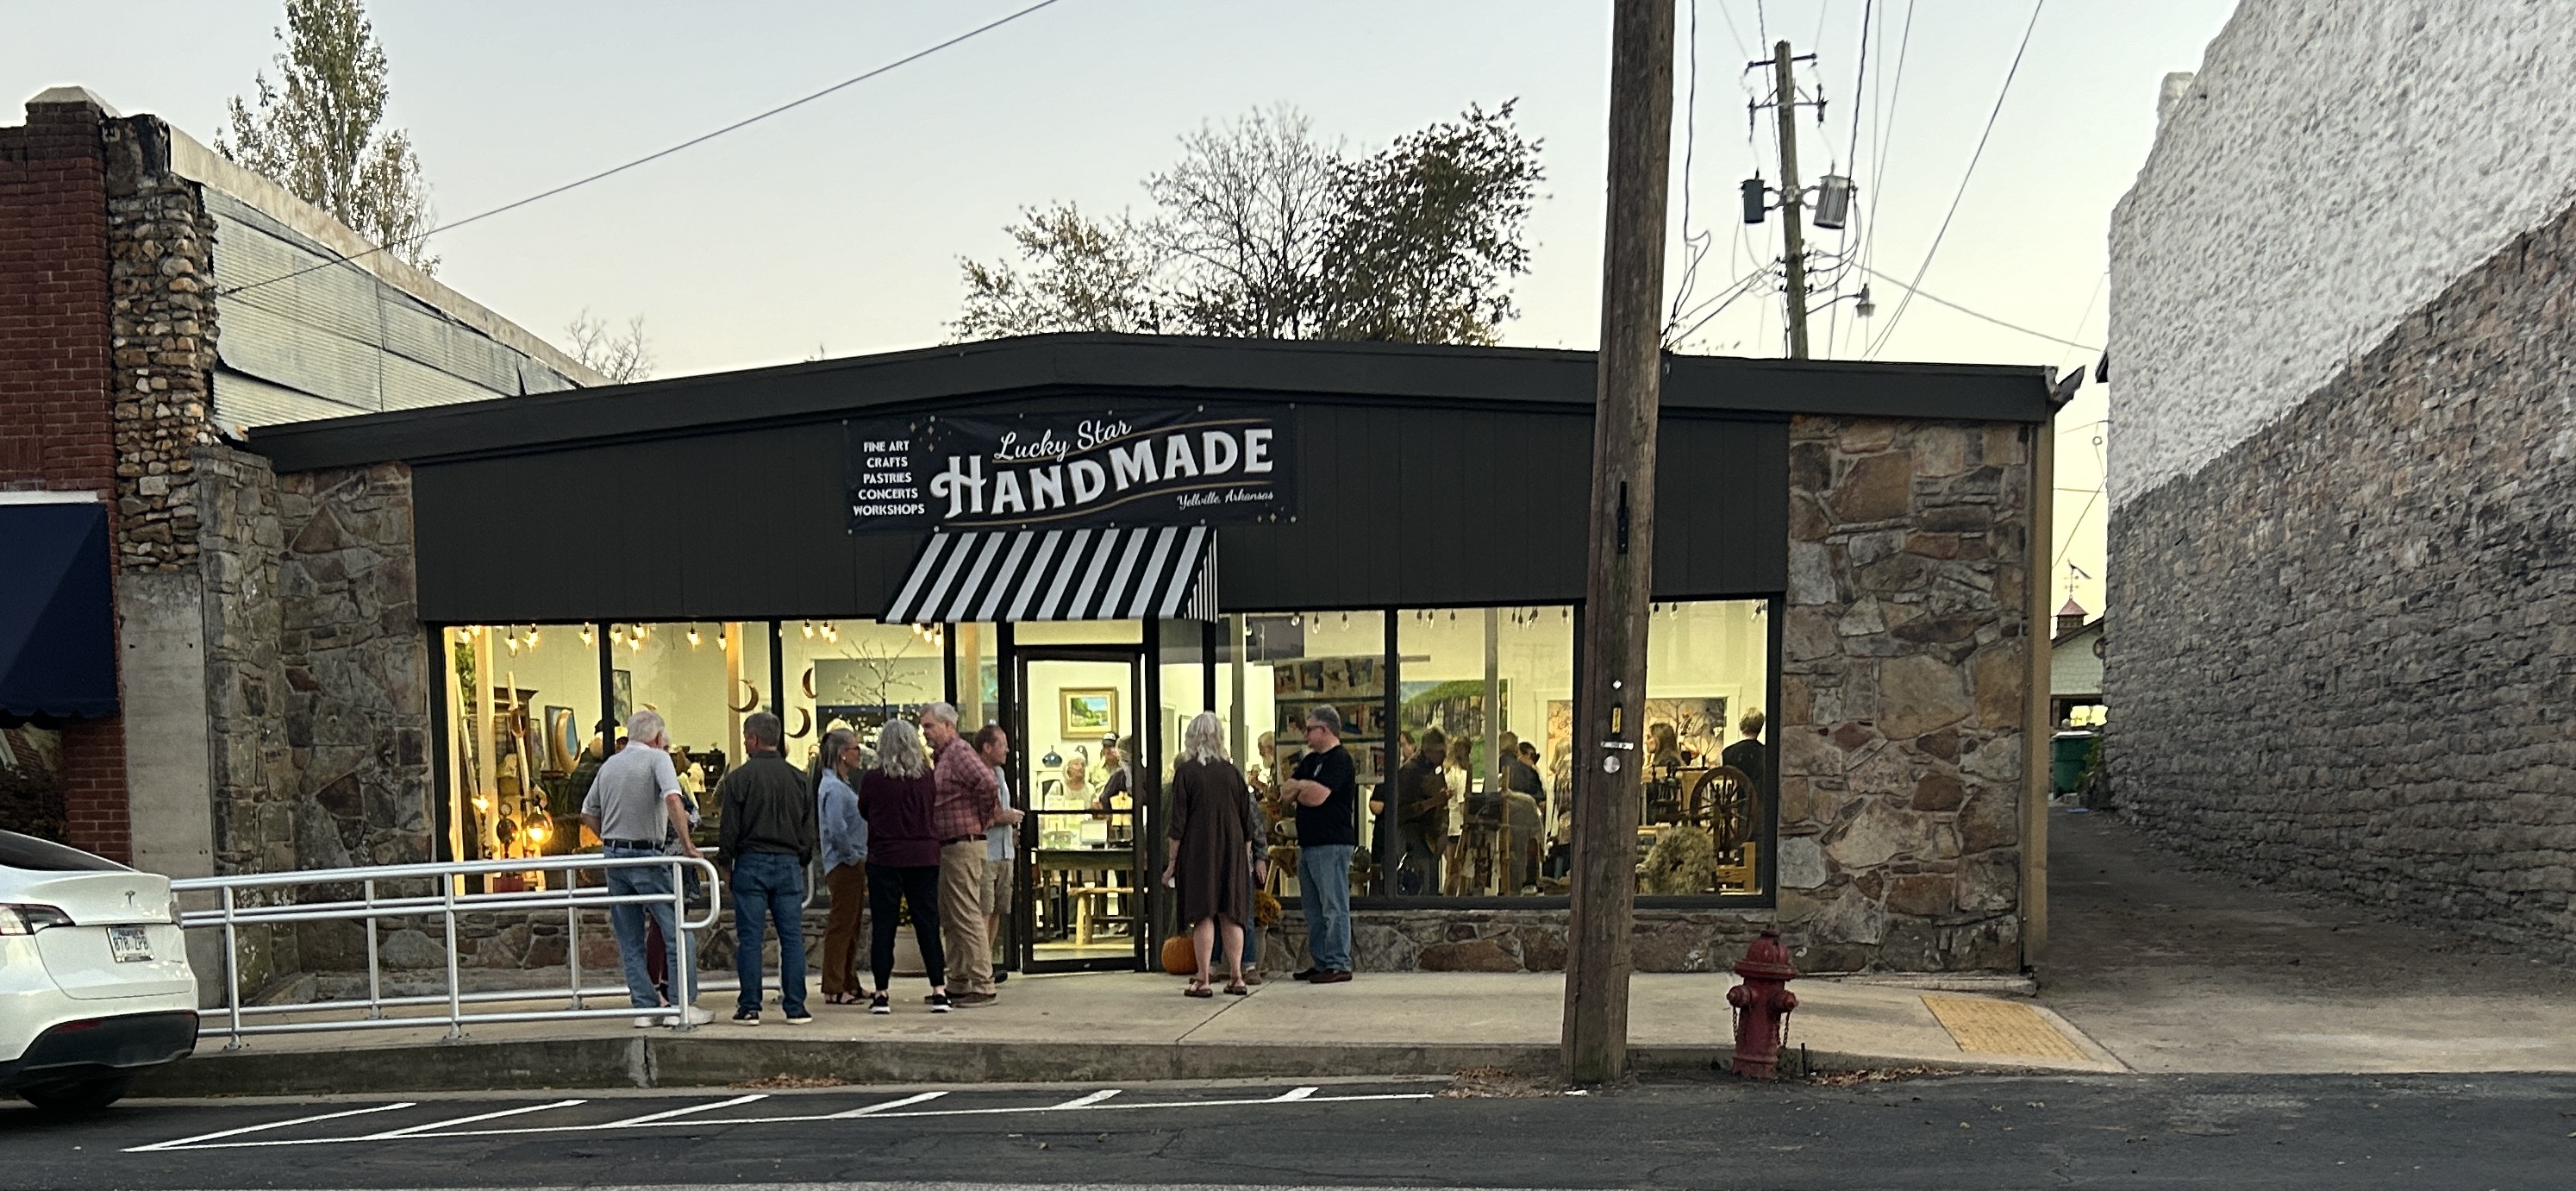
I was thrilled to be invited to be a participating artist at this terrific venue in Yellvillle, Ar. Check them out on Facebook. https://www.facebook.com/profile.php?id=61561436784308
There are wonderful photos on their facebook page of the interior and some of the artists work.
I took these photos outside looking in at the grand opening tonight. It was a packed affair!


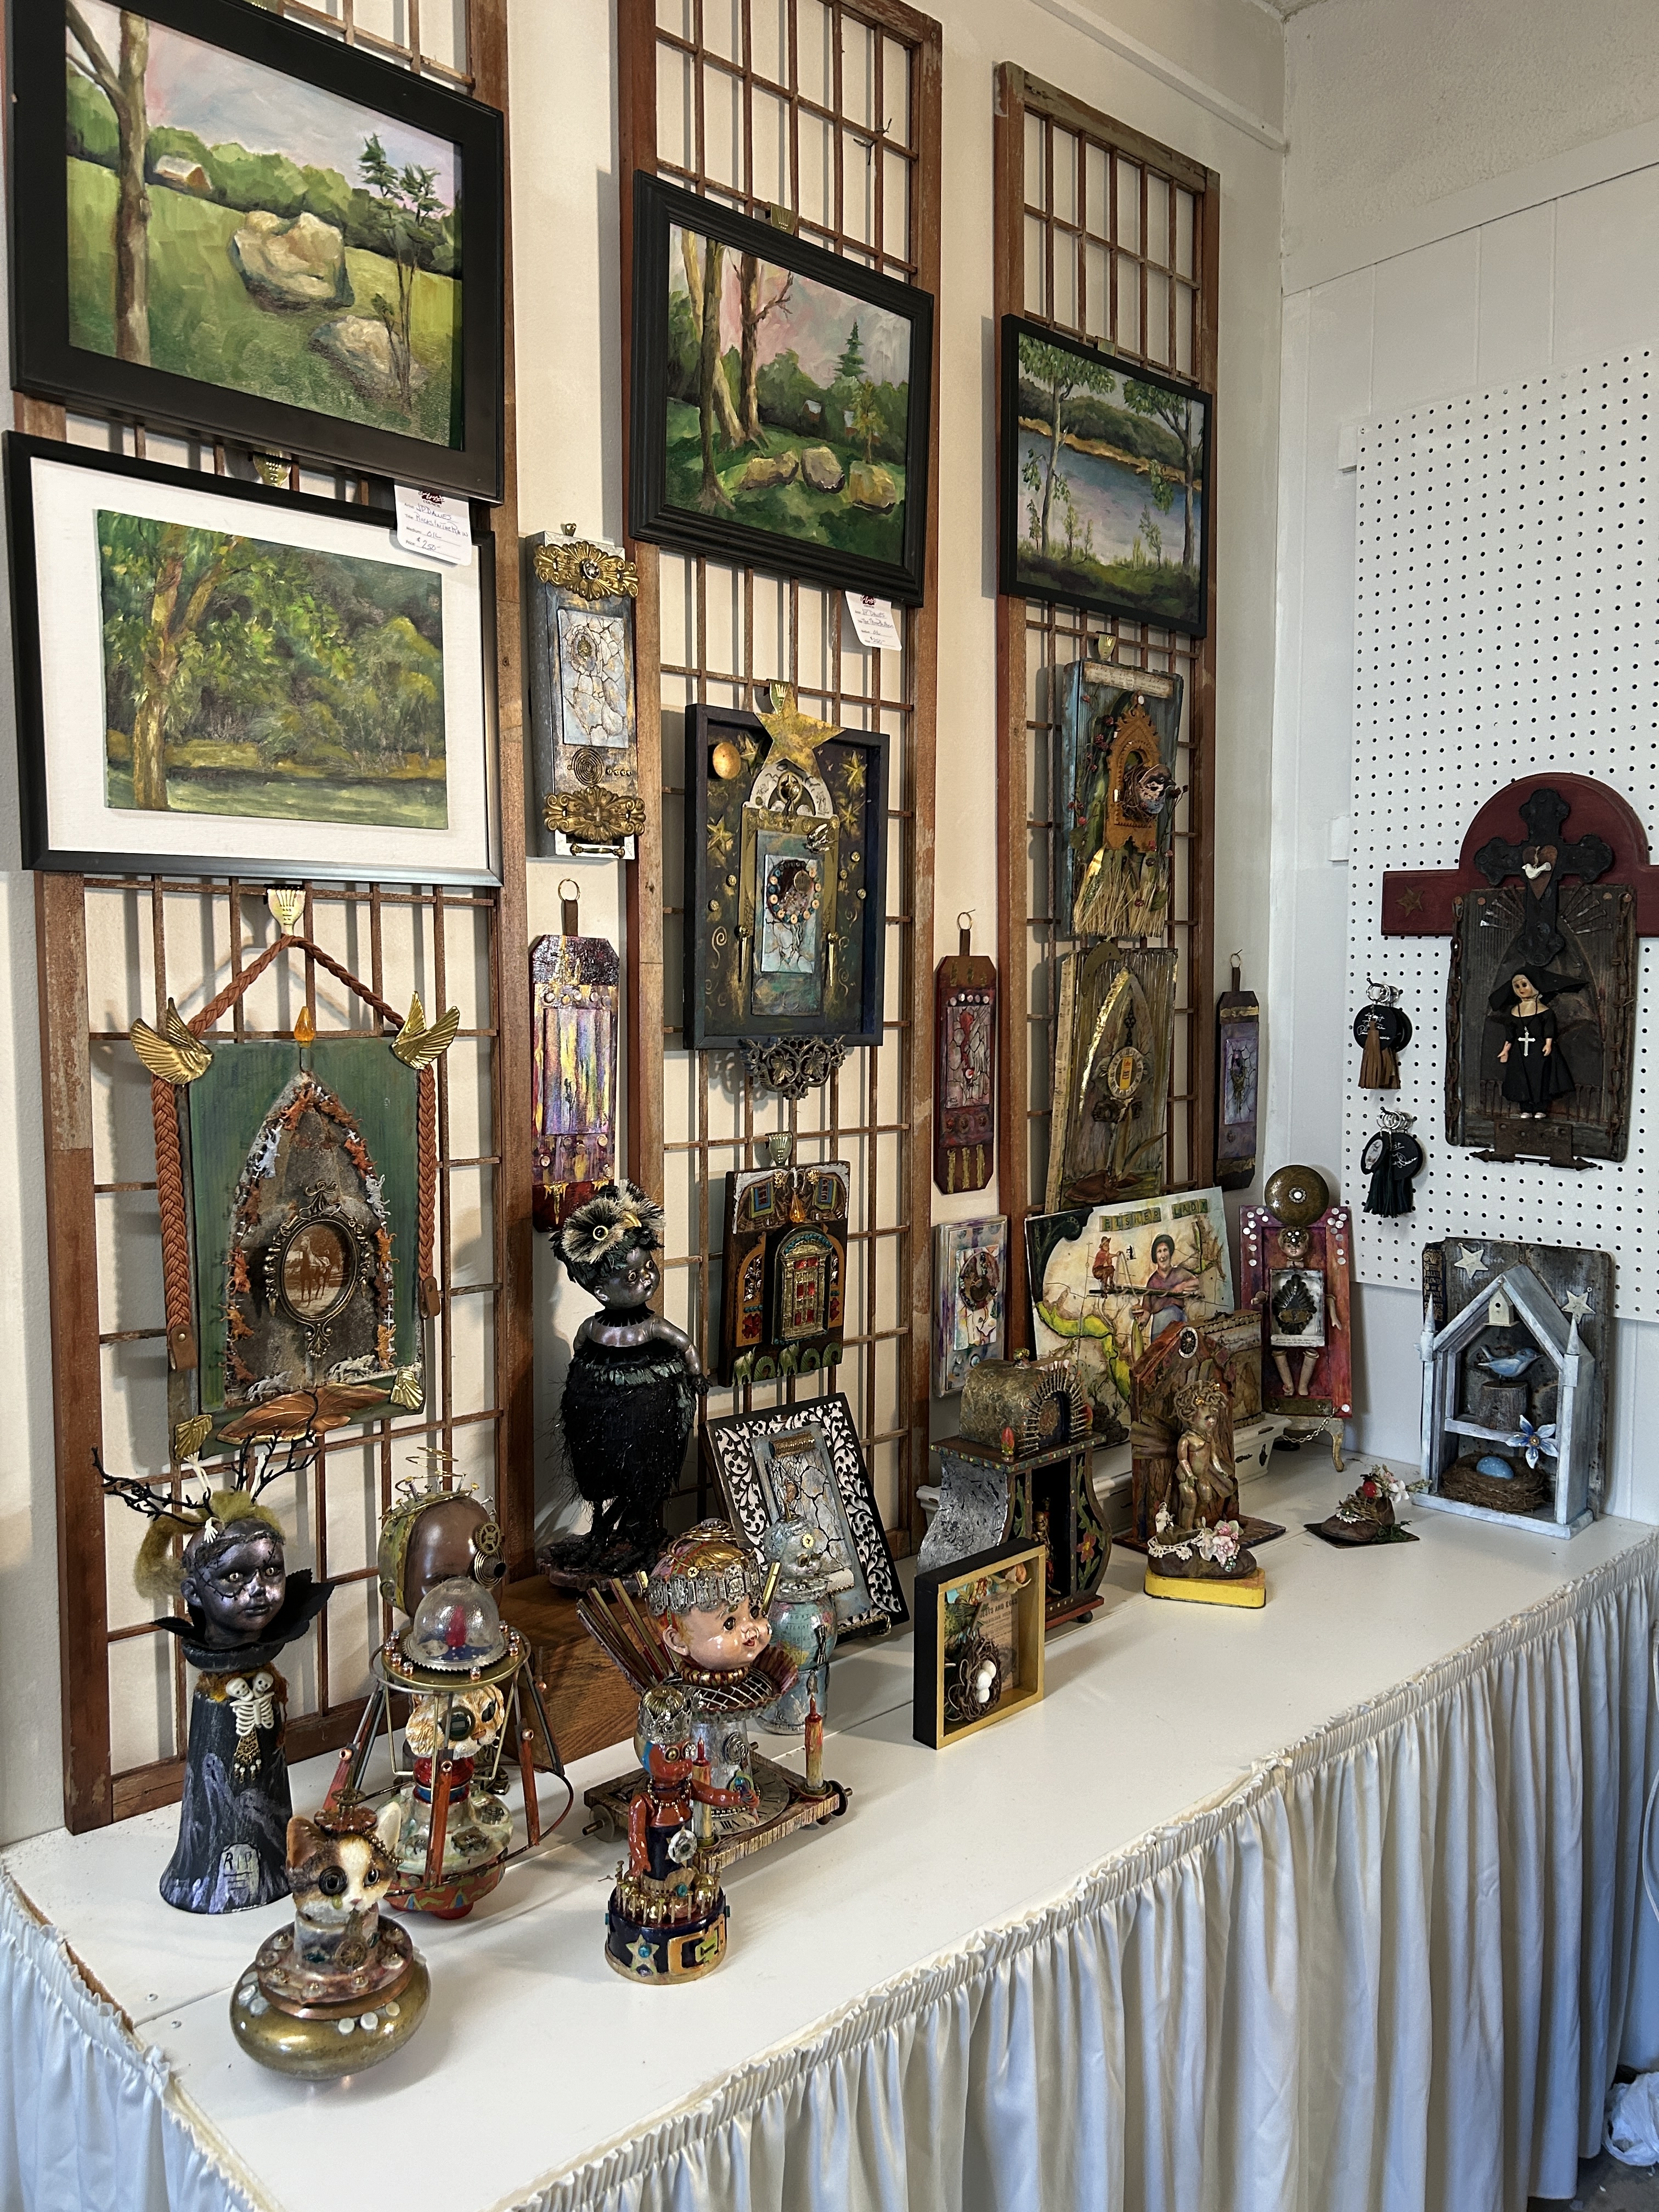
I think I’m ready to receive attendees in my studio. You will find original oil paintings, mixed media cards, art assemblages and even a few pieces of textile art.
This was a huge undertaking of destashing fabrics I had no plans for. Many car loads went to the Salvation Army. Rather than try to sell thousands of yards of fabric, it was donated in hopes that the SA sales would feed some families. A much better use for it rather sitting in bins on shelves in my studio.


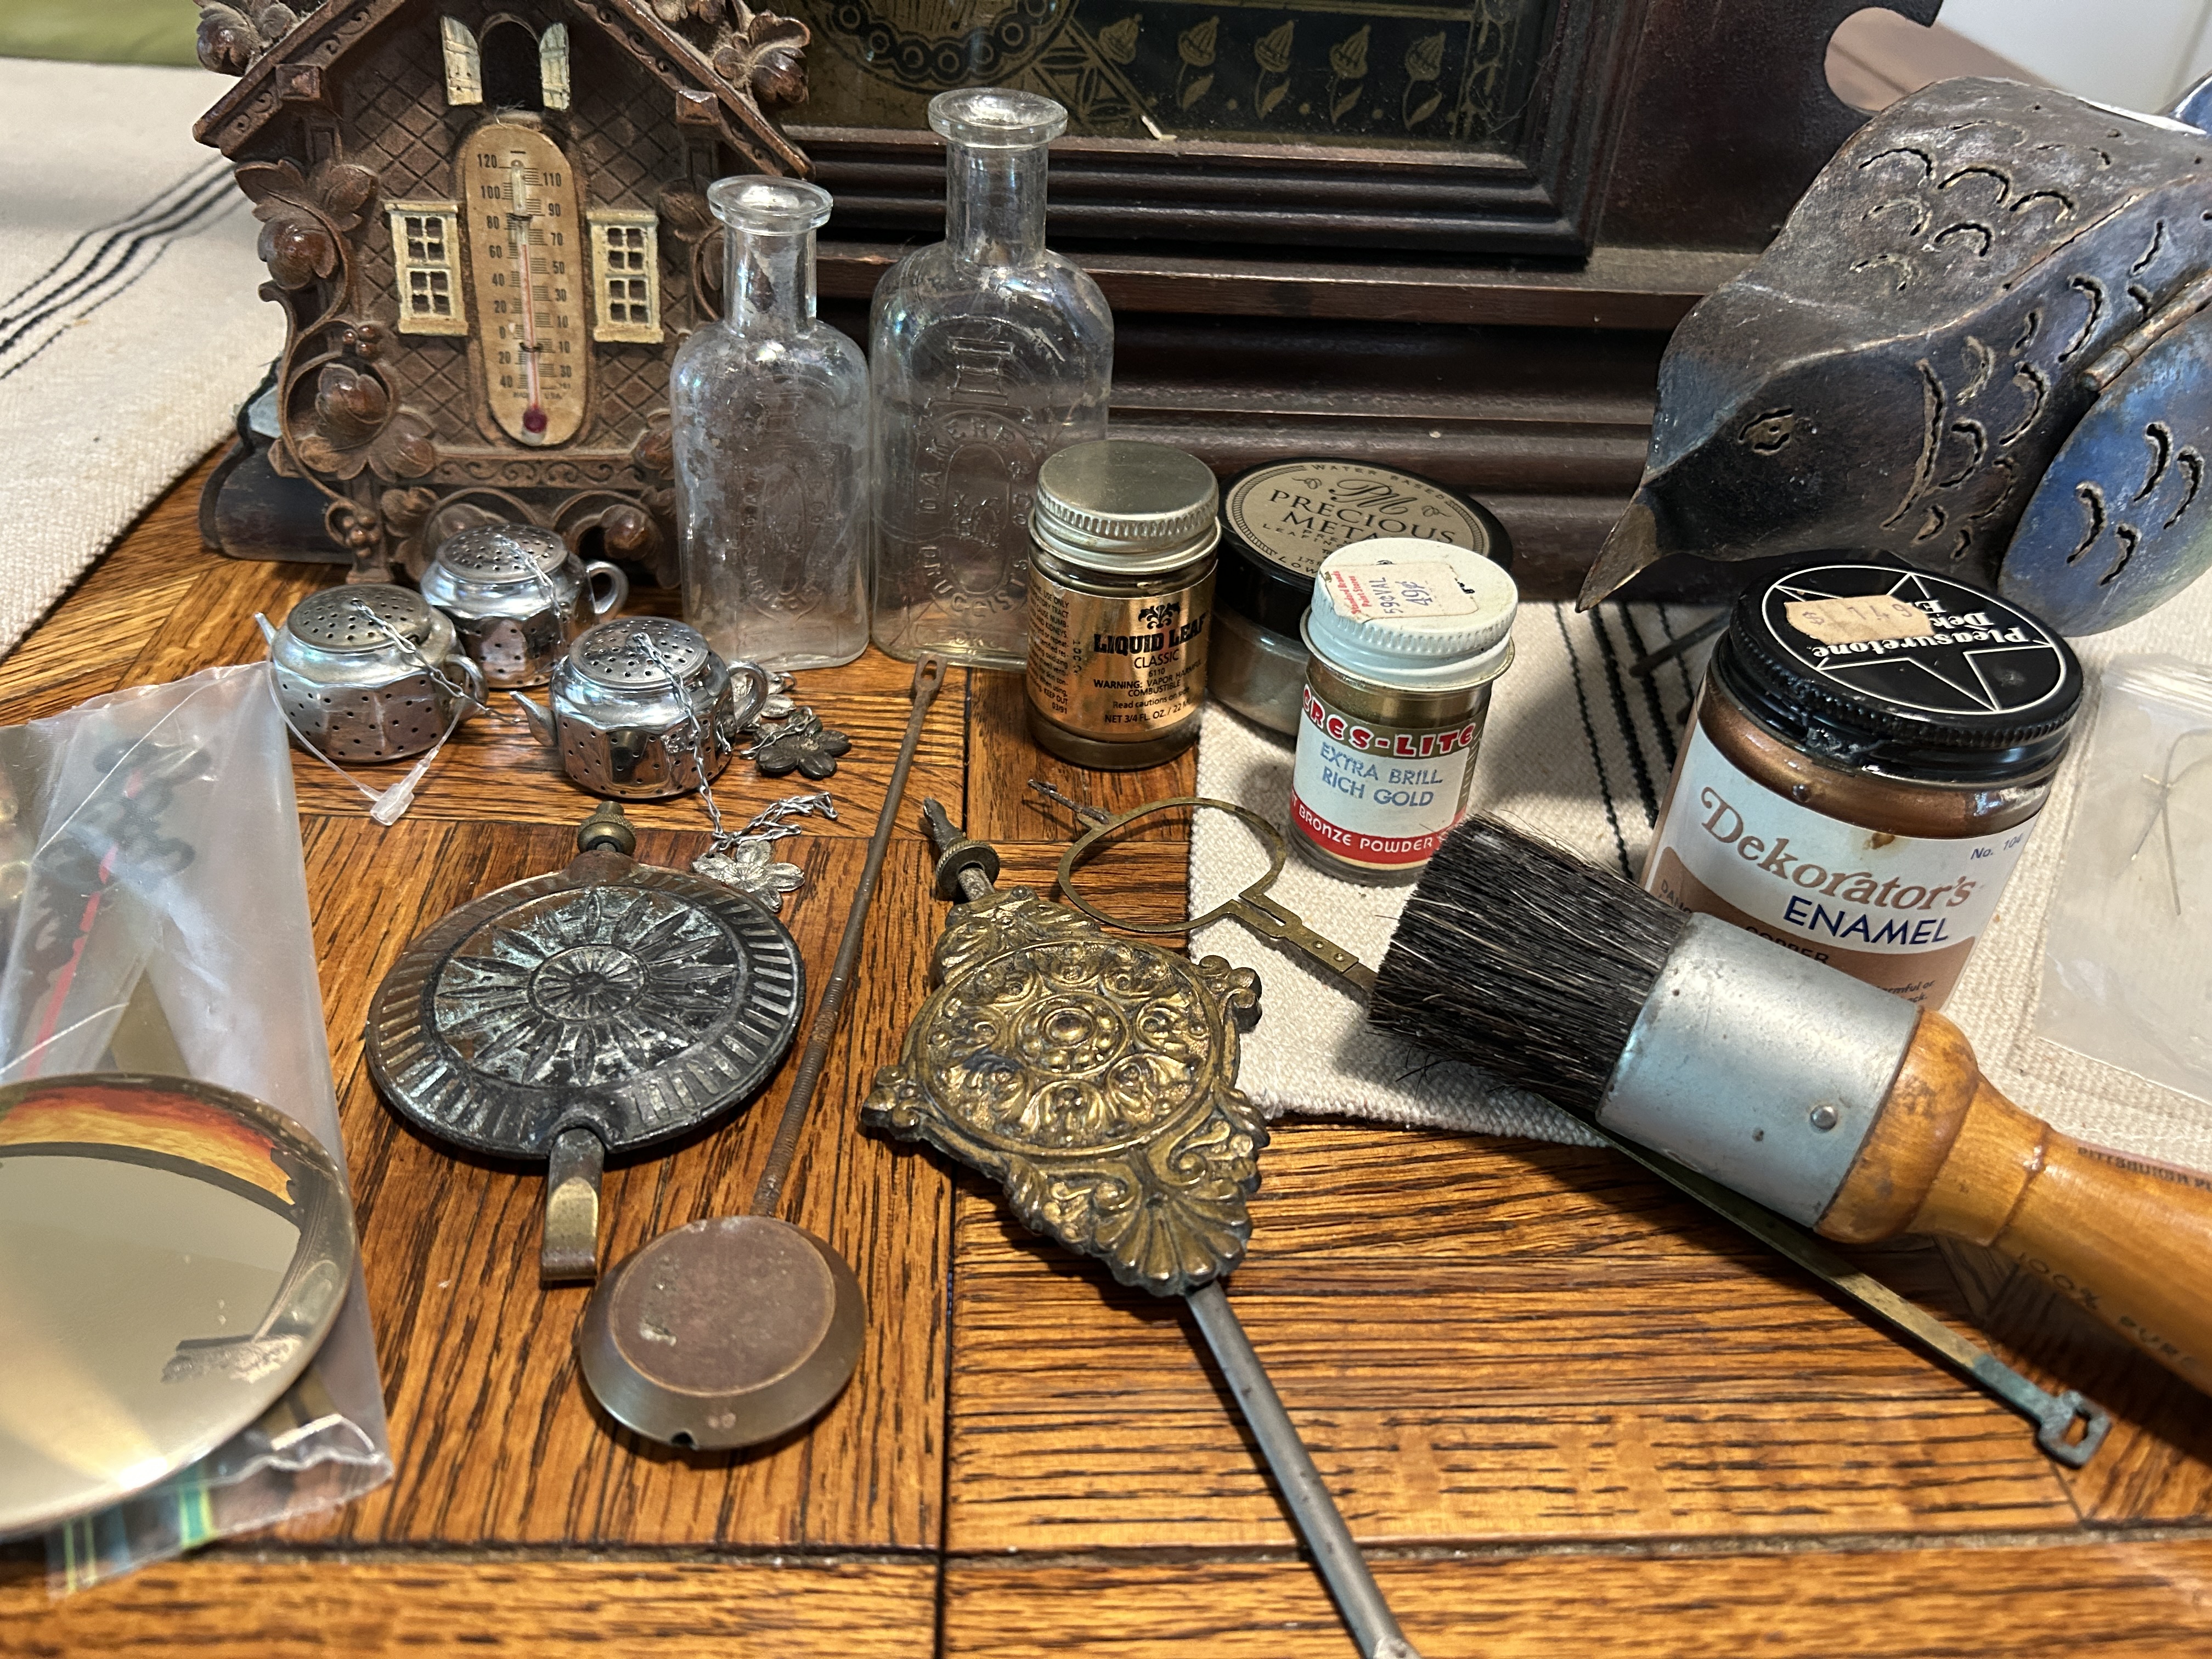
You might wonder how to get started making artsy assemblages. Where do you get all the bits and bobs you might need? Are there books and instructions for construction?
My first recommendation is that you realize this is an art form and not a craft form. Yes, there is a fine line between the two and this post isn’t to debate the point. Your finished piece must follow the principles of design and or have intent. It is lots more than just glueing, nailing, screwing, welding, sewing a bunch of stuff onto a substrate. So if you are unfamiliar with this concept, do some research so that the principles of design become second nature to you.
I find most of my junk at thrift shops and yard sales. If you know someone with kids, ask them to give you broken toys that might spur your imagination. If you are buying online search for junk drawers, Vintage misc. lot. , broken toy lot, doll lot, cabinet hardware lot. I hope that gives you some ideas.
The next thing to do is decide what kind of assemblage you like. Do you like wall art? Sculptures? Do you like the ones that use items as is or the ones that are painted or changed? I collected a ton of things when I started this journey. I am ready to start destashing some of the things I know I am not going to use. Its really easy to become a hoarder!


I struggled with the birth of this Steam punk girl. She changed a few times and lived on my work table for a few weeks. I was to the point of shit canning her. Really. But boy I hate to be bested by a pile of throw away junk. I sat down one final time to try to make her behave. Ta-Da! I give you just a girl and her parrot.


