
For the first time in awhile now, I entered work in Quilt National. I had told myself before this that I wasn’t going to submit to quilt shows that were more concerned with even stitching and tight bindings. You know, the quilt police. I’m not saying it is as strict for Quilt National, but they do look at quilt construction. I simply cannot do that kind of perfect work any longer due to my rheumatoid arthritis. And you know what? It sucks big time ! There are days I want to kick the sewing machine.
I only want to submit to exhibitions that judge art for its visual impact and connections/message to viewers. I think I might have a fighting chance in that kind of show. But I entered Quilt National any way, call me crazy. And mine were some of the more than 700 entries that were not chosen. I am in really good company with a lot of art quilters I know and who’s work I admire. It doesn’t sting too much, just a little when I see the bank account going down from entry fees.
I think they are some of my strongest work. Now they are free to be juried for other venues. The search for the right ones begins!

27×35
2800.00

21 x 27
$1500.00
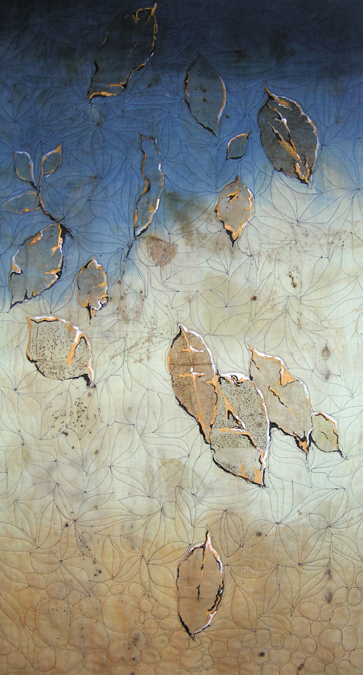
20 x 36 inches
$1800.00


