Wow…Our latest Eco Bundles

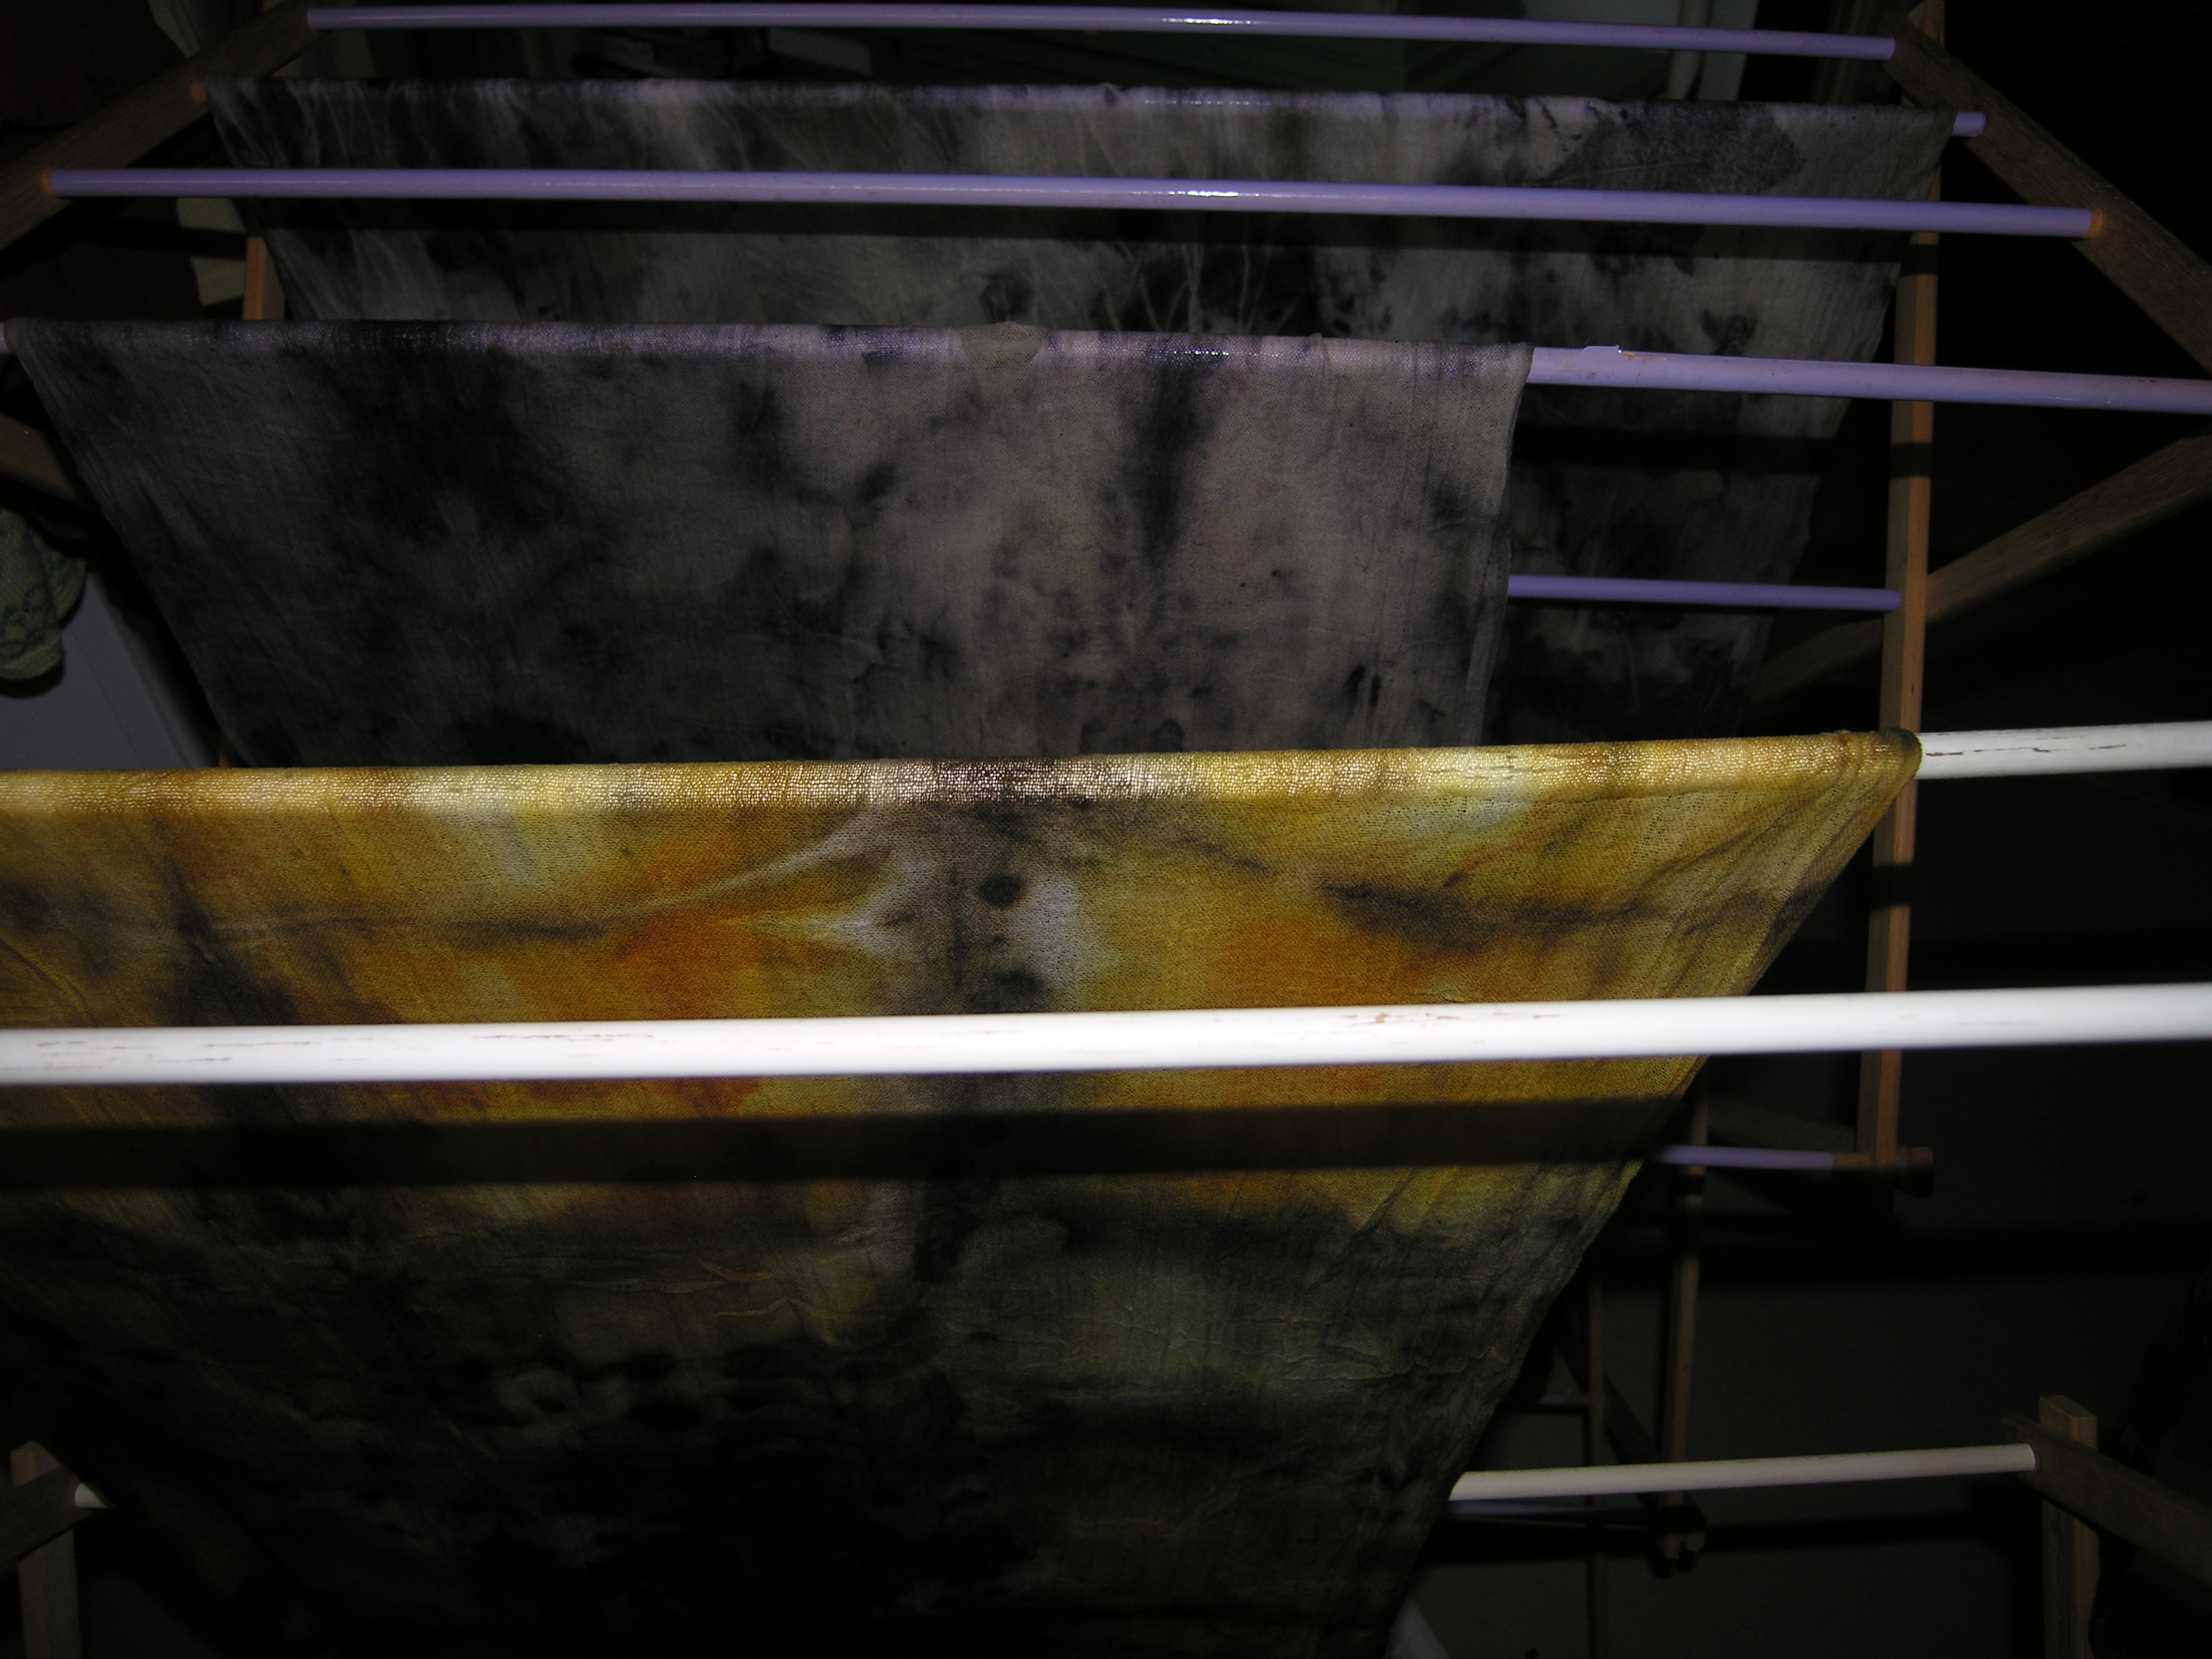
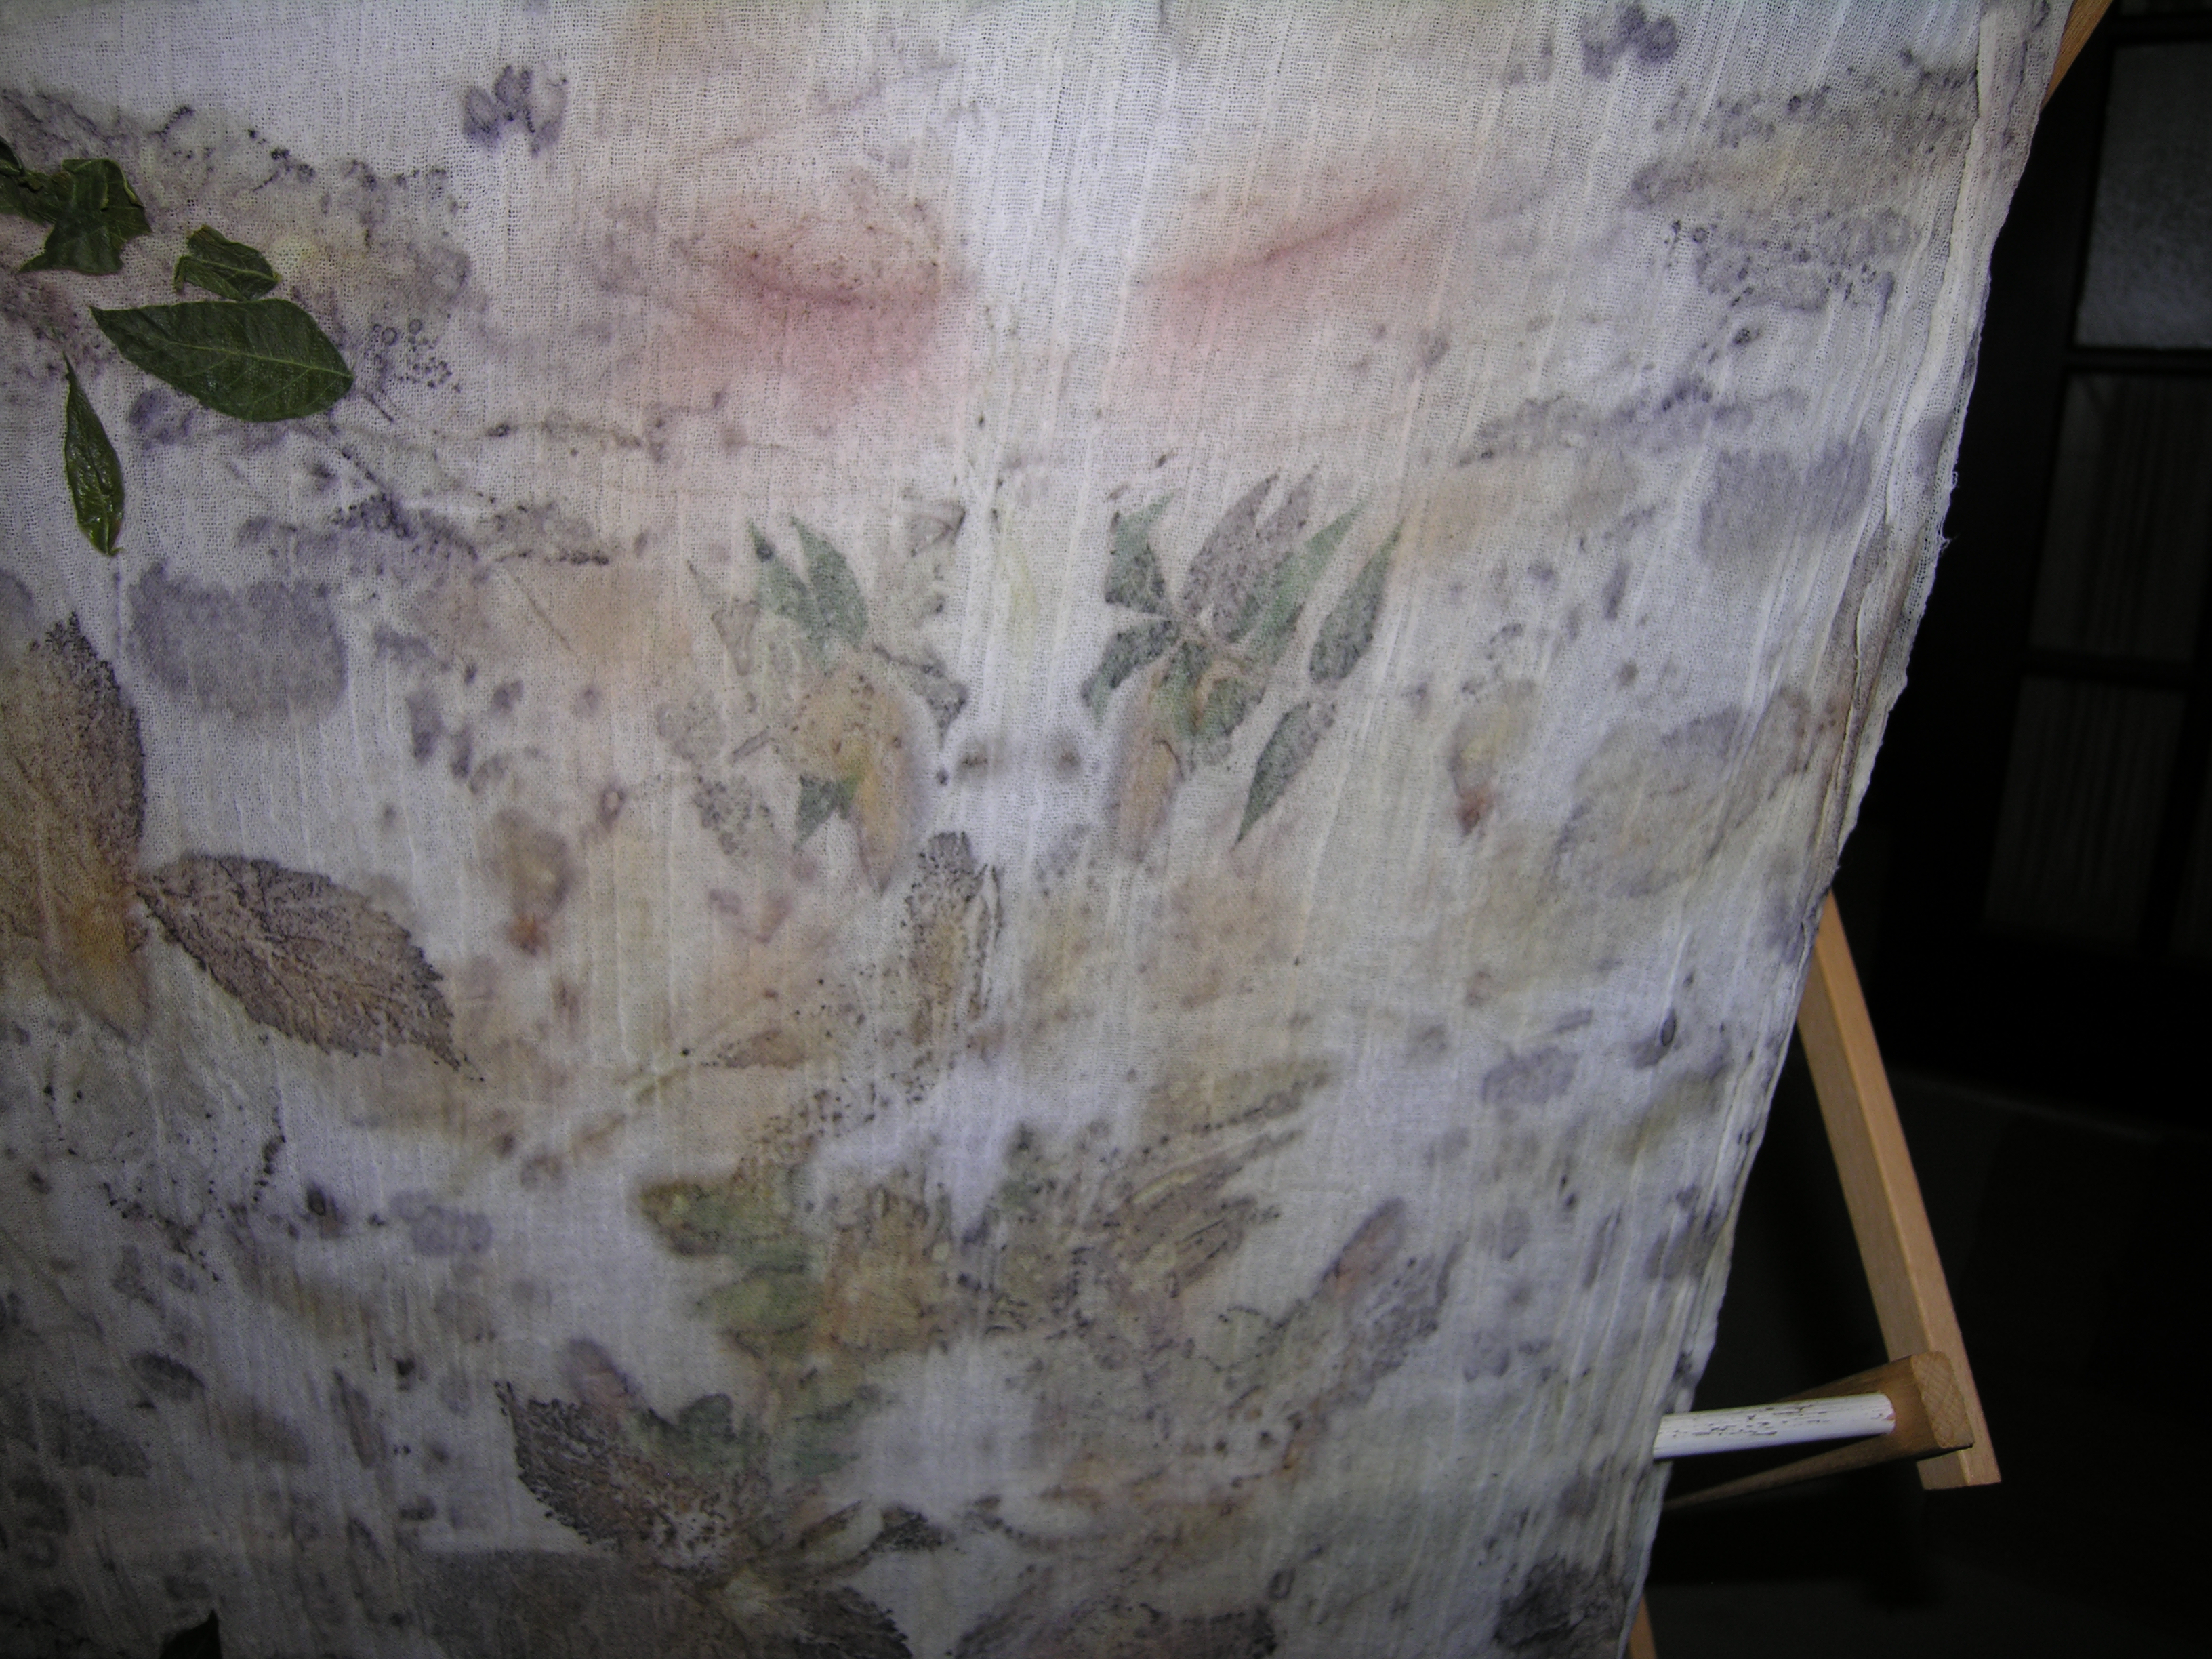
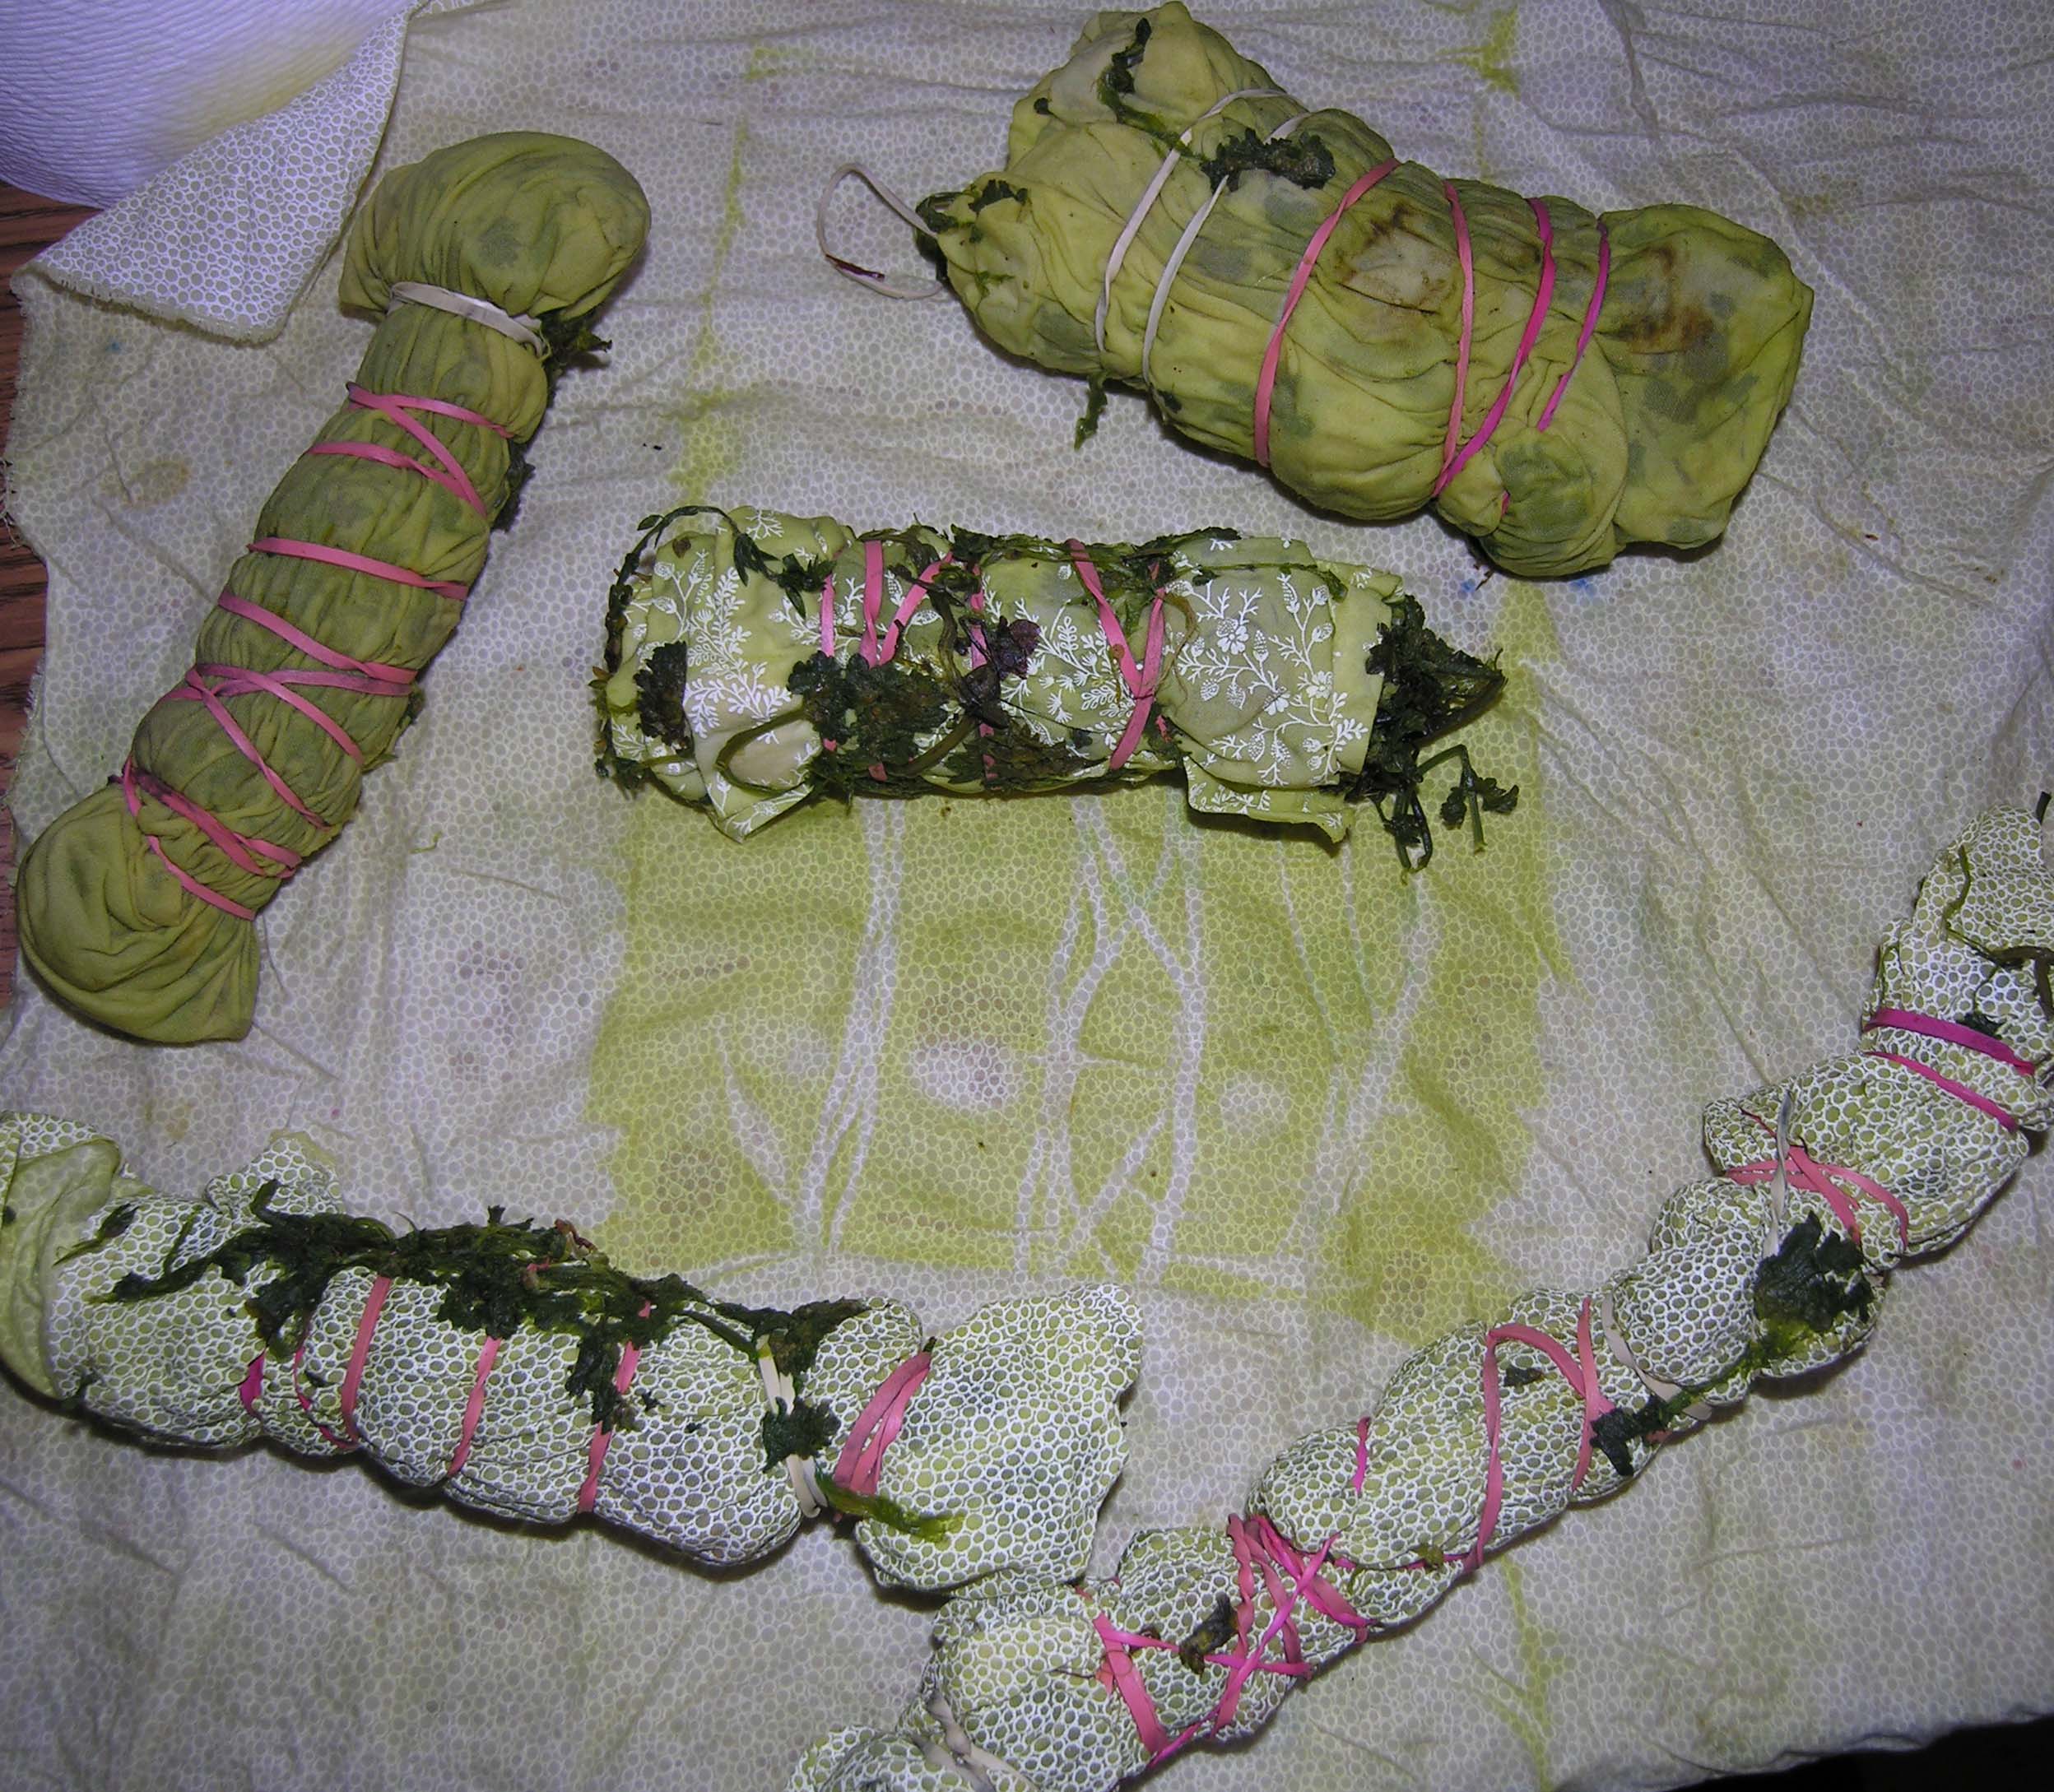
The Studio Tour starts in a week!  I am the great procrastinator floating along like I have all the time in the world. So I gave us a kick in the butt to get the last few natural printed gauze scarves ready for the tour.  We collected leaves a few days ago for the project, fresh and not dead fall. I guess a purist would cringe at that, but I am a Master Gardener and proper pruning was used so no trees or bushes were harmed.

We used combinations of leaves and mordants. A couple of the scarves were failed projects but the way this dyeing goes, they just added layers of mordant to get these fantastic results. I think I know which were the red cabbage blah results but I’m not certain. We were worried that the loose weave of the cotton gauze wouldn’t get good results. We could not be happier with this batch. Of course we would never be able to exactly replicate any of them, but that is what’s fun and exciting about this process.  I am linking to http://ninamariesayre.blogspot.com

One of the mad dyers.

Mixed Leaf printing Mixed printing with vegetation Mixed Leaf Natural Print

Deadnettle Day 2 Dyeing – Pickle Juice!

deadnettle day2a  copy

Above are the bundles from soaking overnight in the dye pot. Ron unwrapped one that was a white on white print. Because the print is vinyl, it never takes dye. You can see the top two are on plain muslin and took the dye well.  The next step was to add iron mordant to the pot and add some of these back in. Amazing color shift. It even made some of the imprints from the plants stand out that you can see in the fabric on the right.

We left 2 bundled fabrics in the pot and will take them out tomorrow. Oh, it doesn’t smell like mint in the dye room. It smells distinctly like dill pickles!  Which is really what the color of green looks like…pickle juice!

deadnettle day 2b copy

Deadnettle Dye Pot


Do you have this weed in your yard or in a field near you?  It is Deadnettle, Lamium Purpureum for the purists, and winter weed for the layman. It is a member of the mint family.

Deadnettle - Lamium Purpureum
Deadnettle – Lamium Purpureum

Using Sasha Duerr’s book “The Handbook of Natural Plant Dyes” I sort of followed the directions for dyeing with mint.  I say sort of because Ron and I used a bundling technique as an experiment rather than just making a dye pot. We  put the bundles into a stainless steel pot and simmered for 40 minutes with washing soda and alum in the water. Tomorrow we will see what it looks like after the water cools. We are hoping for a medium mint green color. If they are, some of the pieces will then be put with an iron mordant to see if we get a deeper green.  By the way, this is cotton fabric that was scoured and then wetted before bundling. We used a 1/1 concentration of plant to WOF [weight of fabric].

Wrapping the bundles
Ready for the pot
Ready for the pot

A Rosey Day

While I was in town I stopped at the florist to see if they had some wilted flowers or leaf cuttings I could use to dye with. This is what she gave me. I have them all over the house and will enjoy them until they start to wilt. The smell is heavenly!

DSCN9807 DSCN9808 DSCN9809

Poinsettia Petal dyeing

Poinsettia petal cold processed jar

My poinsettia [Euphorbia pulcherrima] plants from Christmas died. I had 5 small ones that were red and pink. Rather than toss the dropped petals, I put them in a jar with a vinegar solution to see what would happen. I bundled a few of the petals [leaves actually] in a soda ash treated cotton cloth, rolled and bundled it and dropped it into the jar. I left it for a couple of weeks and couldn’t stand it any longer. This is what I got.

I have dried the cloth, then I will heat set it with the iron. I will drop in more cloth bundles and when they come out I may use some post-mordants to see what I get.

This is just so much fun!!!