3rd Dip Day Persimmon Dye

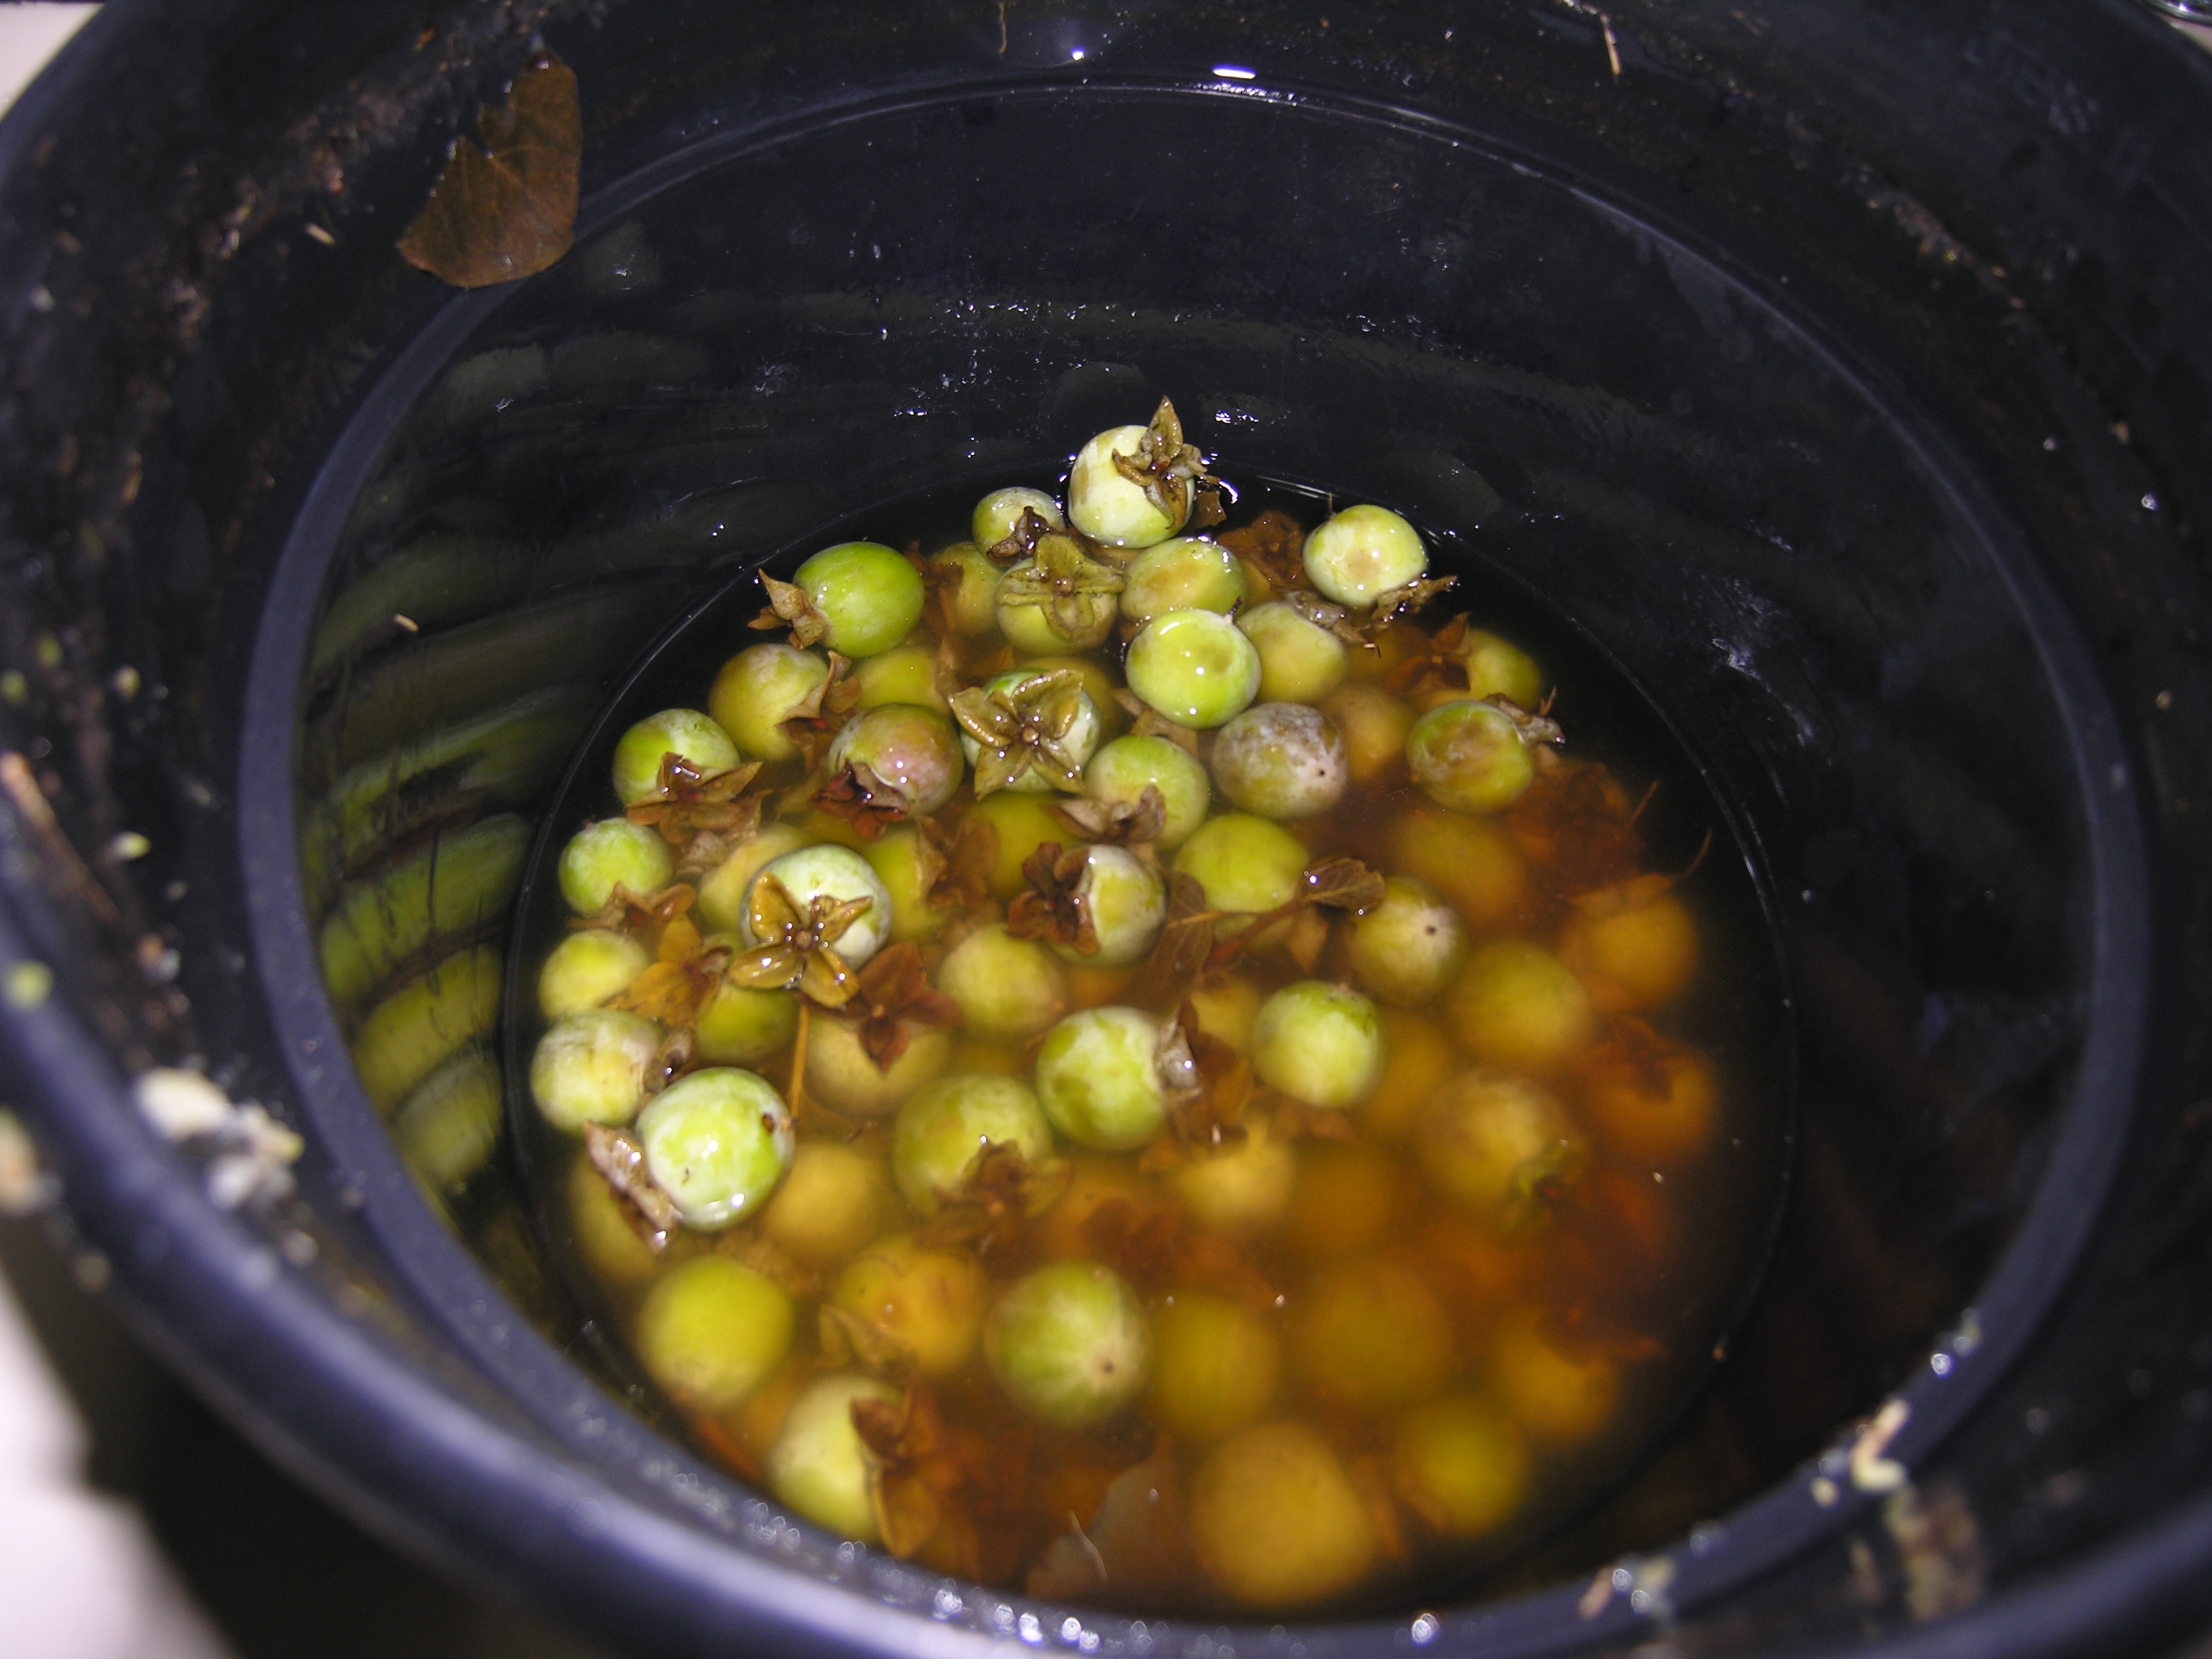
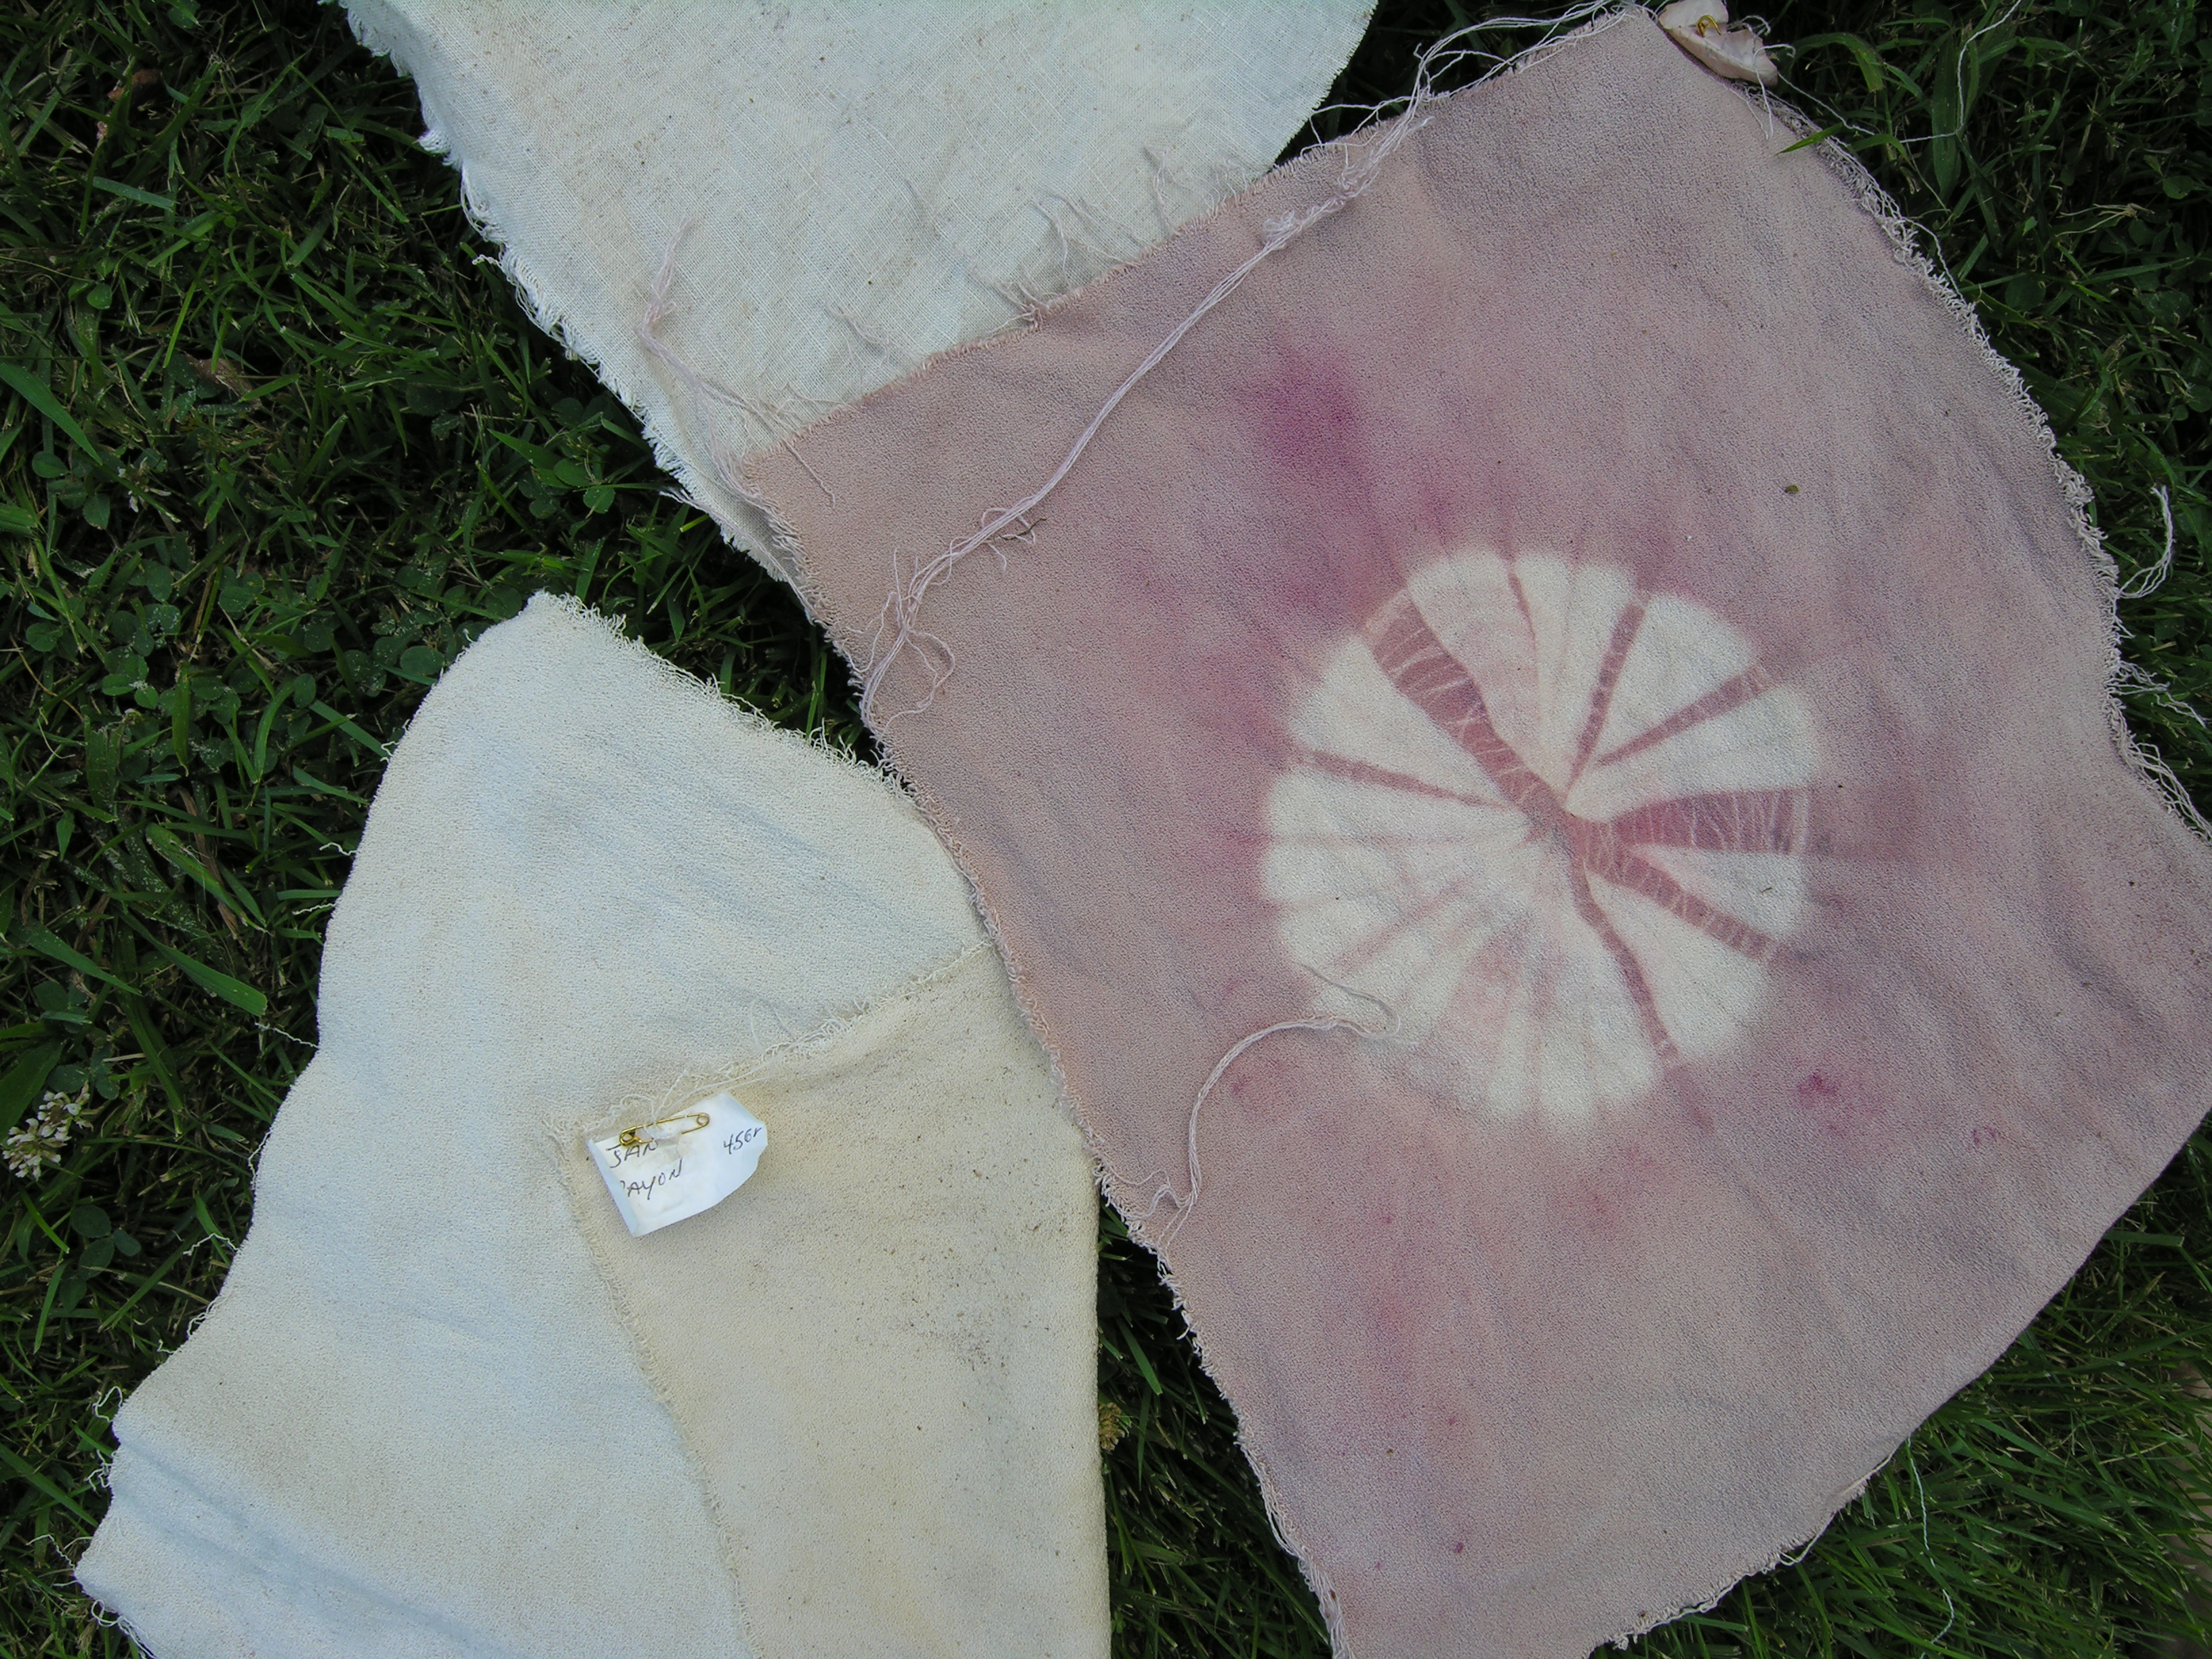
After 3 dips in 3 days, this is the color card for the green persimmon dye. You can see the original fabric was very white. The literature on using persimmons says it makes fabrics water resistant and can be painted onto paper or fiber bowls. It was difficult to make the fabric soak up the persimmon after the first day and you could see the moisture bead on the linen piece.  The dupioni silk piece didn’t react and there was very little color change on day 2 so I didn’t bother on day 3. The deepest change was on the rayon piece and I found that same thing using indigo. I’m thinking that rayon is going to be my fabric of choice.

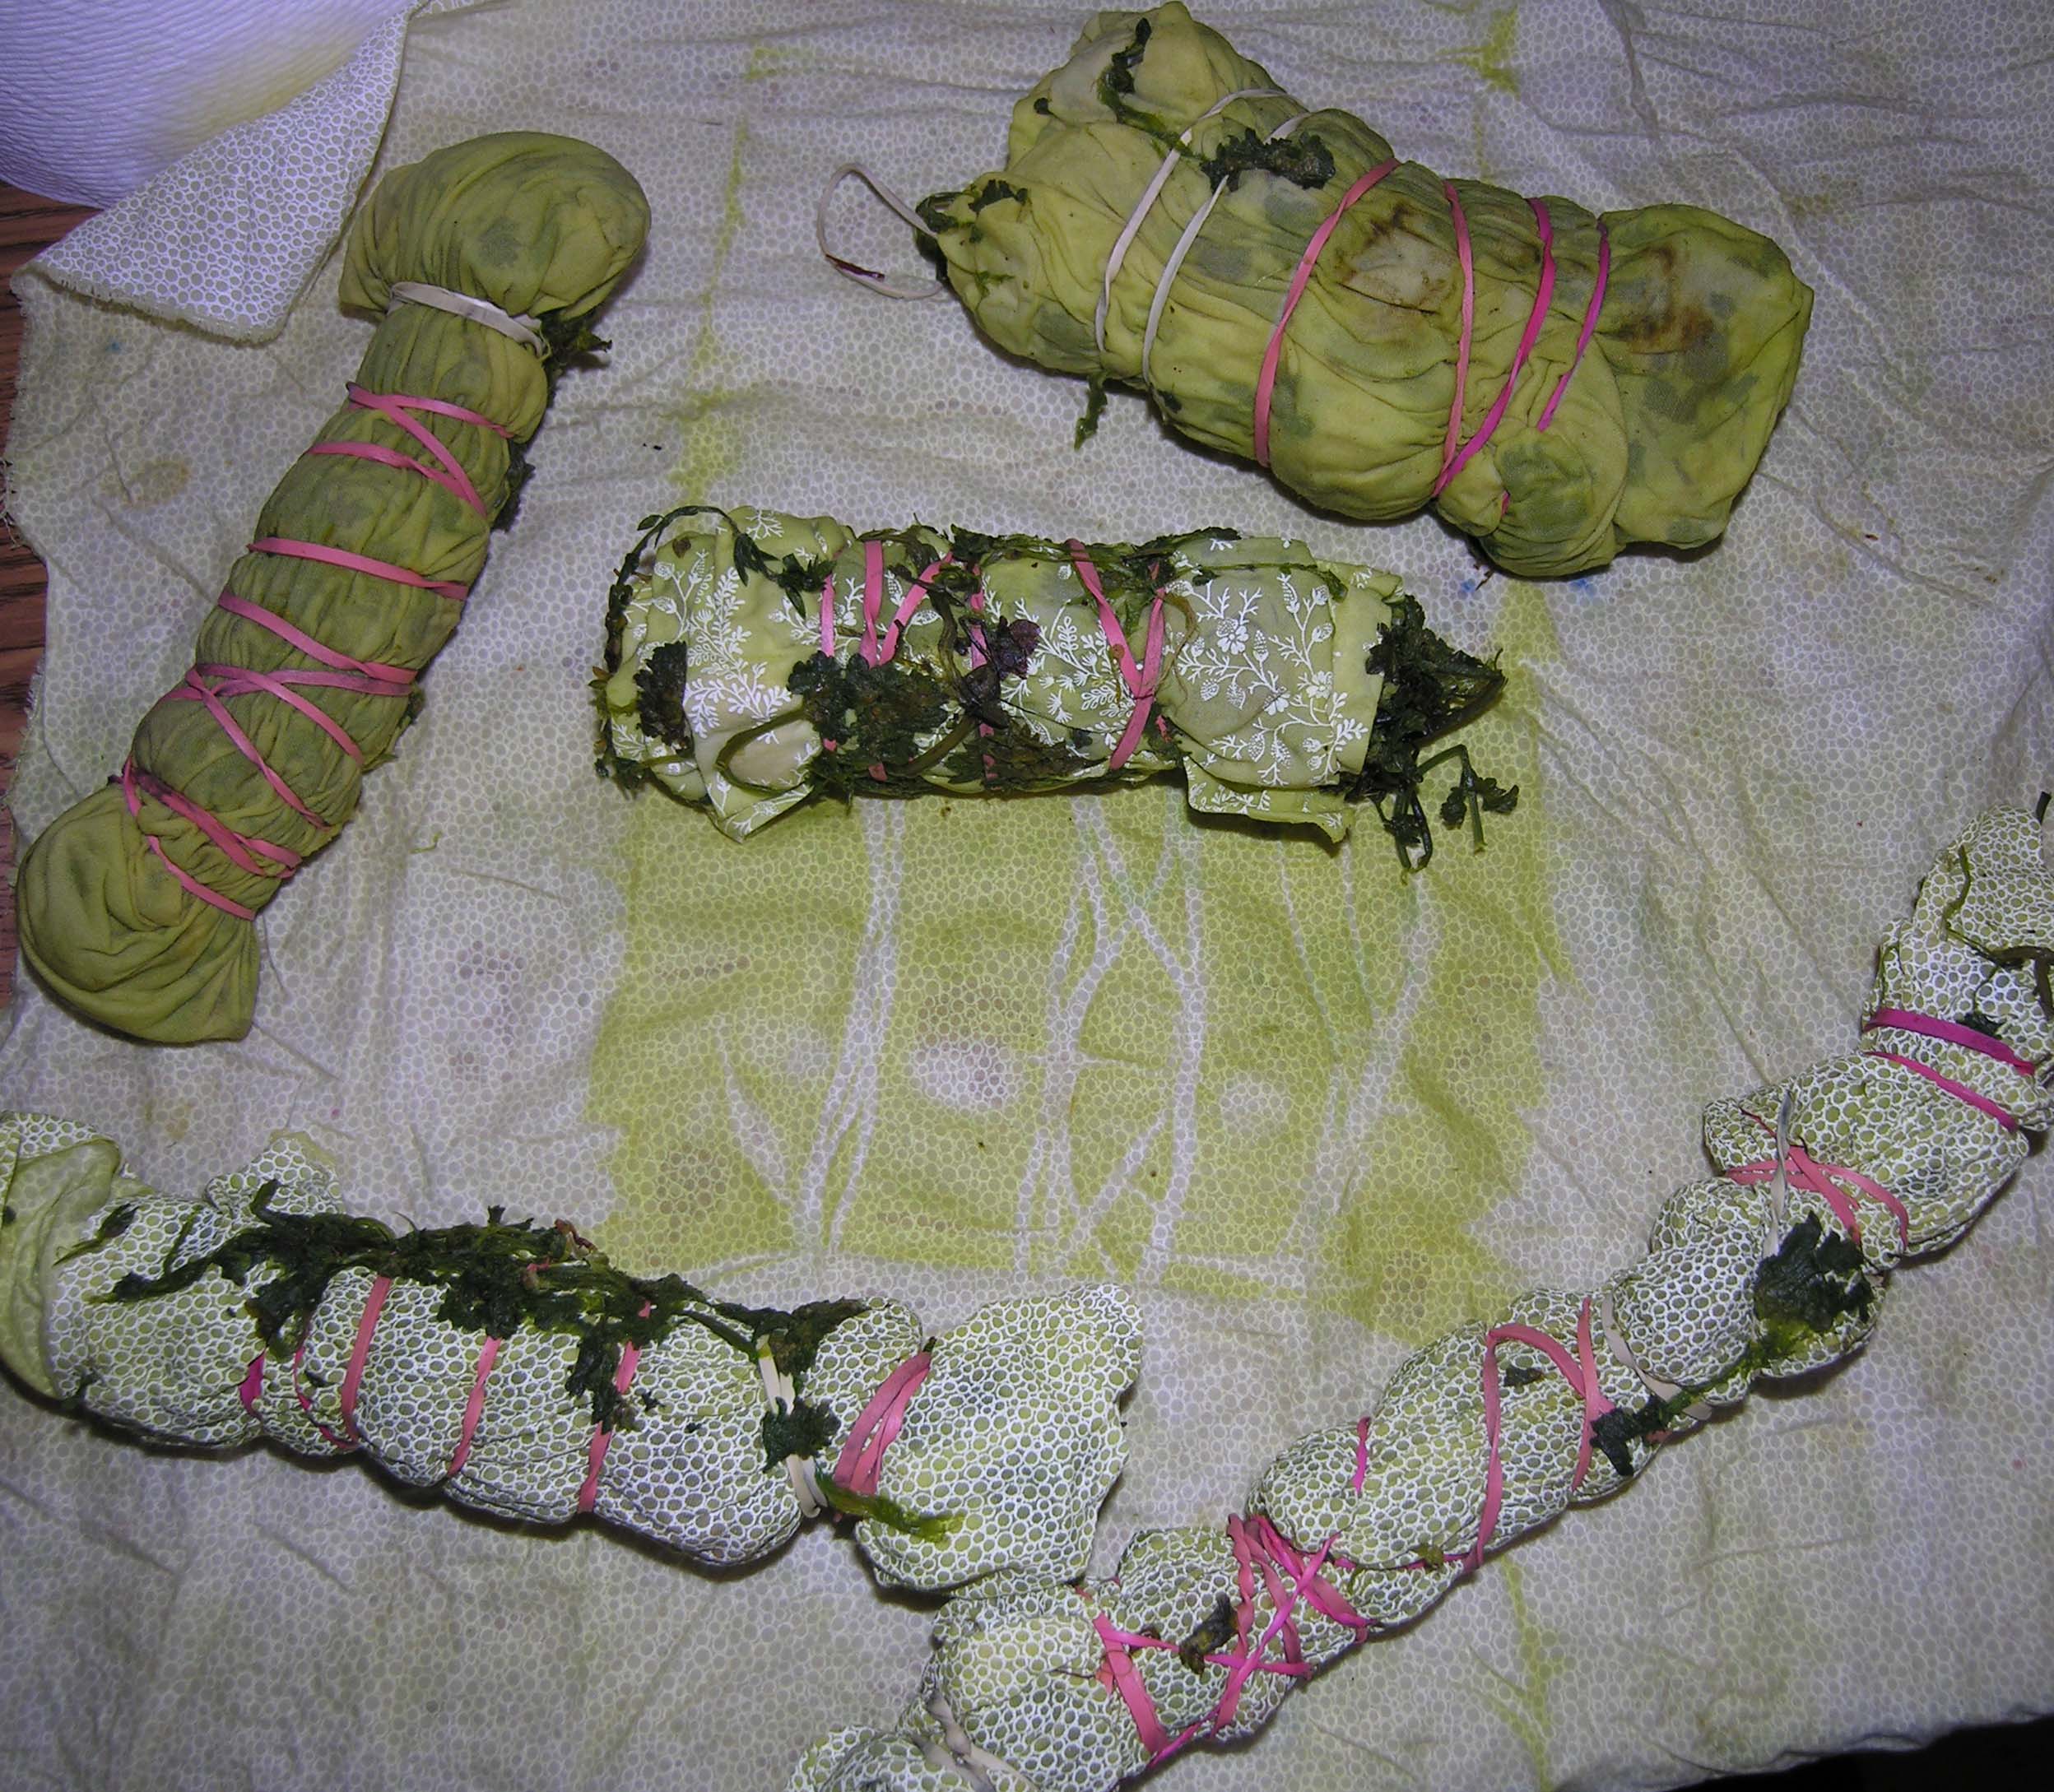
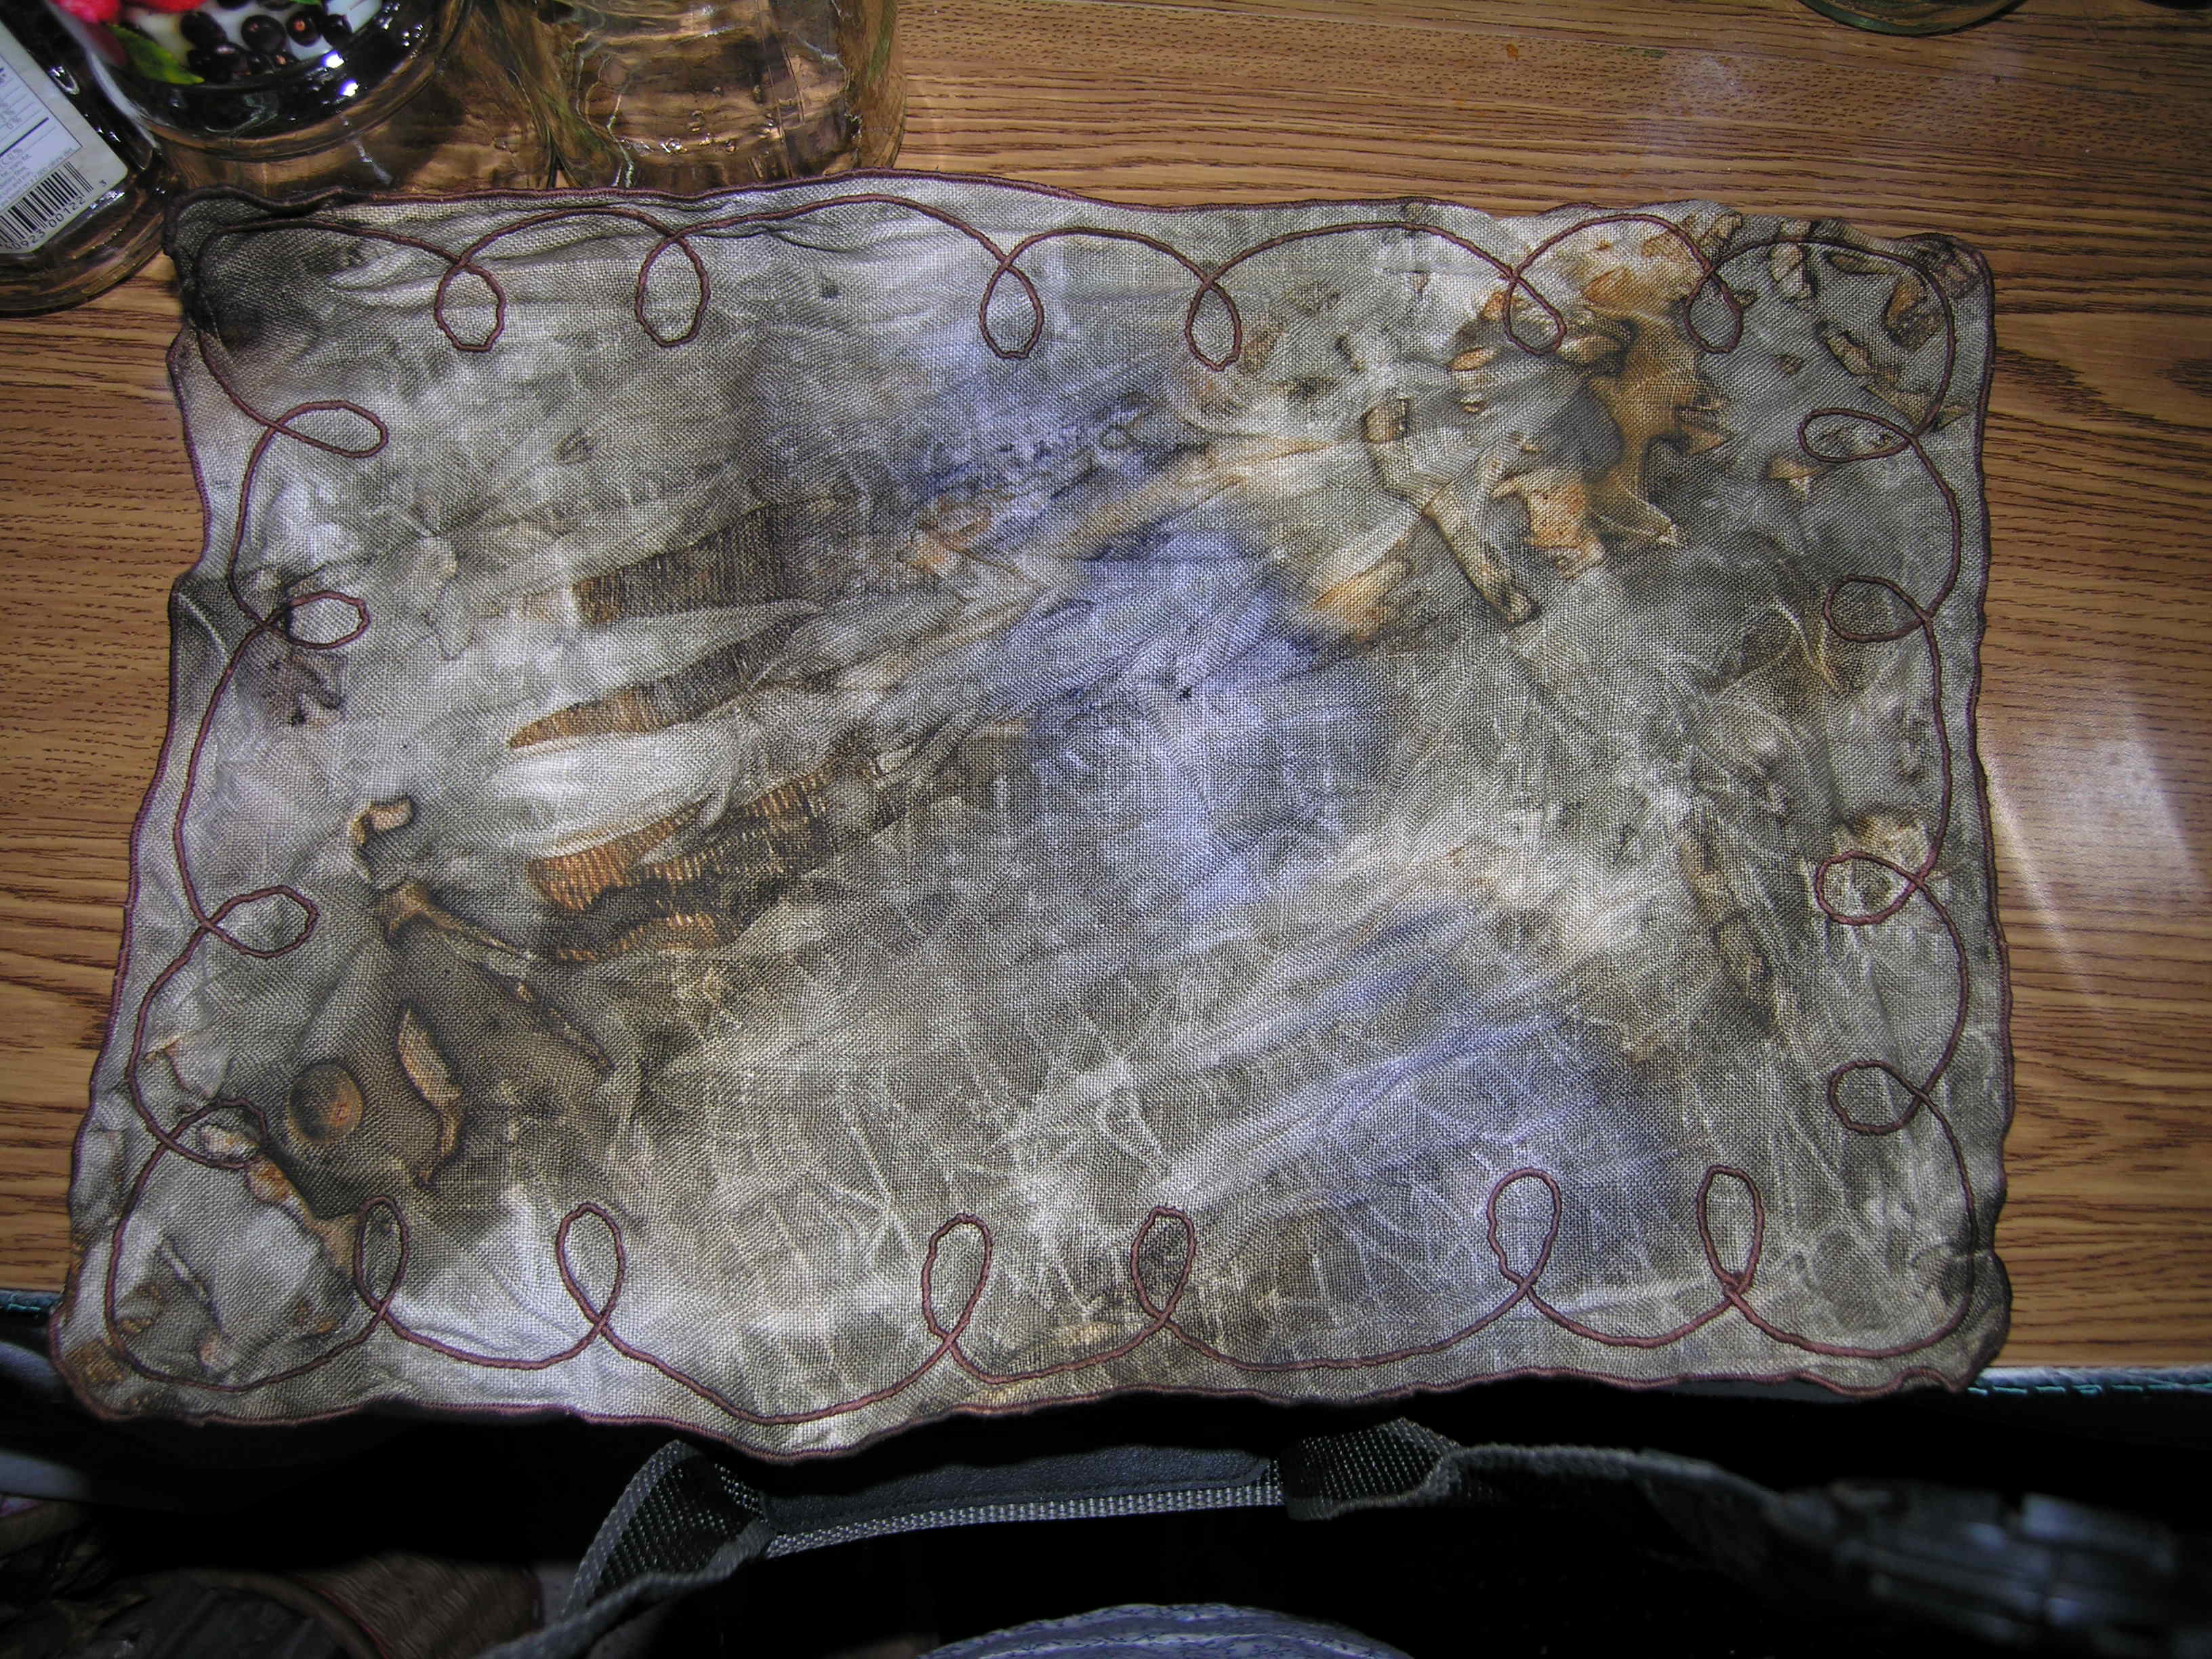
We will pick persimmons again in a week or so, right before they start to turn color and see if that pick makes a difference. In the meantime, I have some experimenting to do with painting on the juice with and without mordants to see what comes out.  I also haven’t tried stitching through this yet so more experimenting.

persimmon dip3

Arkansas Astringent Persimmon Dye

I discovered the information on using persimmon for dyeing over the winter last year. From my reading they need to be the astringent kind, not the sweet ones in the market…the ones that taste like straight alum and send your face into a pucker that lasts into next week. Yep…that’s the kind we have. I have waited patiently for the wild persimmon tree to set fruit. About a week and a half ago Ron and I picked a bucket full of green persimmons, this is when they have the most tannin in them.

They can be used as a tannin mordant and pre-mordant or with successive dips they give wonderful shades of burnt orange. The more dips and the longer it cures in the sun, the darker the color. Or that’s what we have read so we are experimenting.

This is the photo of  some of the persimmons after soaking in a bucket for over a week. The water looks like Lake Okeechobee in Florida full of tannin.

persimmon soak 1week

I used my Cuisinart Food Processor to grind these up. The Japanese textile blog I saw this on grates them to use them unfermented.

After soaking again overnight they more than doubled in volume. This pan was full to the top!

ground persimmon

According to the information I’ve found on this, the cloth must be exposed to the sun and heat. Well, its pretty hot in Arkansas today so I had to try some cloth in the green goo. I used a piece of white handkerchief linen and a piece of white  rayon. Scoured, of course. The pink spiderweb shibori was a piece Ron did  at Arrowmont and was dyed in a madder exhaust. I soaked them in water first, then lay them on the top of the pot, not caring if some of the ground persimmon got on them.  I was shocked at how much color from a single dip and you can see the backside hasn’t been in the sun as long. I can’t wait to dip these again tomorrow . We are expecting 100 degrees so they should do well in the sun.

persimmon dye dip1 persimmon overdye1

Deadnettle Day 2 Dyeing – Pickle Juice!

deadnettle day2a  copy

Above are the bundles from soaking overnight in the dye pot. Ron unwrapped one that was a white on white print. Because the print is vinyl, it never takes dye. You can see the top two are on plain muslin and took the dye well.  The next step was to add iron mordant to the pot and add some of these back in. Amazing color shift. It even made some of the imprints from the plants stand out that you can see in the fabric on the right.

We left 2 bundled fabrics in the pot and will take them out tomorrow. Oh, it doesn’t smell like mint in the dye room. It smells distinctly like dill pickles!  Which is really what the color of green looks like…pickle juice!

deadnettle day 2b copy

Deadnettle Dye Pot


Do you have this weed in your yard or in a field near you?  It is Deadnettle, Lamium Purpureum for the purists, and winter weed for the layman. It is a member of the mint family.

Deadnettle - Lamium Purpureum
Deadnettle – Lamium Purpureum

Using Sasha Duerr’s book “The Handbook of Natural Plant Dyes” I sort of followed the directions for dyeing with mint.  I say sort of because Ron and I used a bundling technique as an experiment rather than just making a dye pot. We  put the bundles into a stainless steel pot and simmered for 40 minutes with washing soda and alum in the water. Tomorrow we will see what it looks like after the water cools. We are hoping for a medium mint green color. If they are, some of the pieces will then be put with an iron mordant to see if we get a deeper green.  By the way, this is cotton fabric that was scoured and then wetted before bundling. We used a 1/1 concentration of plant to WOF [weight of fabric].

Wrapping the bundles
Ready for the pot
Ready for the pot

My Partner in Crime is Dyeing

Ron expressed an interest in learning some bundling and dyeing techniques. I’m a novice and everything is experimenting so I have no objection to him coming along for the ride. I asked this morning what he was going to do with the fabric he dyes and he said he didn’t know what I was going to do with it, he is just going to dye it!

I thought you would like to see his first dyeing experiments. After he bundled some rose petals and rose leaves in silk and linen he rolled them up and tied them. The long skinny one he did when I was out of the room and he didn’t add any vegetation before he rolled it around a rusty spike. They were cooked in a vinegar and yellow onion skin bath. Some pretty good results! Oh yes,  he left the bundles to sit for 3 whole days before unrolling them. The man has infinite patience that I don’t have.

DSCN0023 DSCN0024 DSCN0025 DSCN9826