More awesome tree bones from the White River State Park in Arkansas.


More awesome tree bones from the White River State Park in Arkansas.
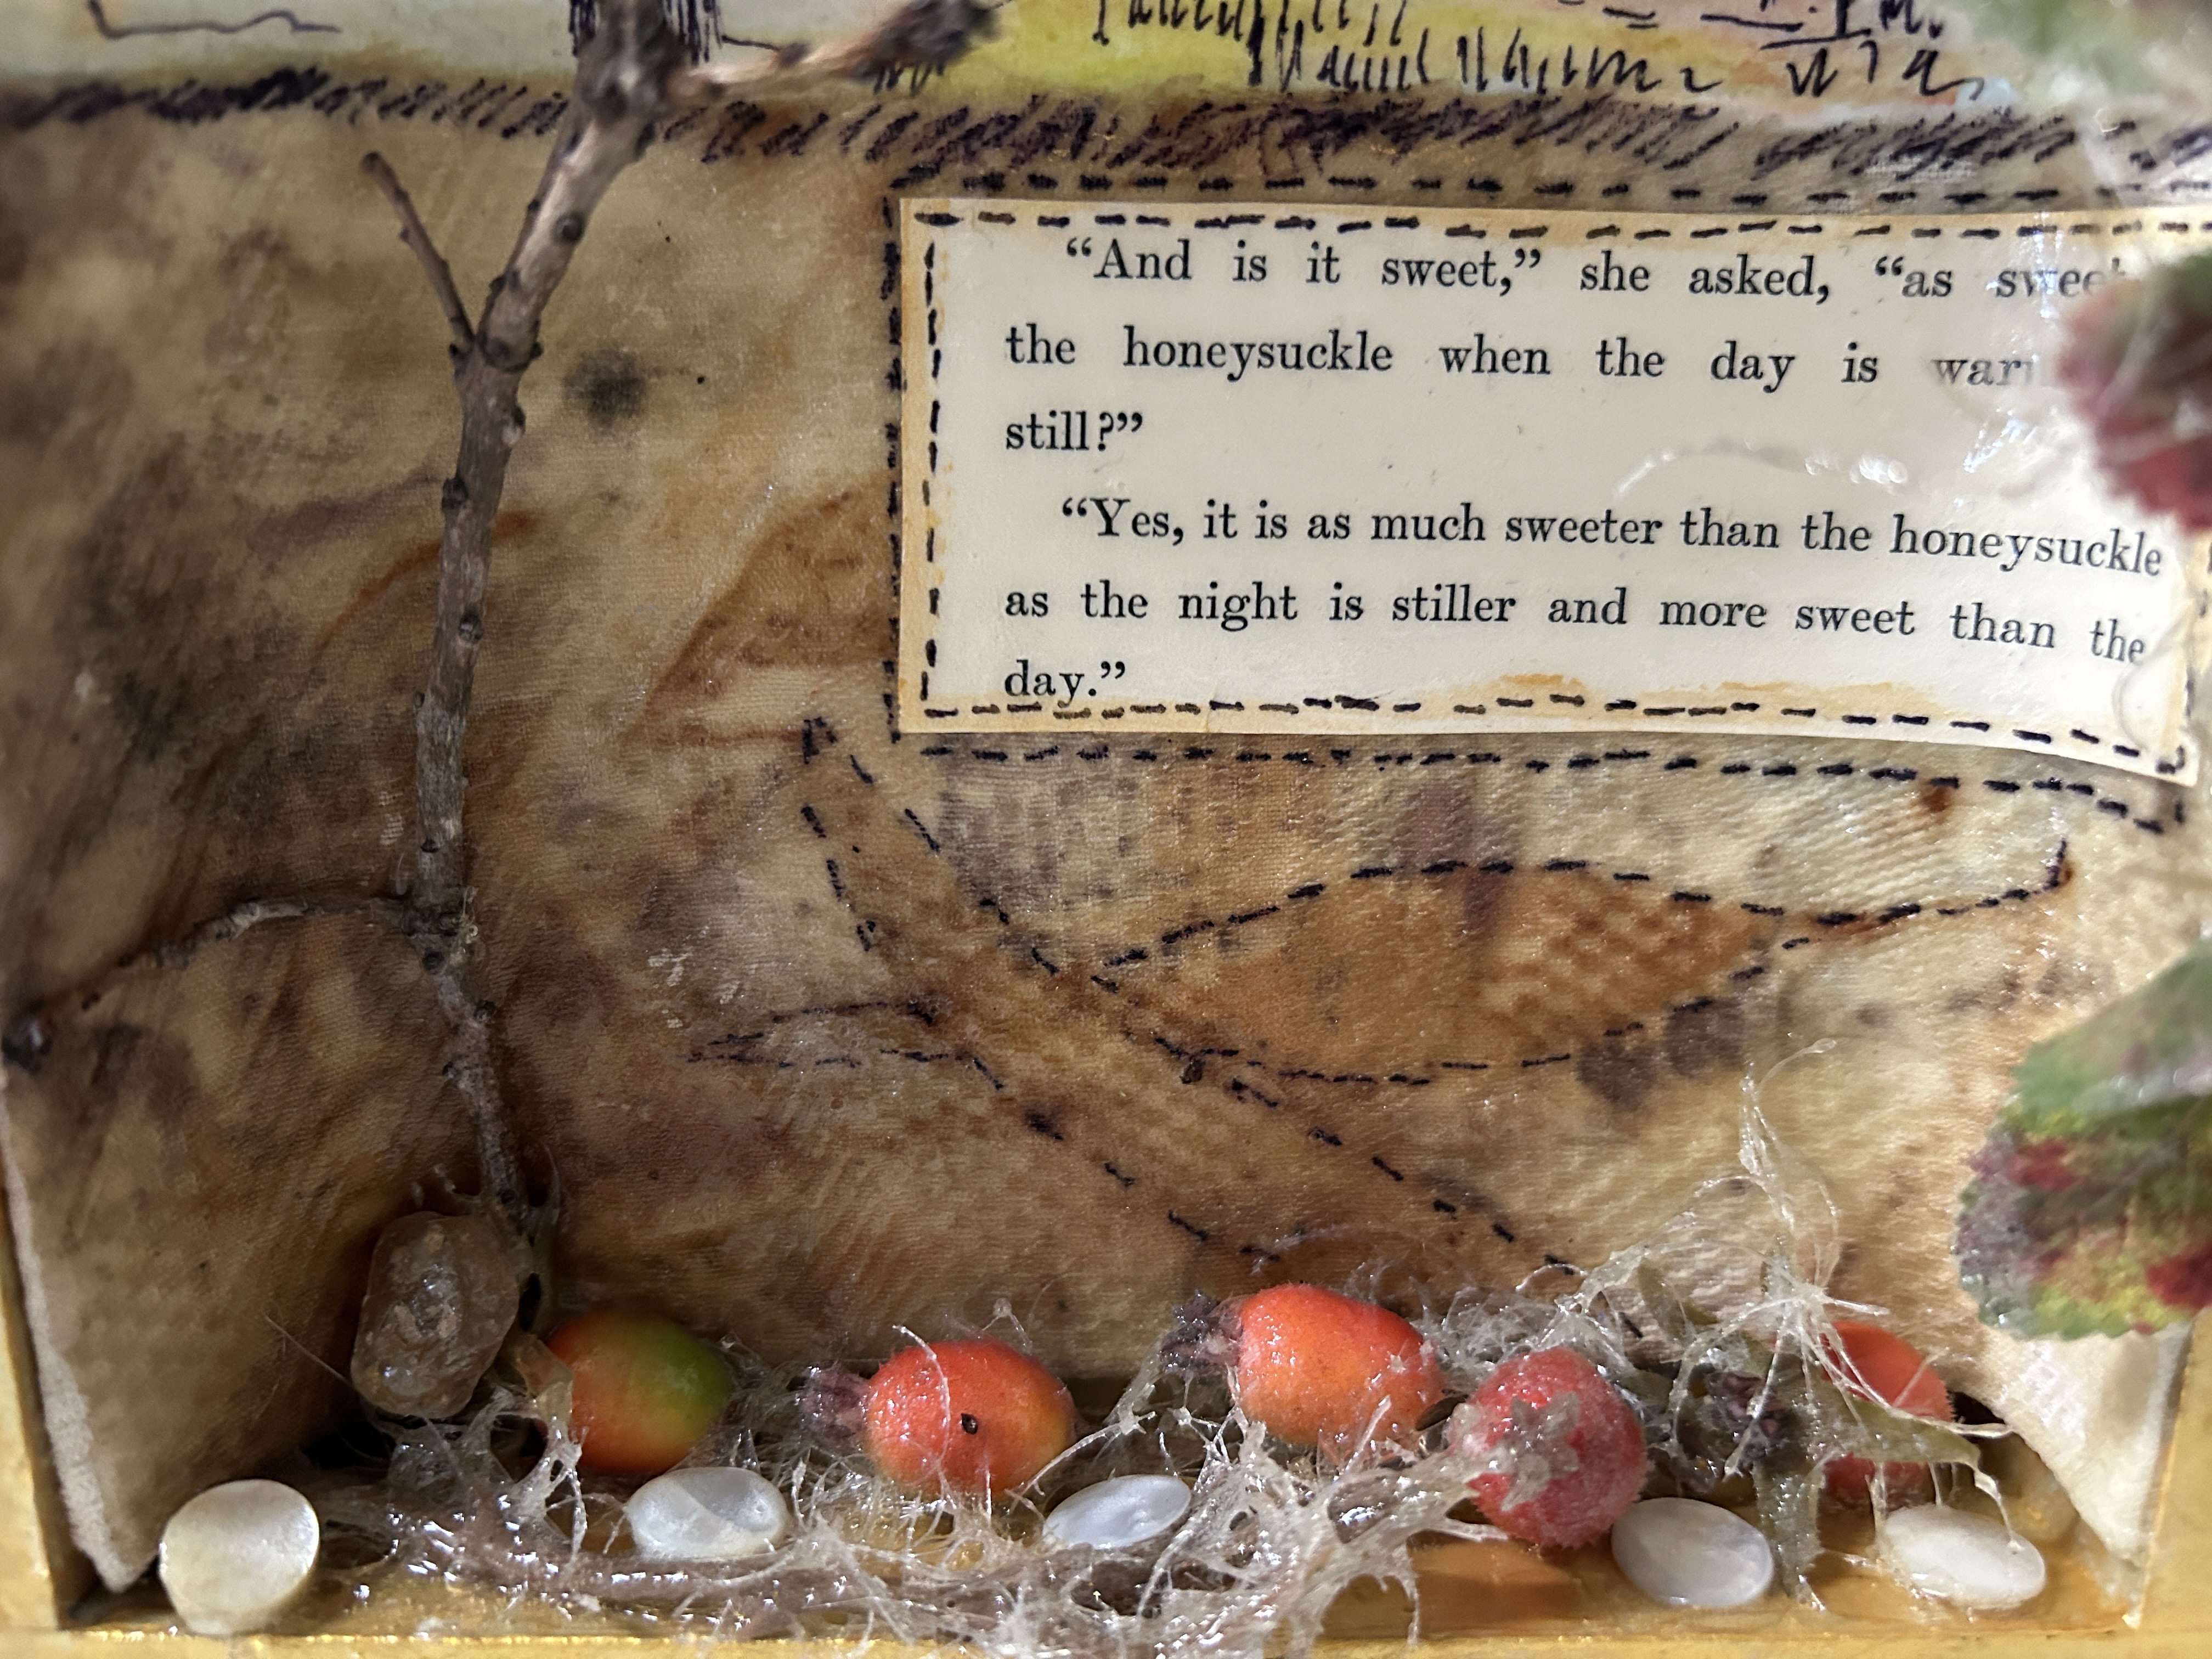
Sticks and stones and words that will never hurt you. Working on more of my little assemblages using little boxes. Watercolor and eco printed cloth with passages from antique books. 6 inches square will be for sale in my Etsy shop soon.


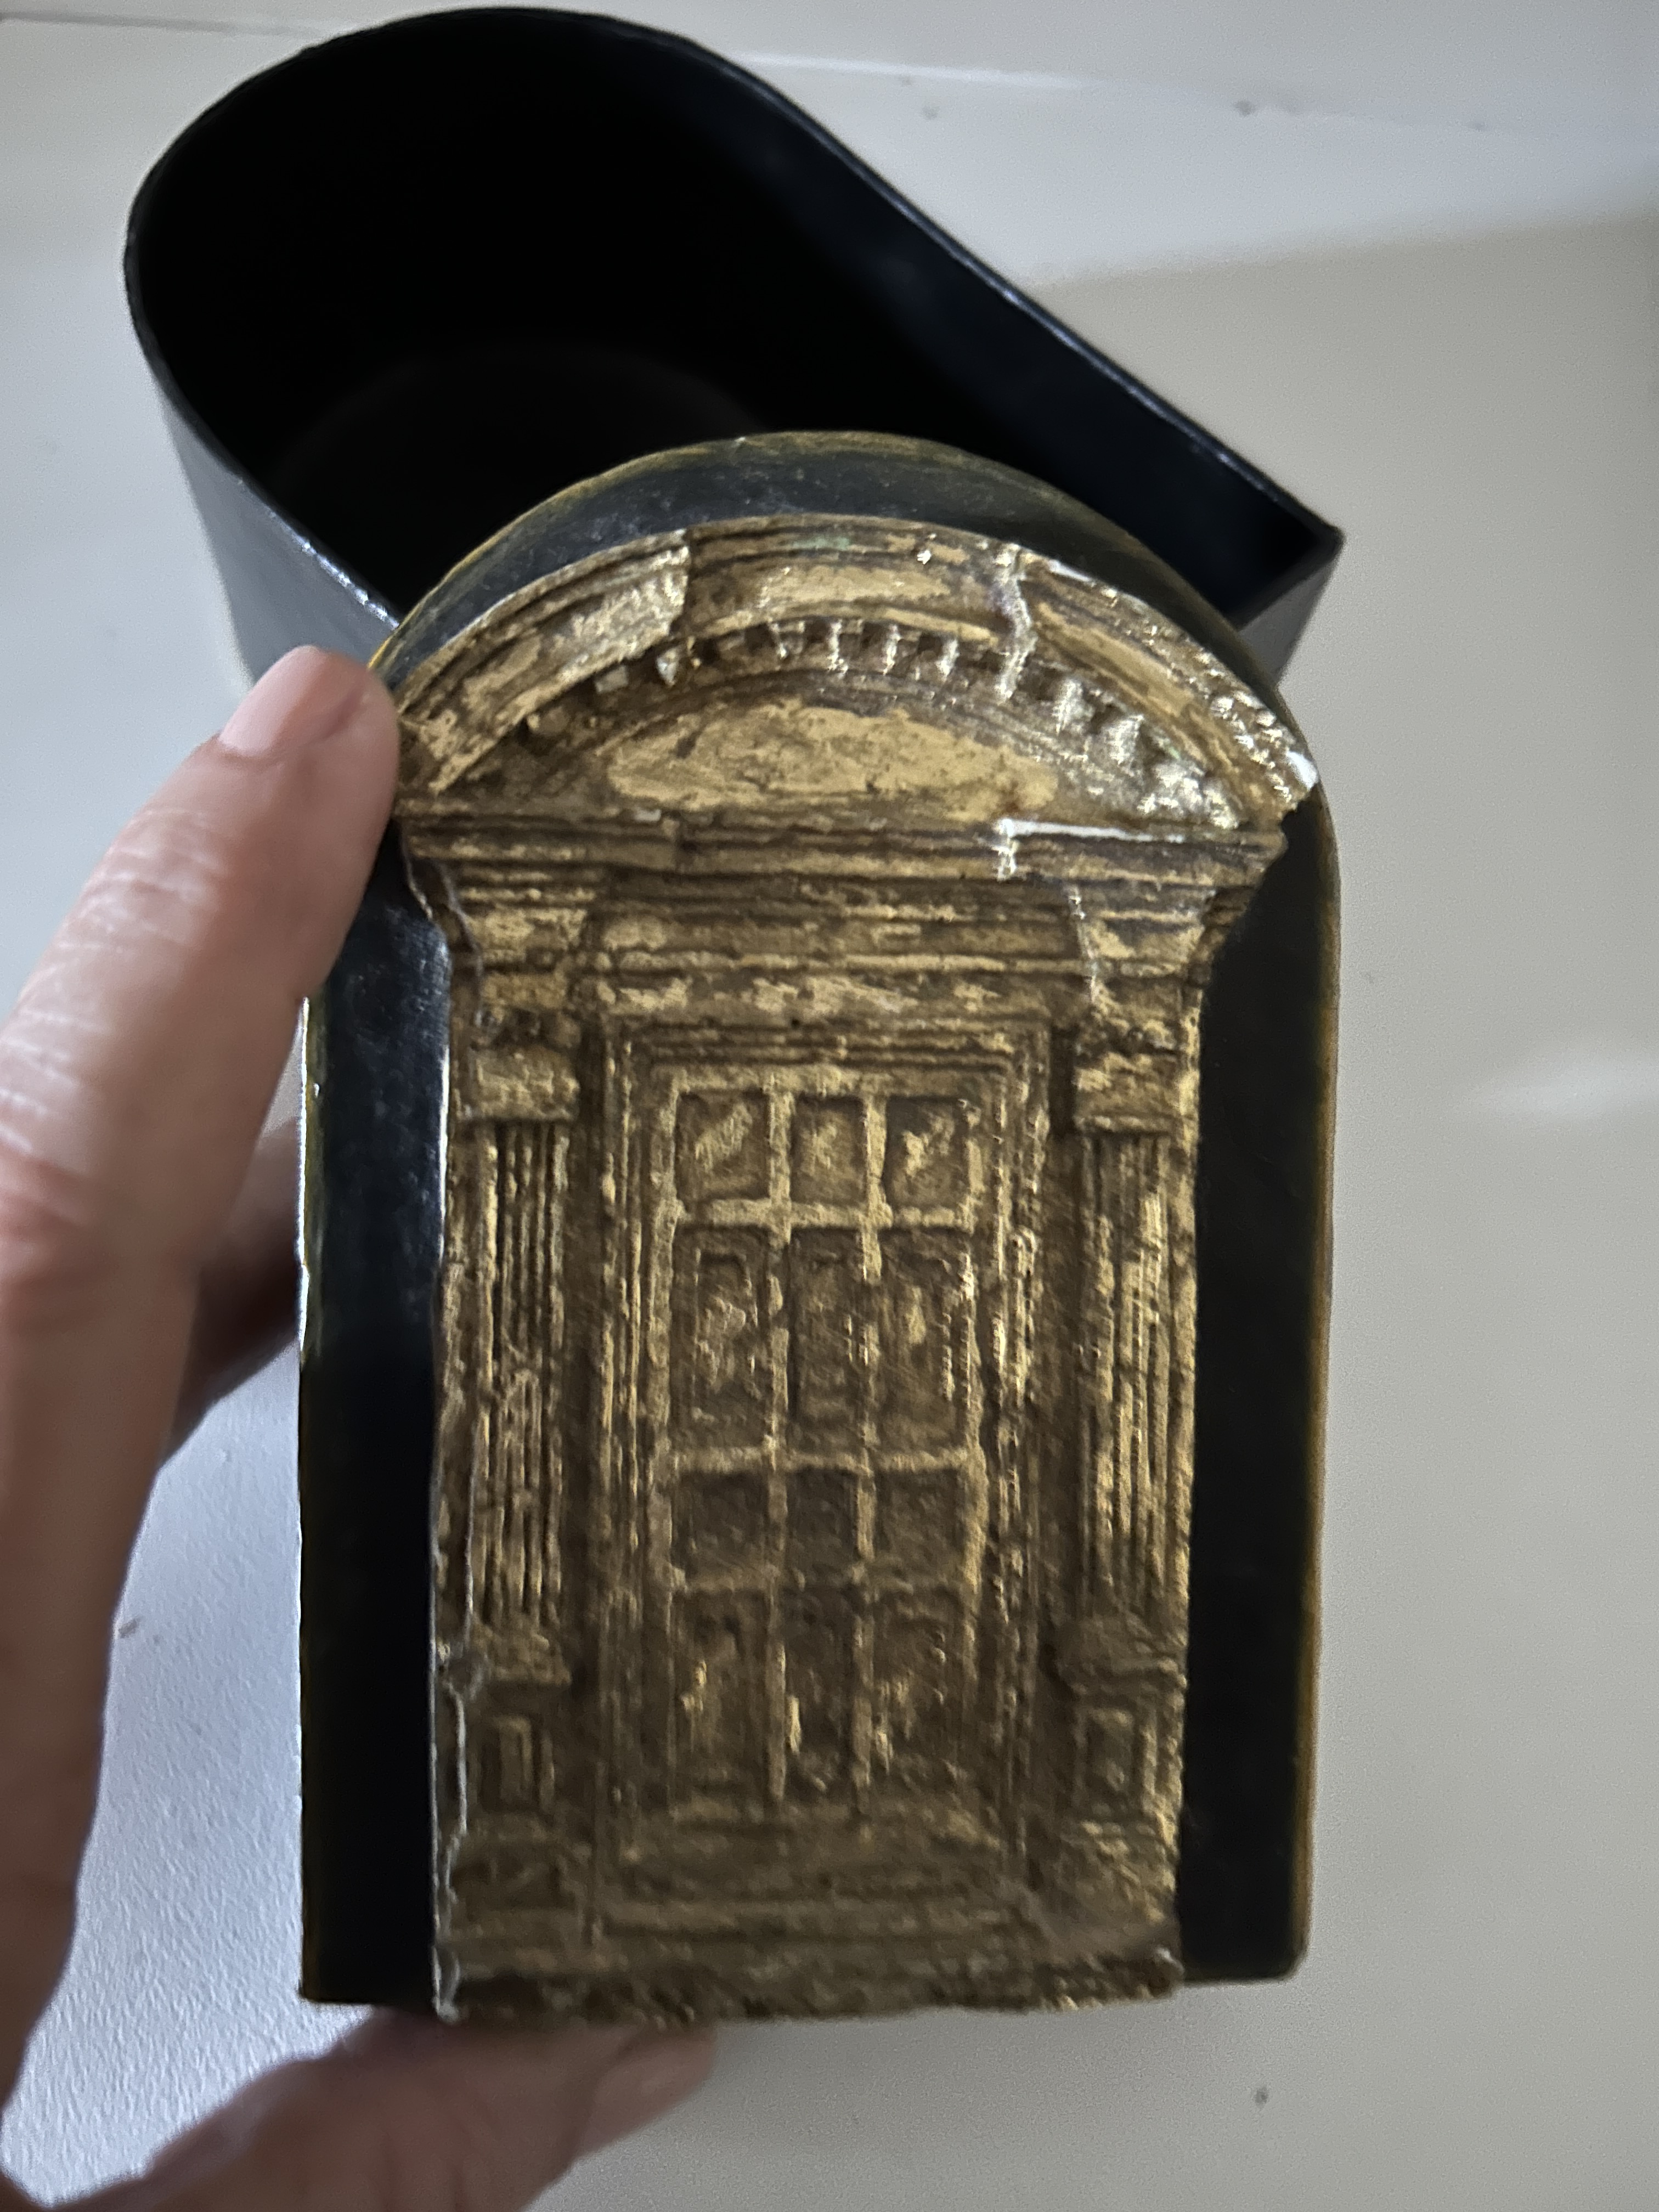
I love how an assemblage artwork can be inspired by a single item. I found this box yesterday at a thrift. It screams ‘what if’. We will all just have to wait and see the answer.

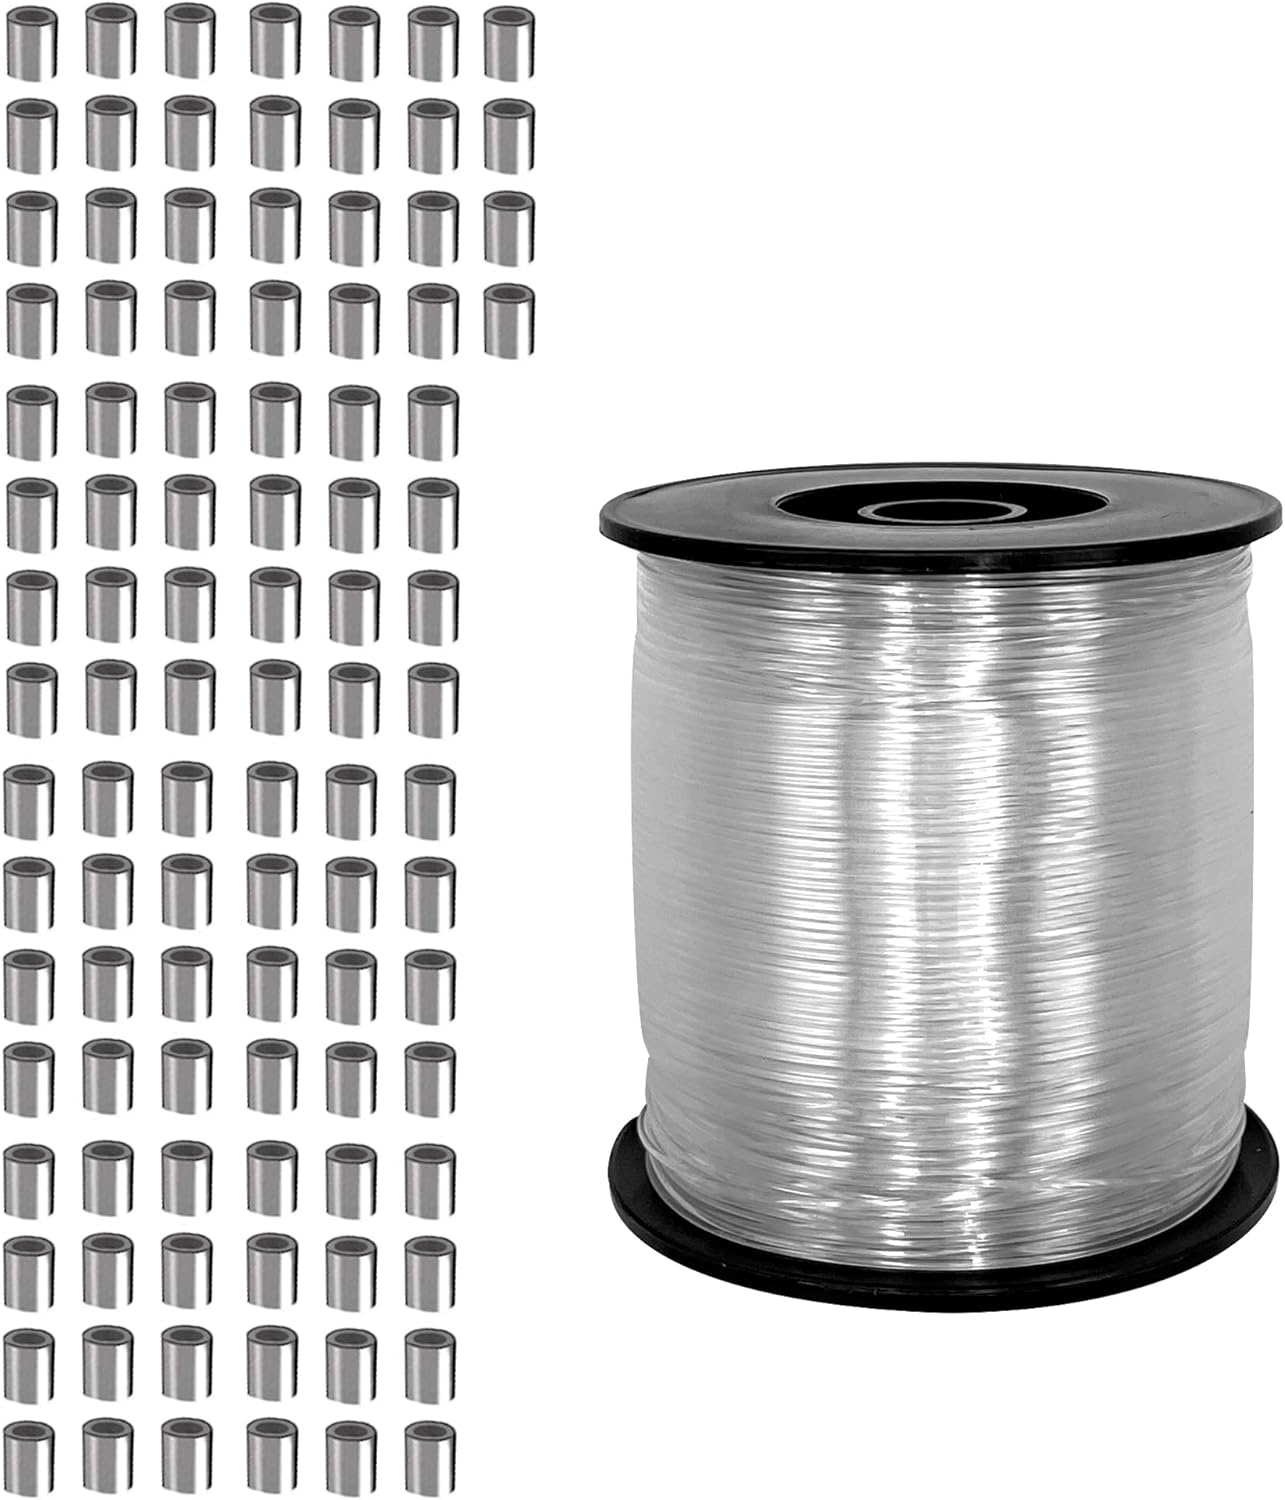
As promised here is a pictorial on how to make a DIY hanging system for your studio wall. See the previous post for the parts that I purchased on Amazon. My cost was exactly $40 plus tax. Since I am a Prime member there was no shipping. The only other cost I had was for the molding at the top of the wall for the picture rail. An 8 ft piece at the box lumber store was $10. I am going to extend this a few more feet so whatever length you want for your wall will determine your cost for the molding.
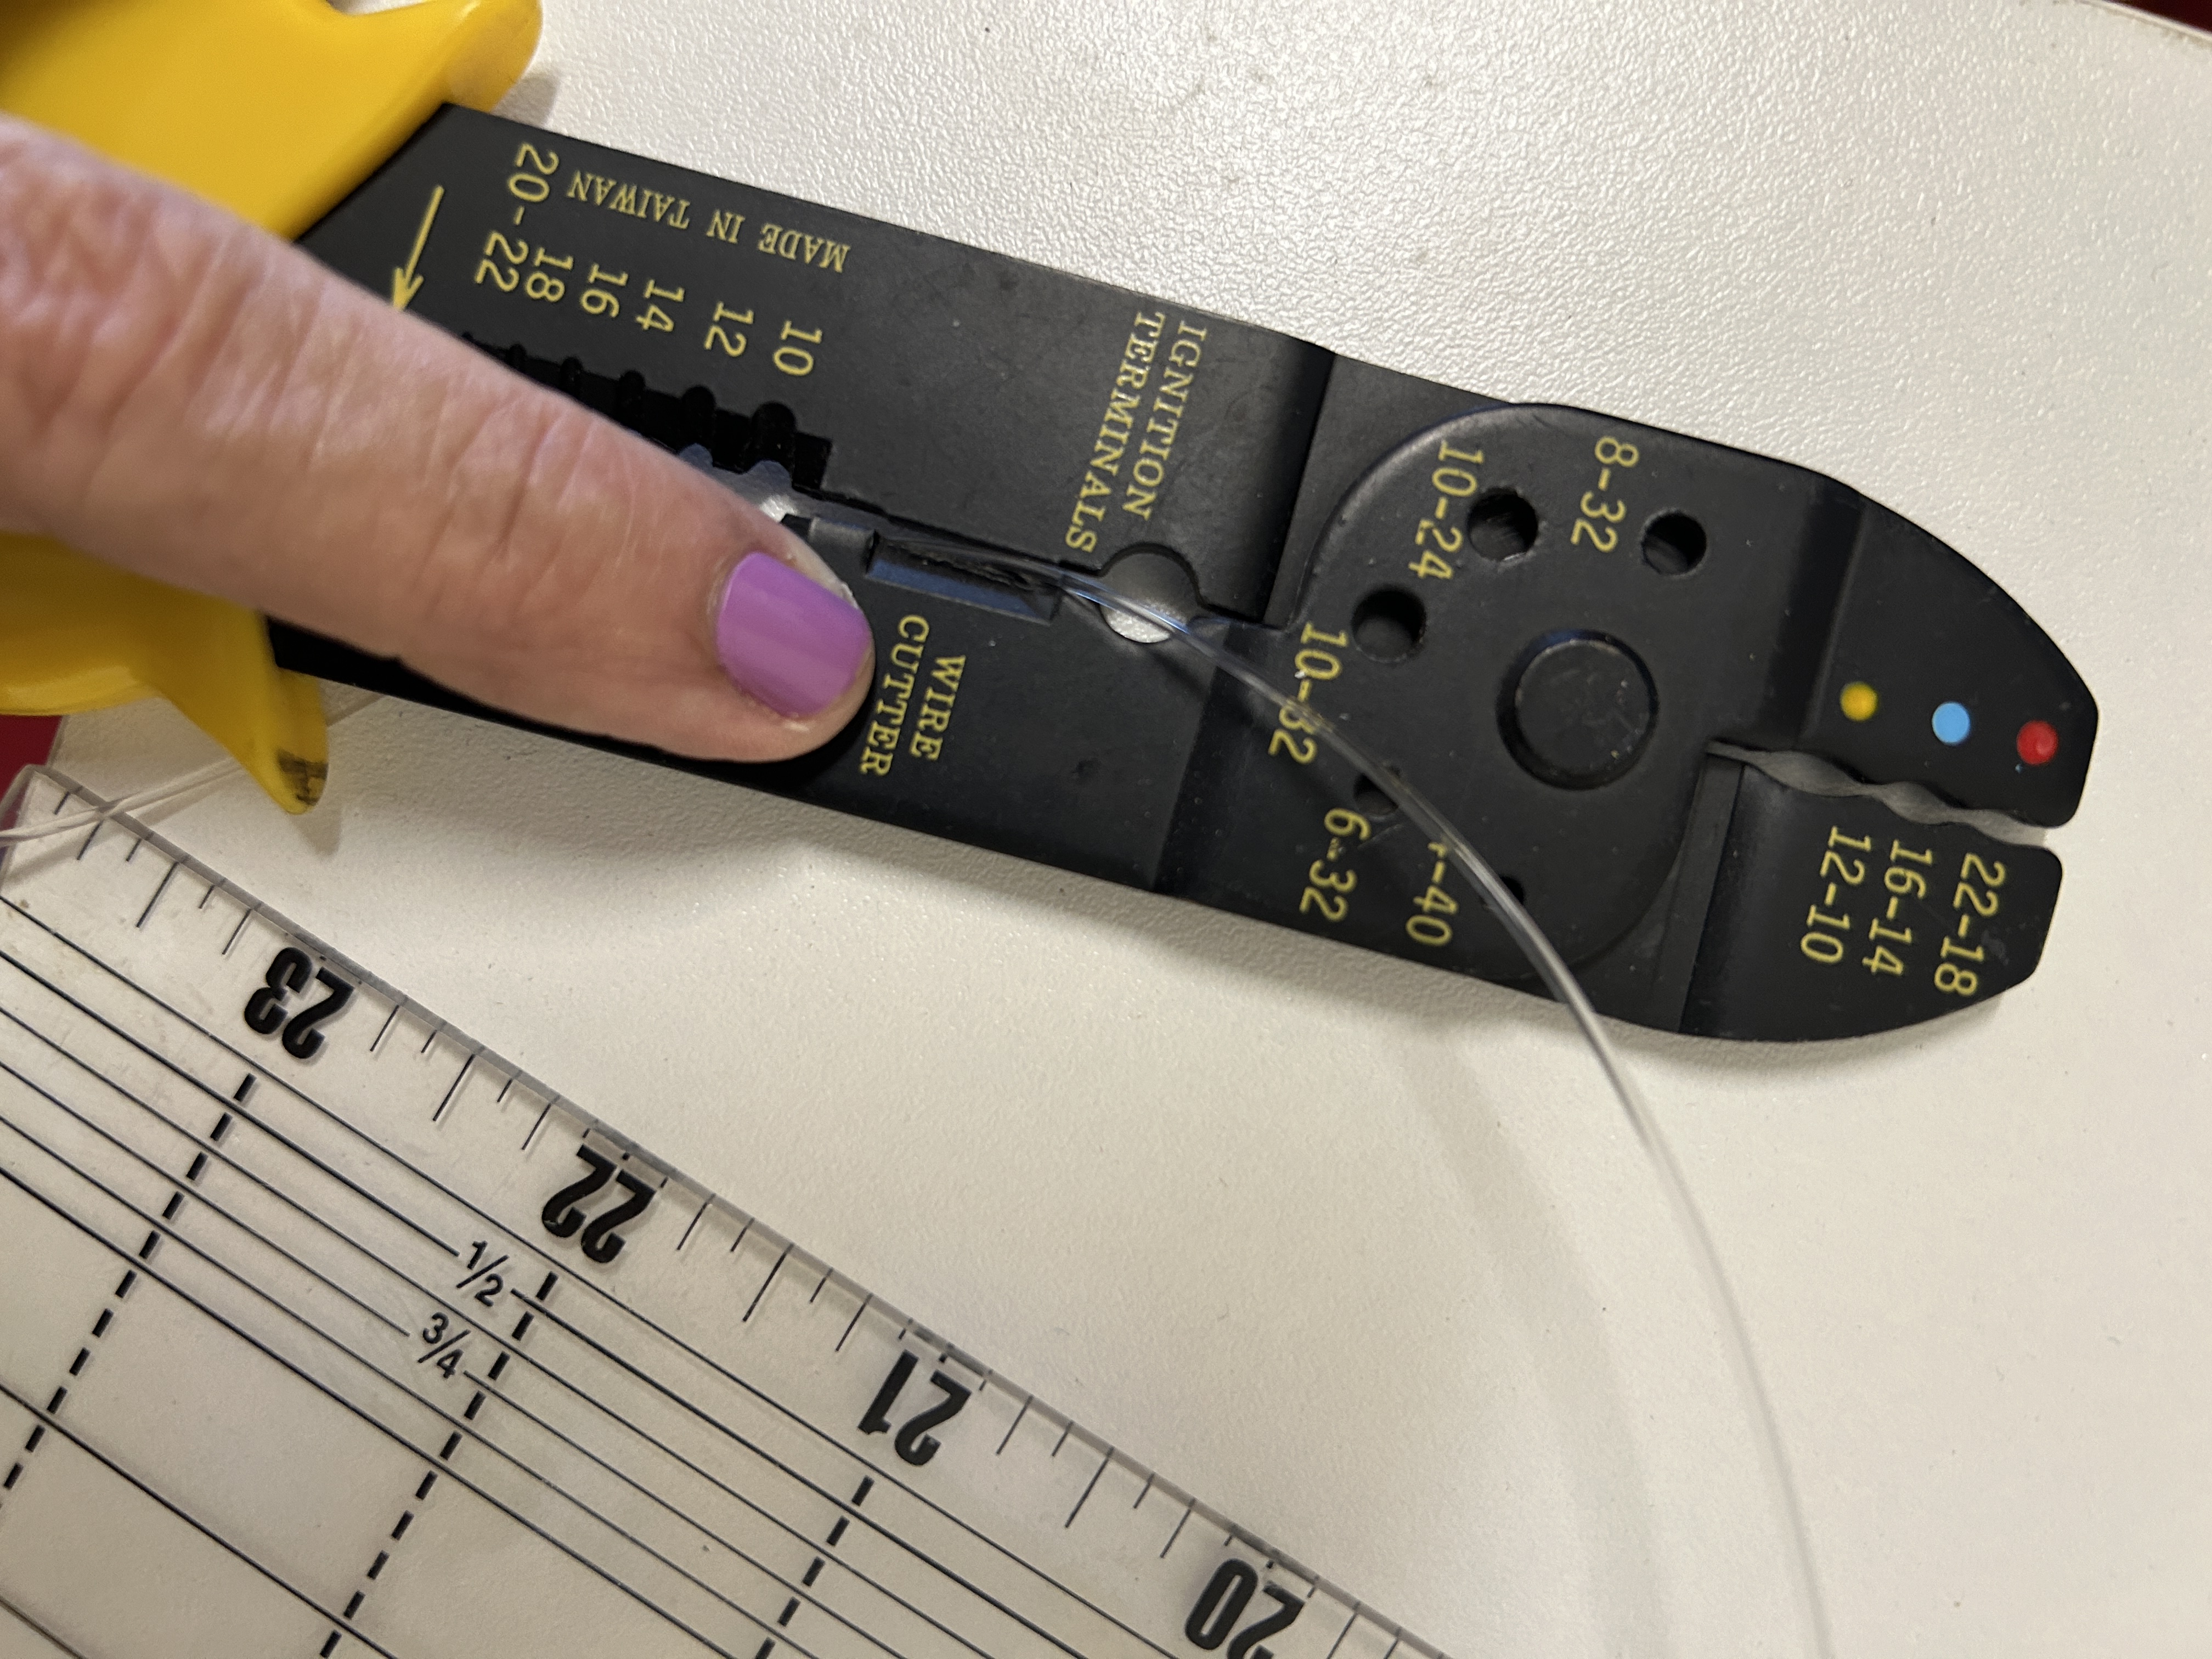
The first thing I had to do was measure how long I wanted the wires to be, then allow for a couple inches fold over to make the loop to go over the top hanging hook. I made a removable mark on my table so the wires would be close to the same length. This wire cutter and stripper is a necessary tool. It easily cuts the wire and the top crimps the ferrule (crimping sleeve) after making the loop in the wire. I think the next pictures will explain that.
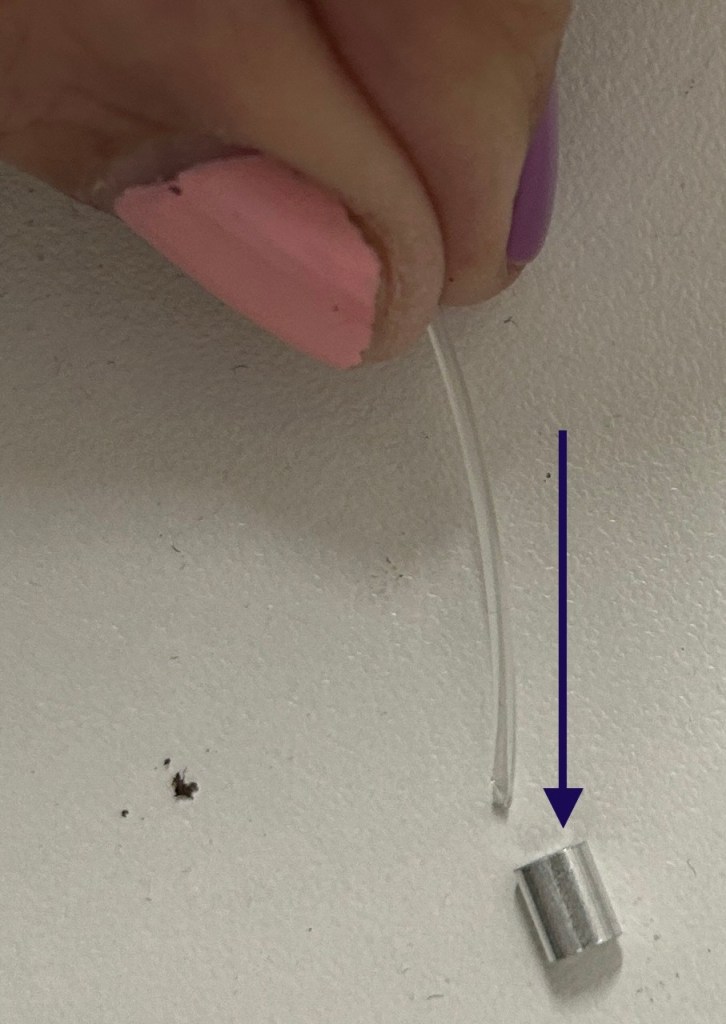
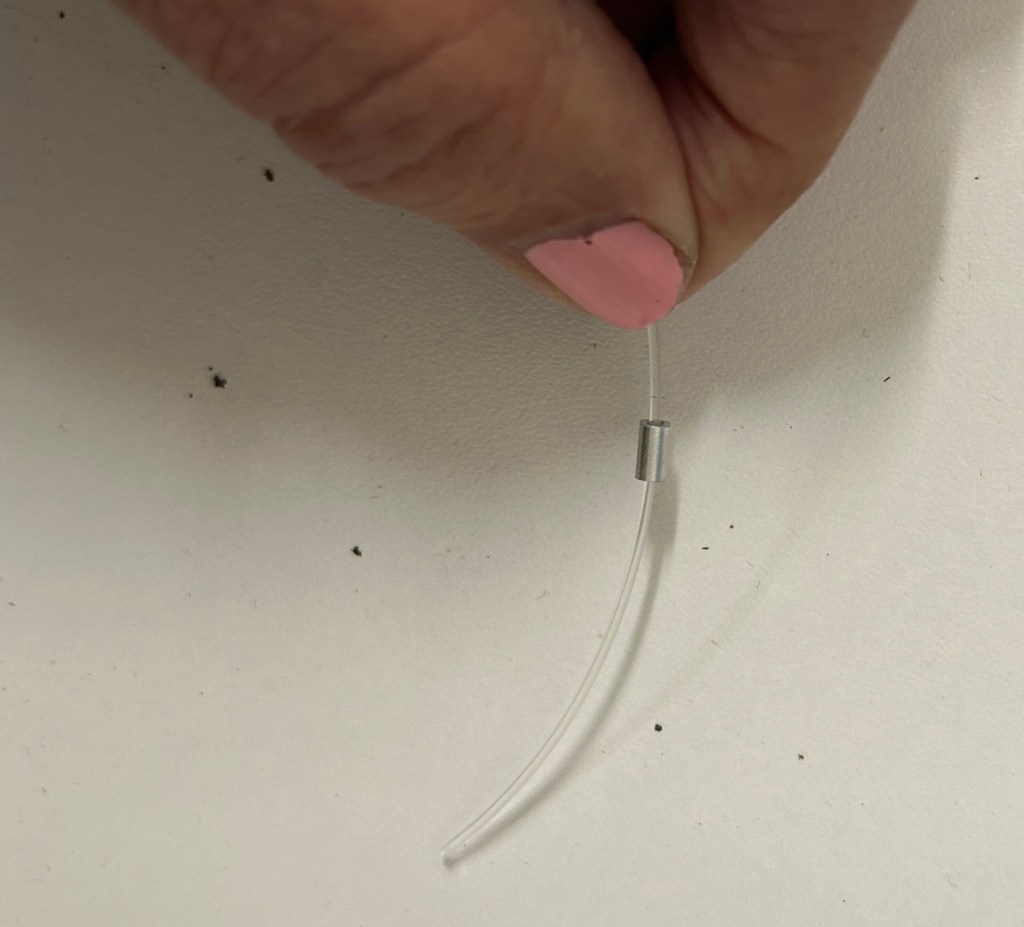
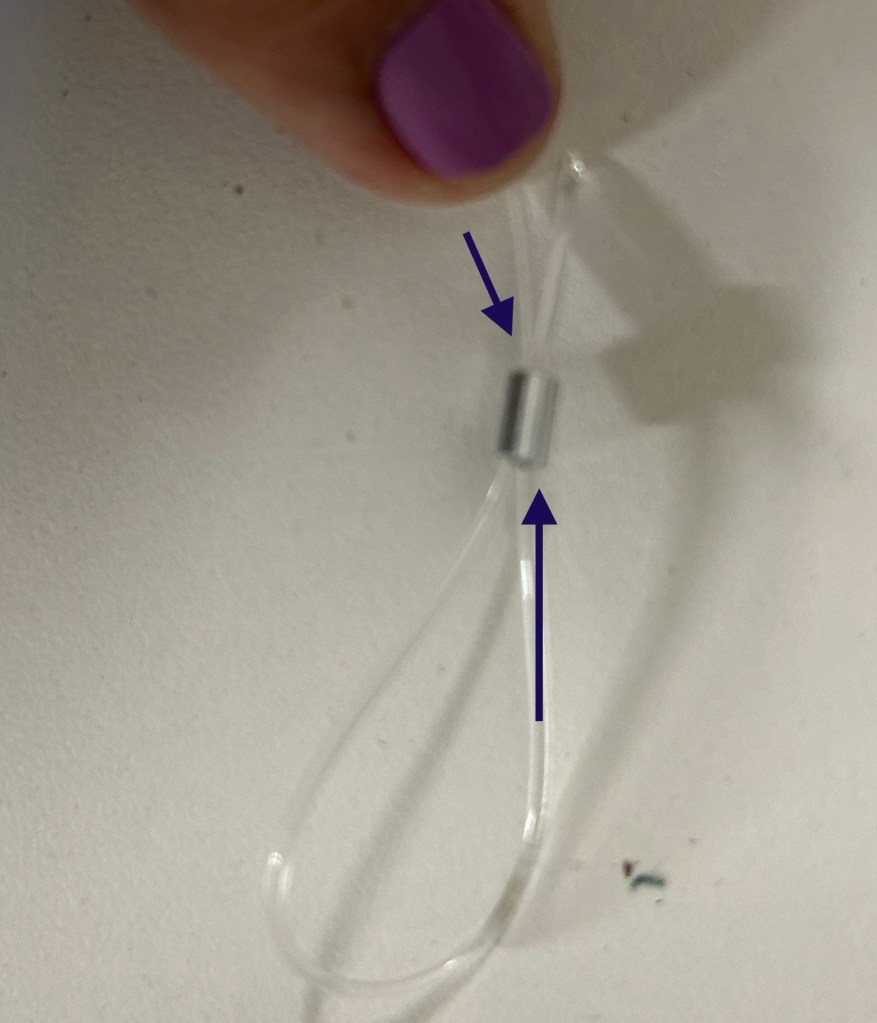
After cutting all my wires it was time to get them ready for the picture rail hanging hook. Take the wire and poke it through theferule, then double it back on itself to form a loop and putting the end back through the ferule. Make sure your loop will fit over the hanging hook. Then using your wire tool, squeeze the ferule. Pull on it to make certain it is tight.


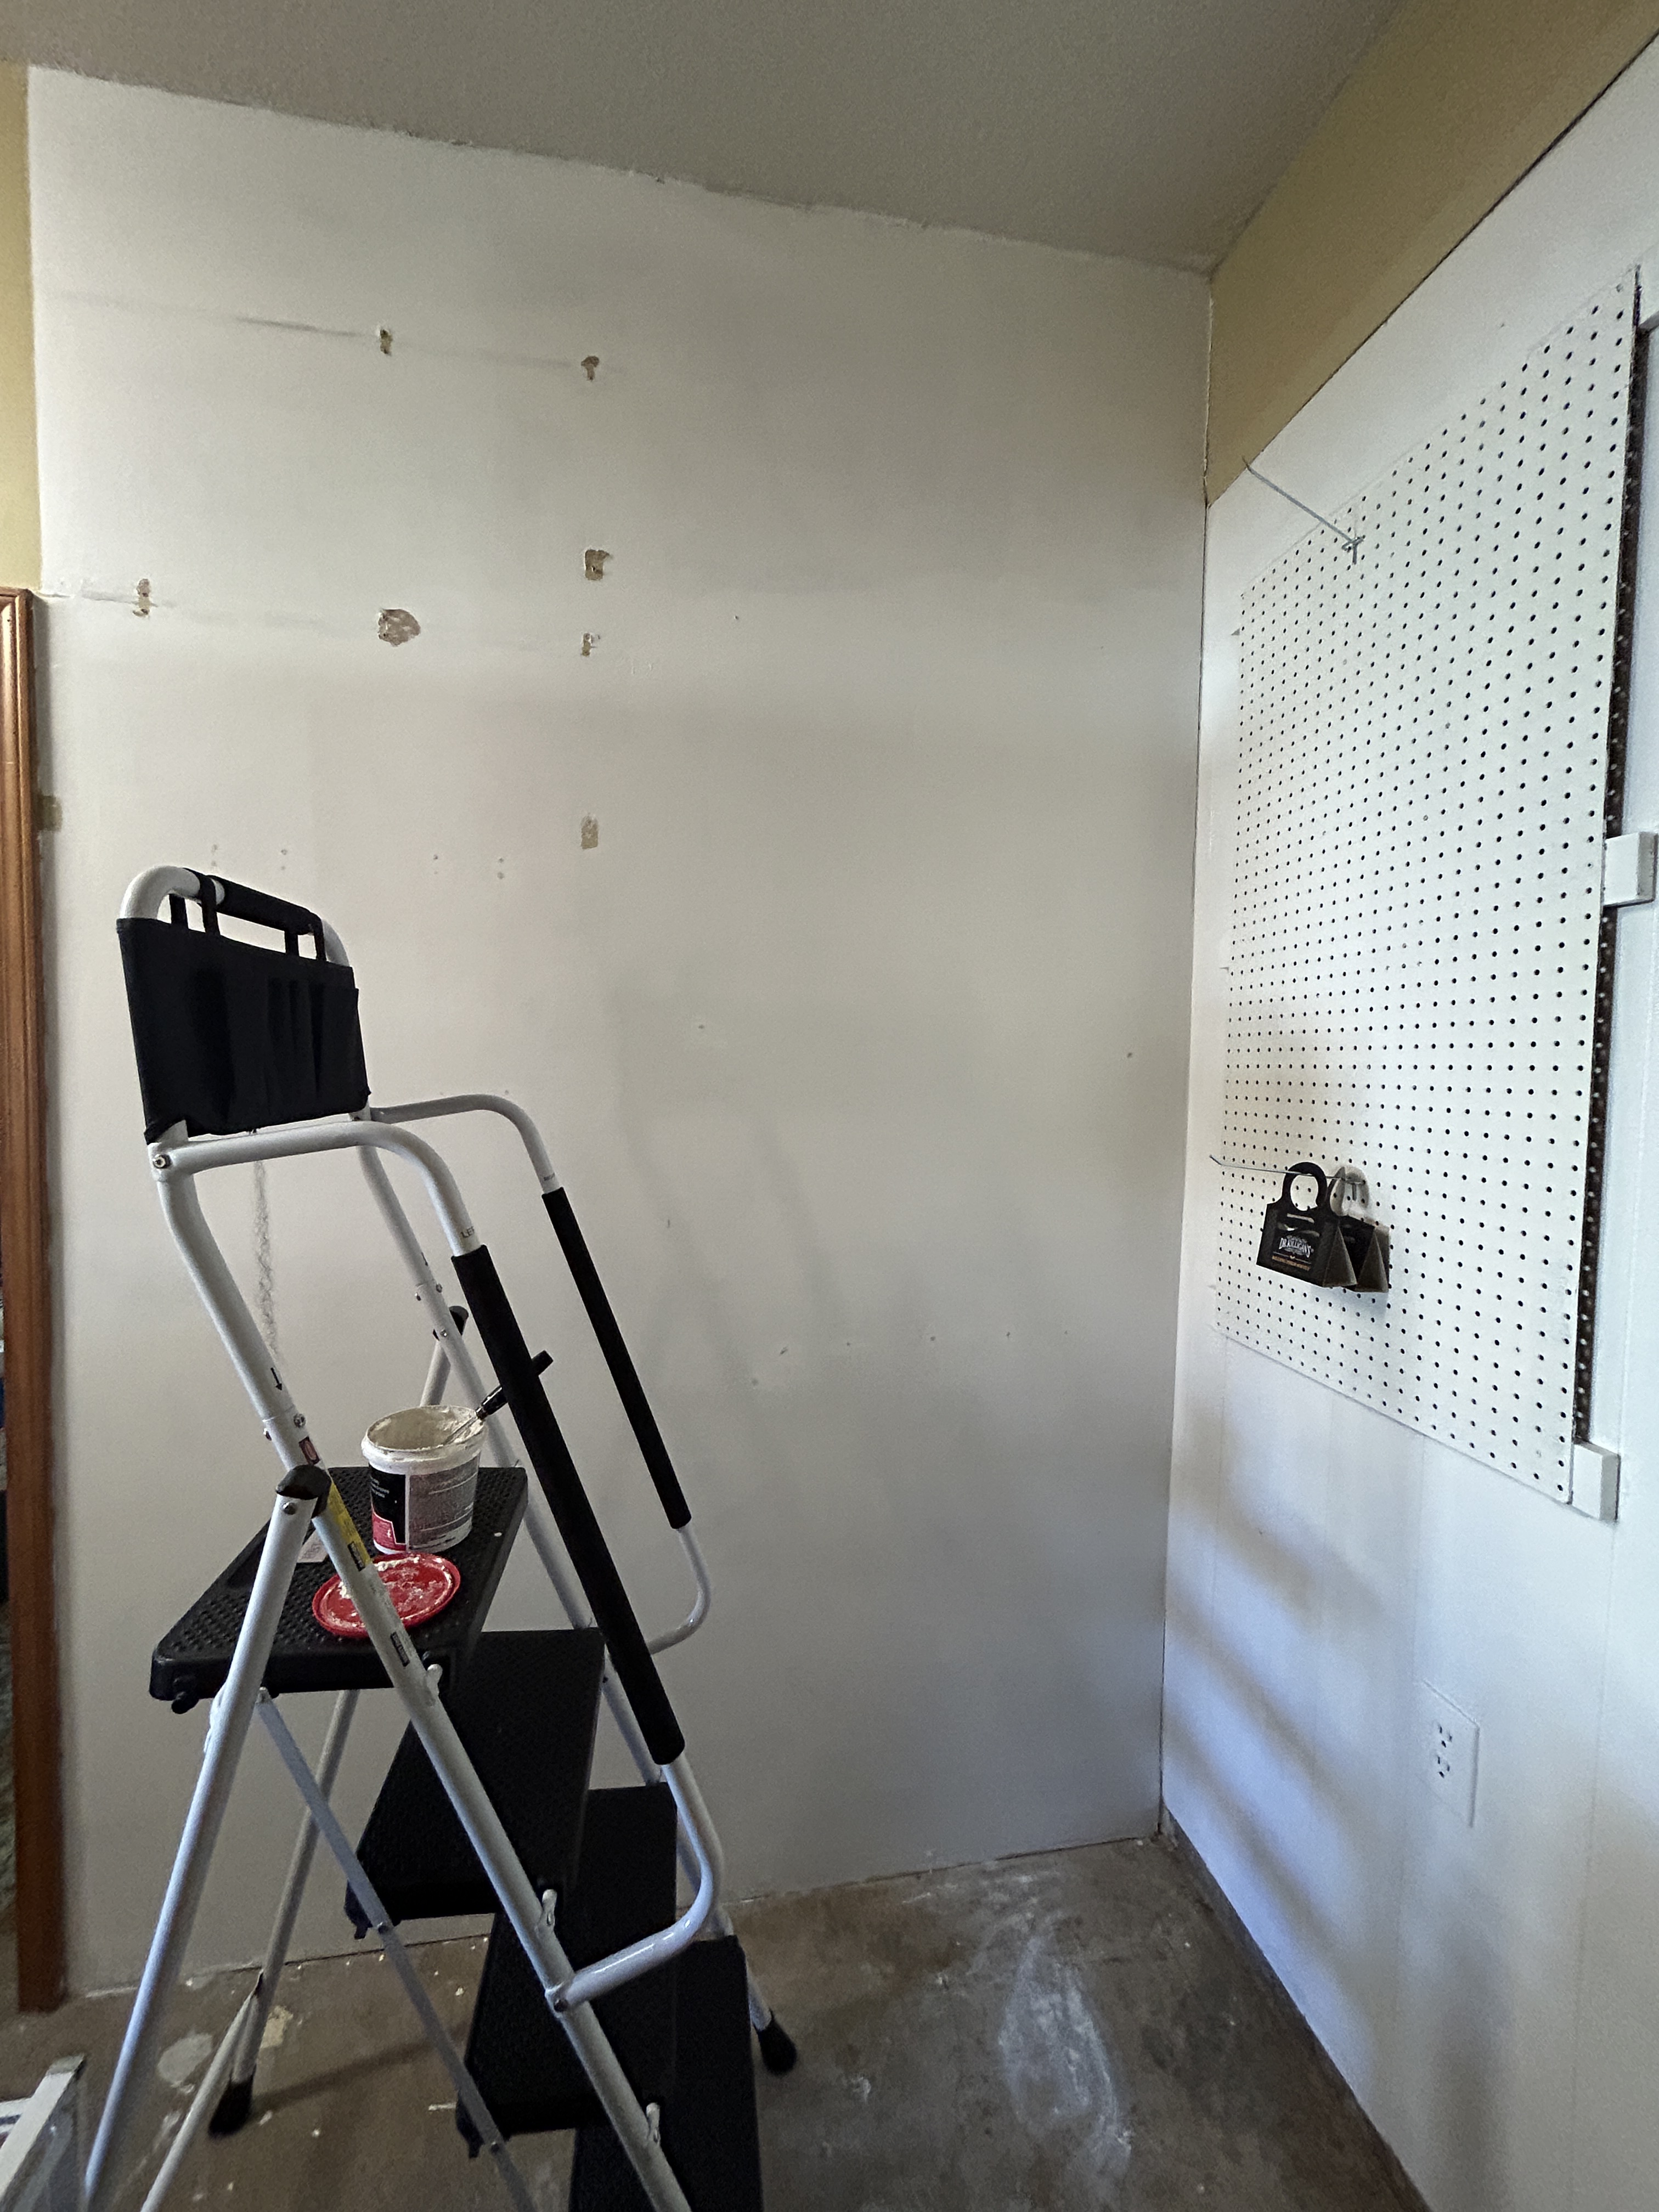
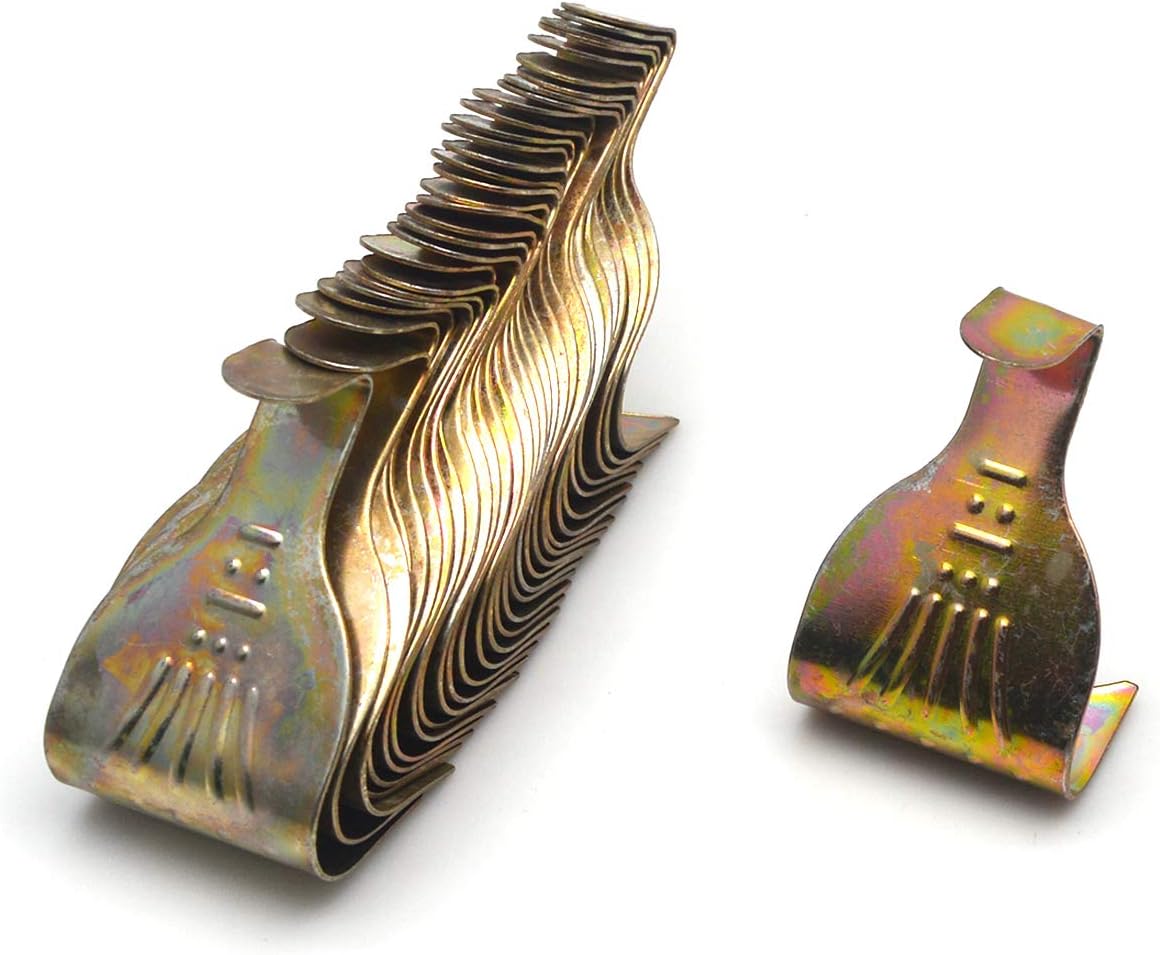
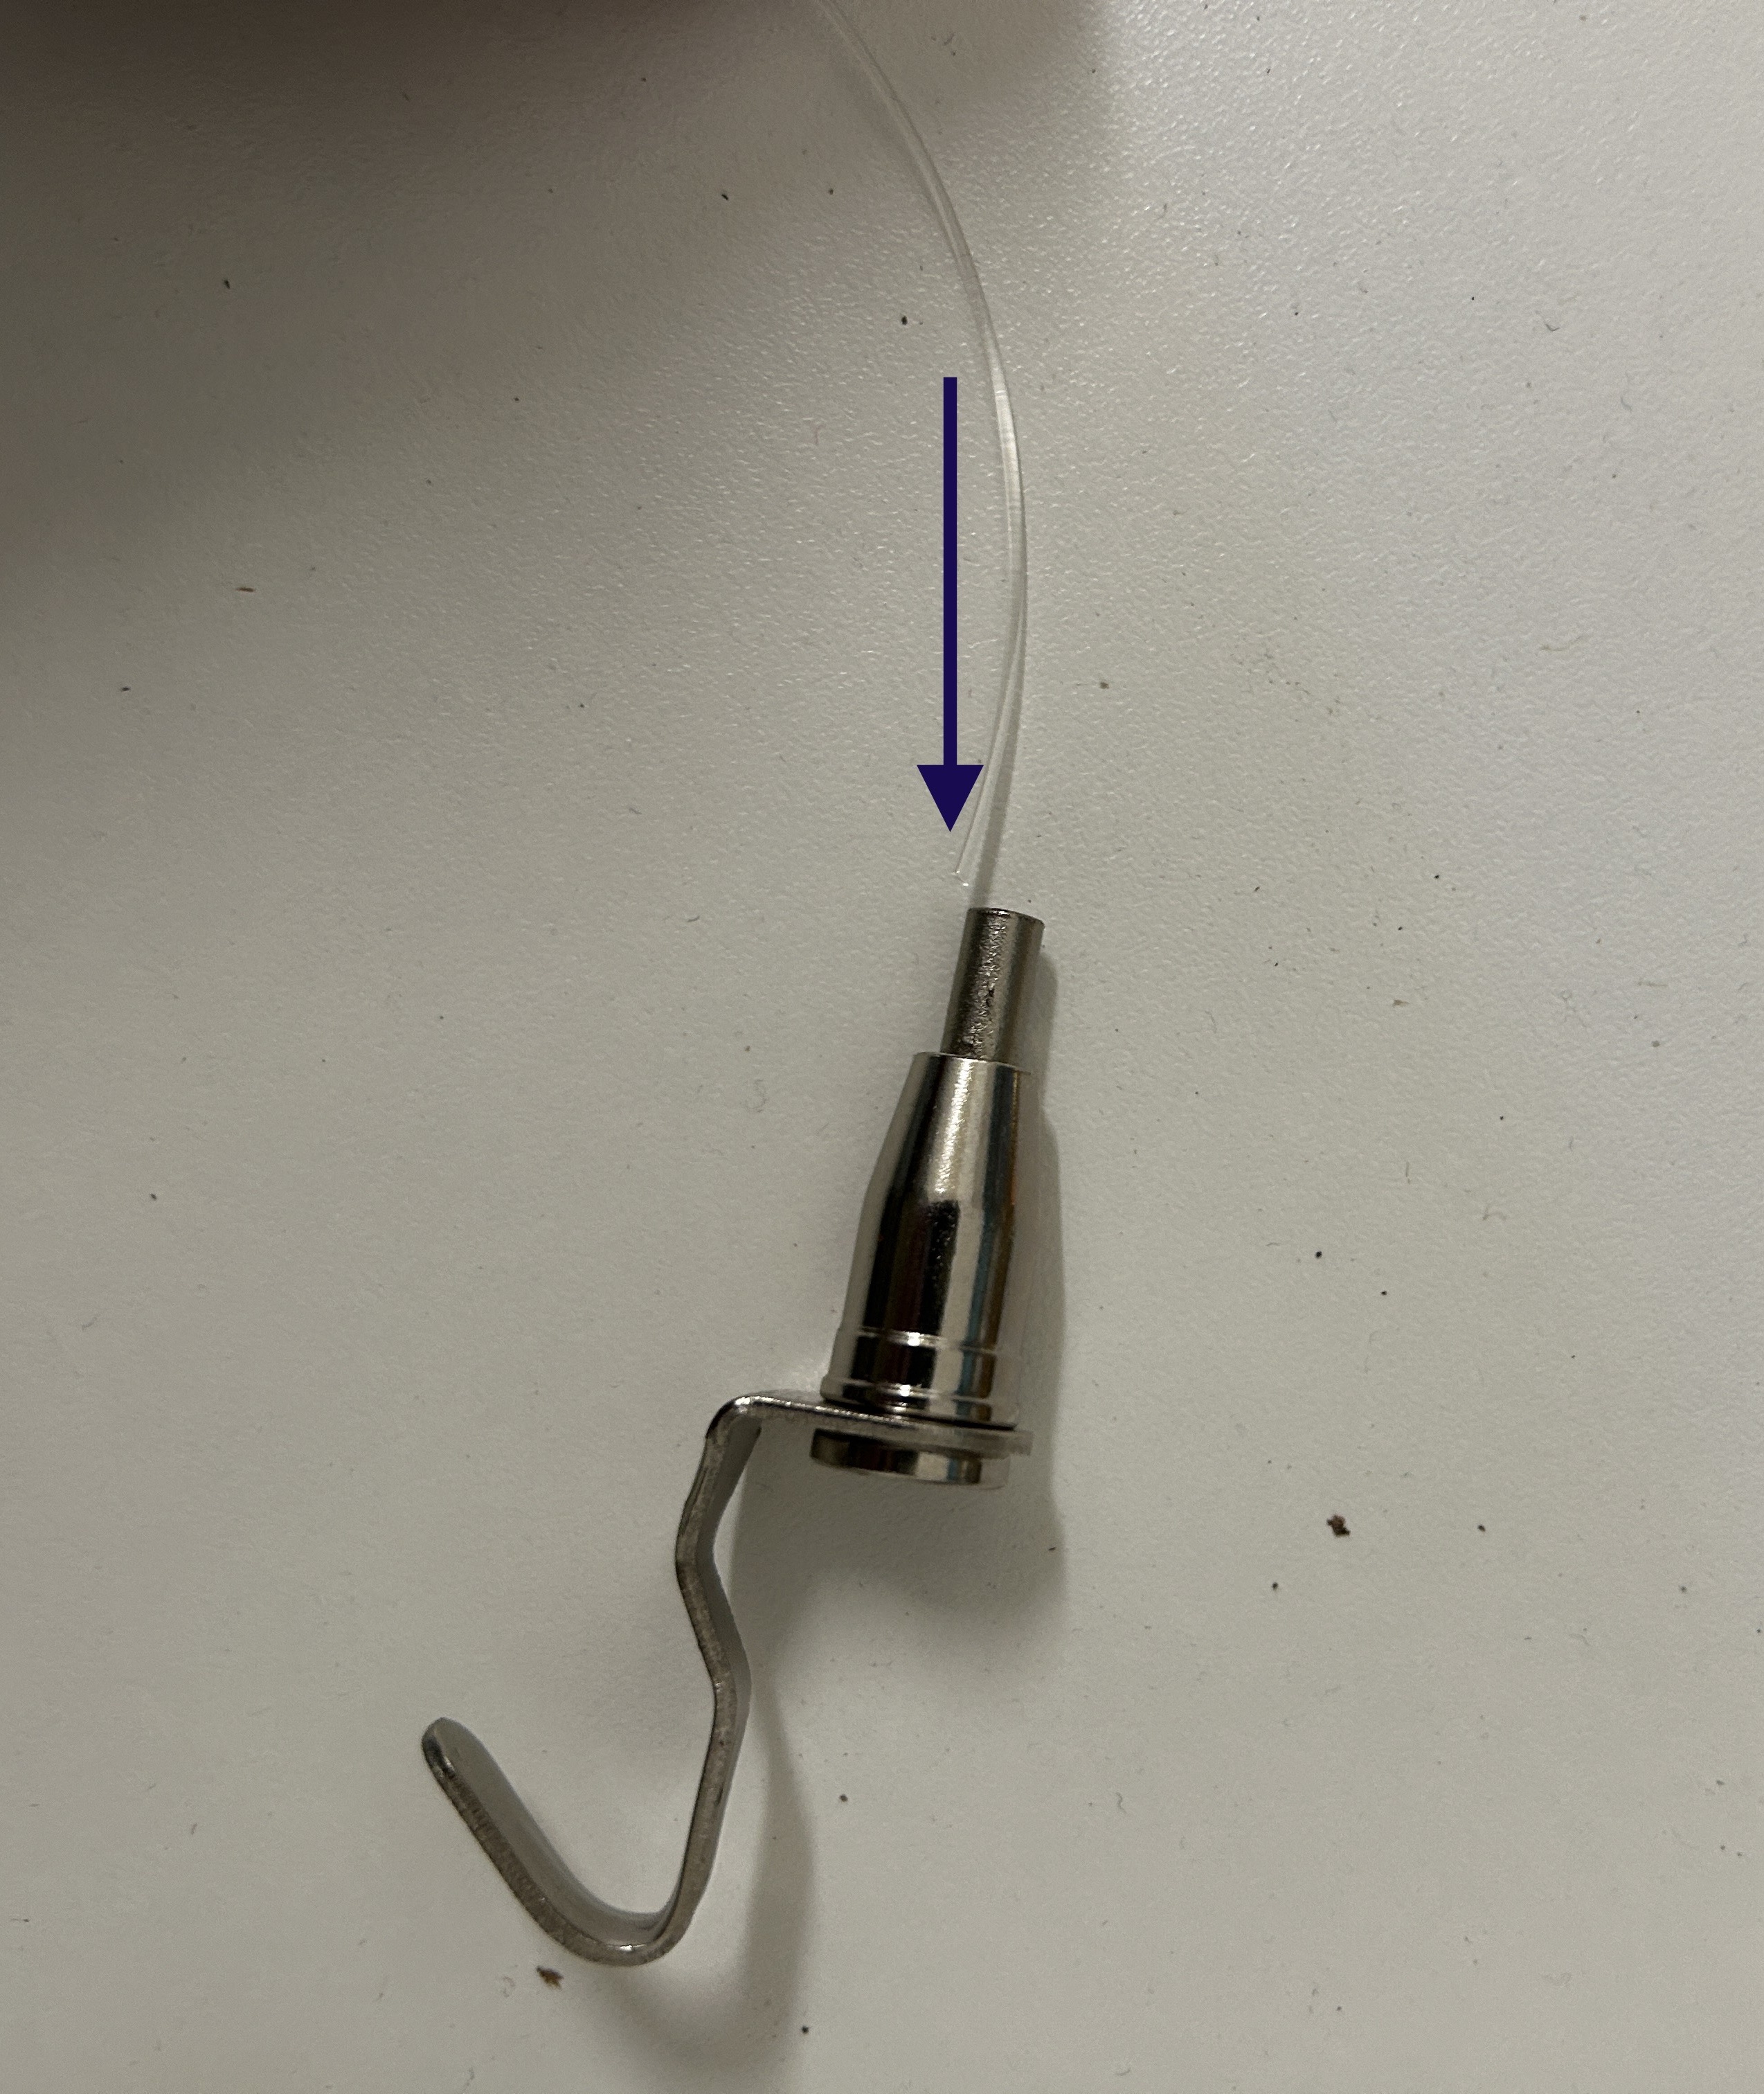
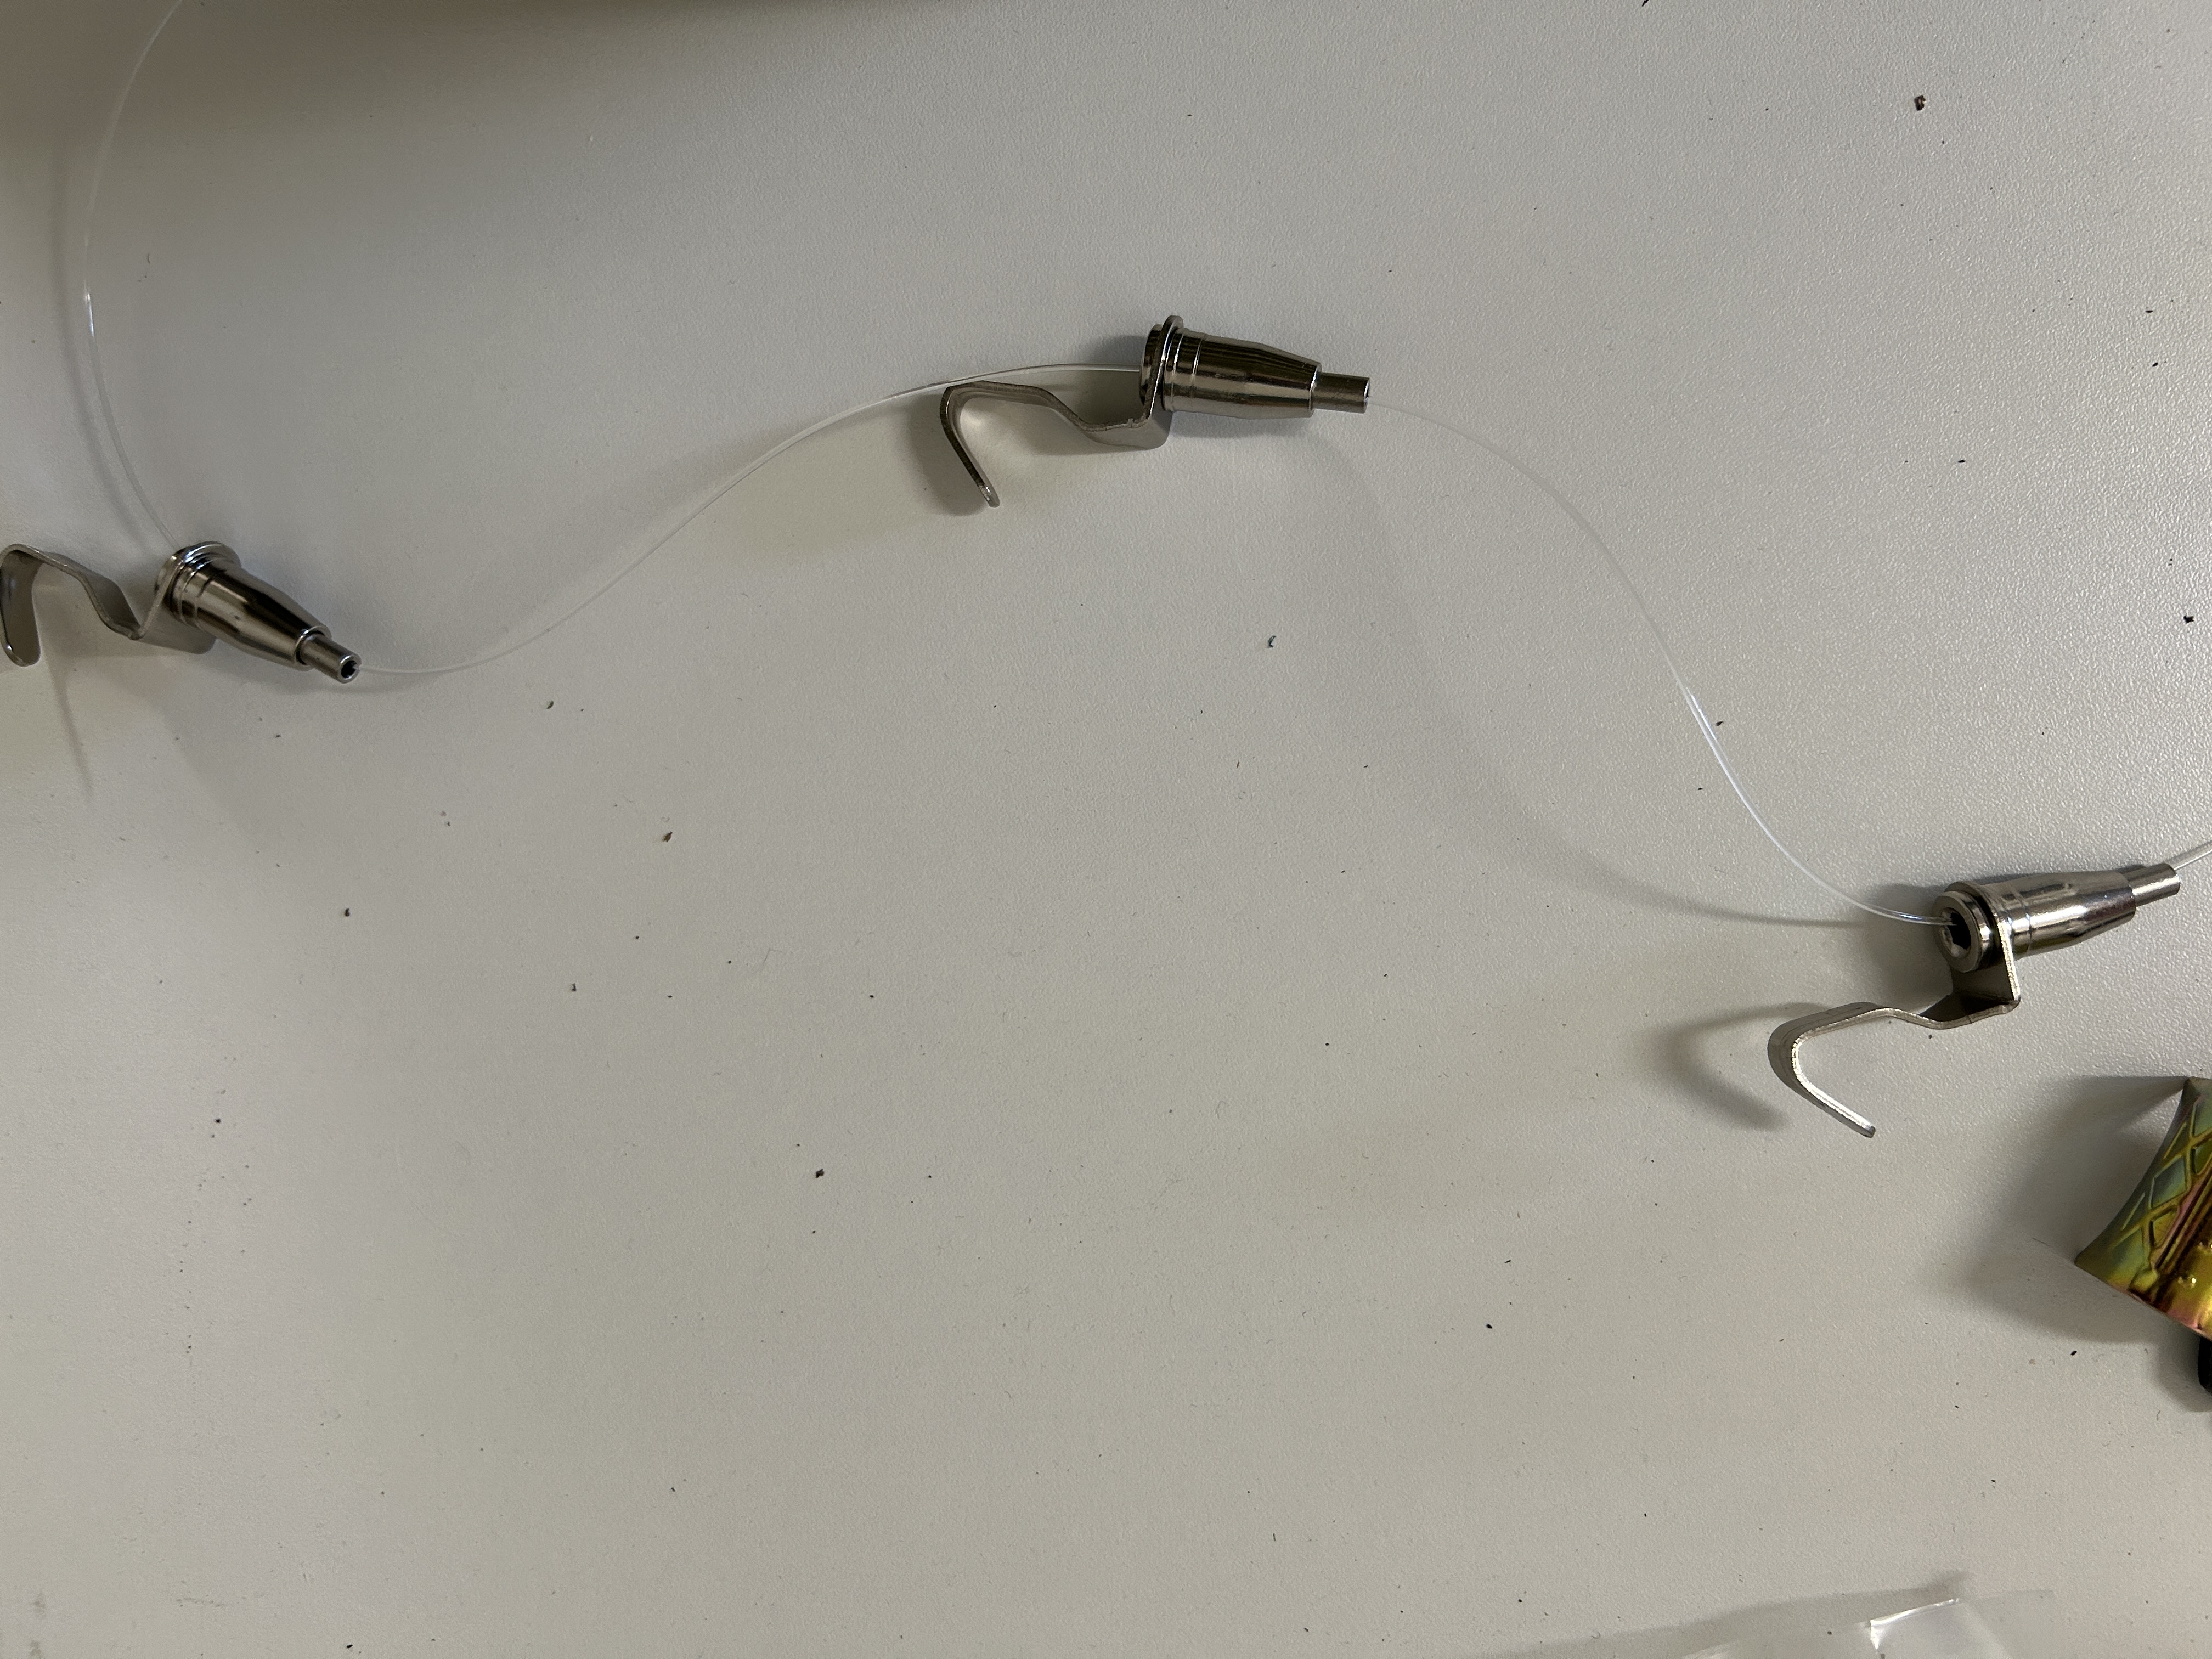
Now it is time to slide the picture hanging hooks onto your new wires. You can put as many hooks as you like on the wires. I really like that I can stack multiple pictures on my wall without making holes. Make sure that the hook holds before hanging a picture. I had one hook that the spring mechanism didn’t work. I am so happy with this system! I’ve put one wire over the door for illustration. Since my ceilings are 10 ft. I need a ladder to install all my hooks on the rail. There are other options available for the DIYer, just do some online searching. Most of the ready made kits are for small areas and they were not an option for me.

I have an application in for a regional studio tour. I have been in it in the past so I am keeping my fingers crossed. You don’t ever know what a jury is going to do! Hoping they publish jury results soon.
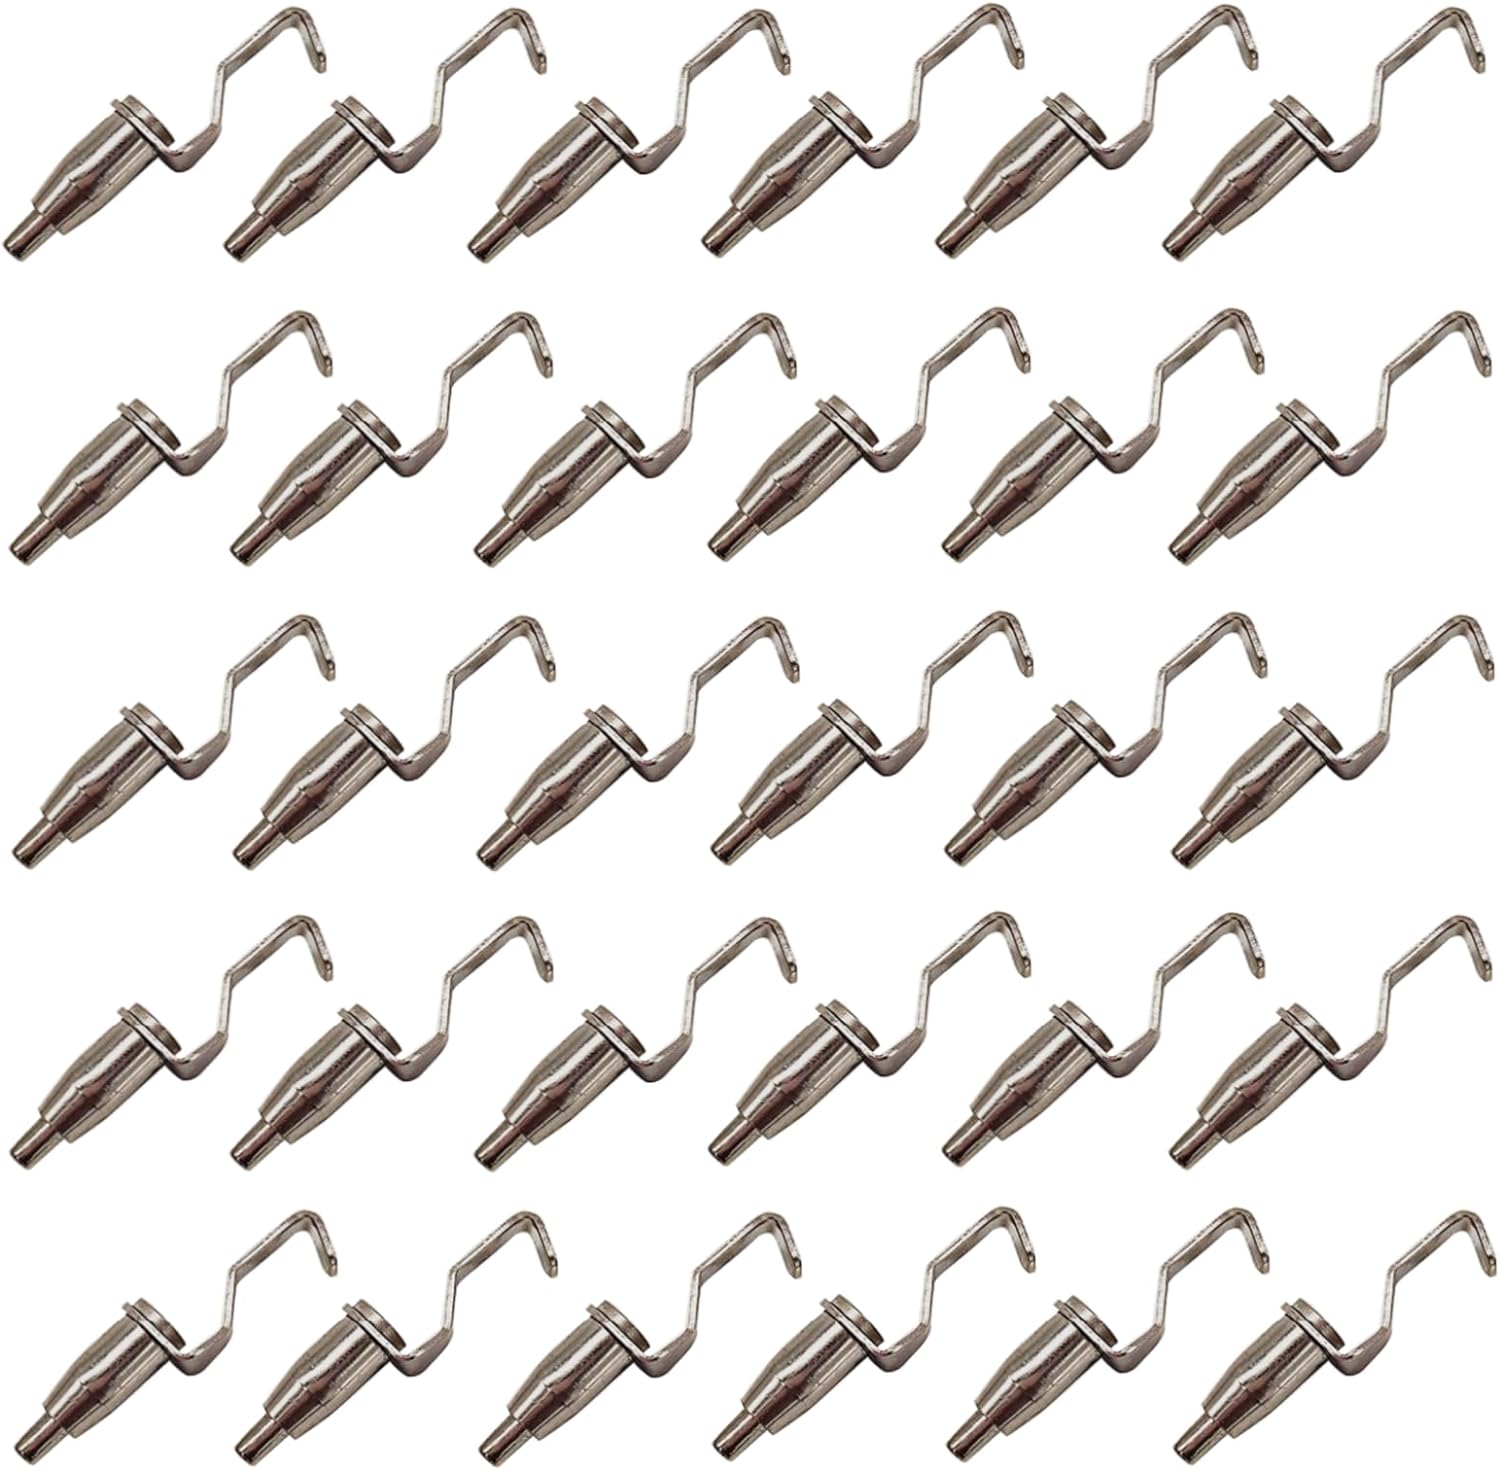
Whether it is for the tour or having some personal art open house events, I need to reconfigure some studio space. I have one corner that I used to store wool for weaving and rug hooking. Since I do neither any longer, I am making it into a gallery space. I am painting the walls and getting ready to make a hanging system. Boy are they expensive! I did a lot of research and found that I can buy all the parts needed to make my own gallery rail system for a tiny fraction of the cost. When the parts get here I will do a step by step tutorial on how I am making the system. I have nylon cord with ferrals to make loops that will then hang on the picture rail hooks. Those funny things are adjustable hooks for the cords. I will be able to use one cord and hang multiple small things from it.